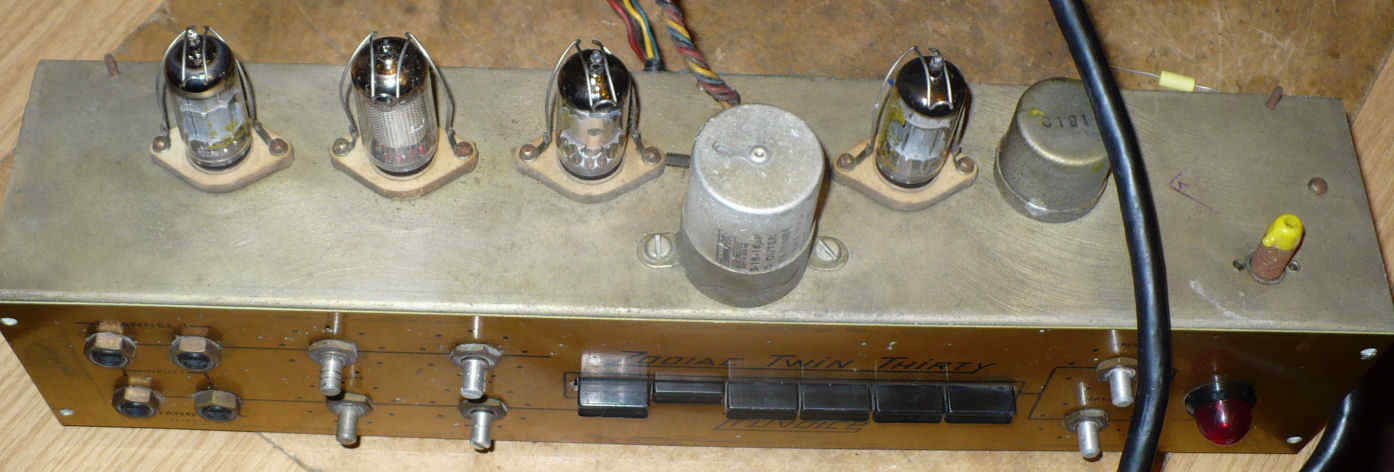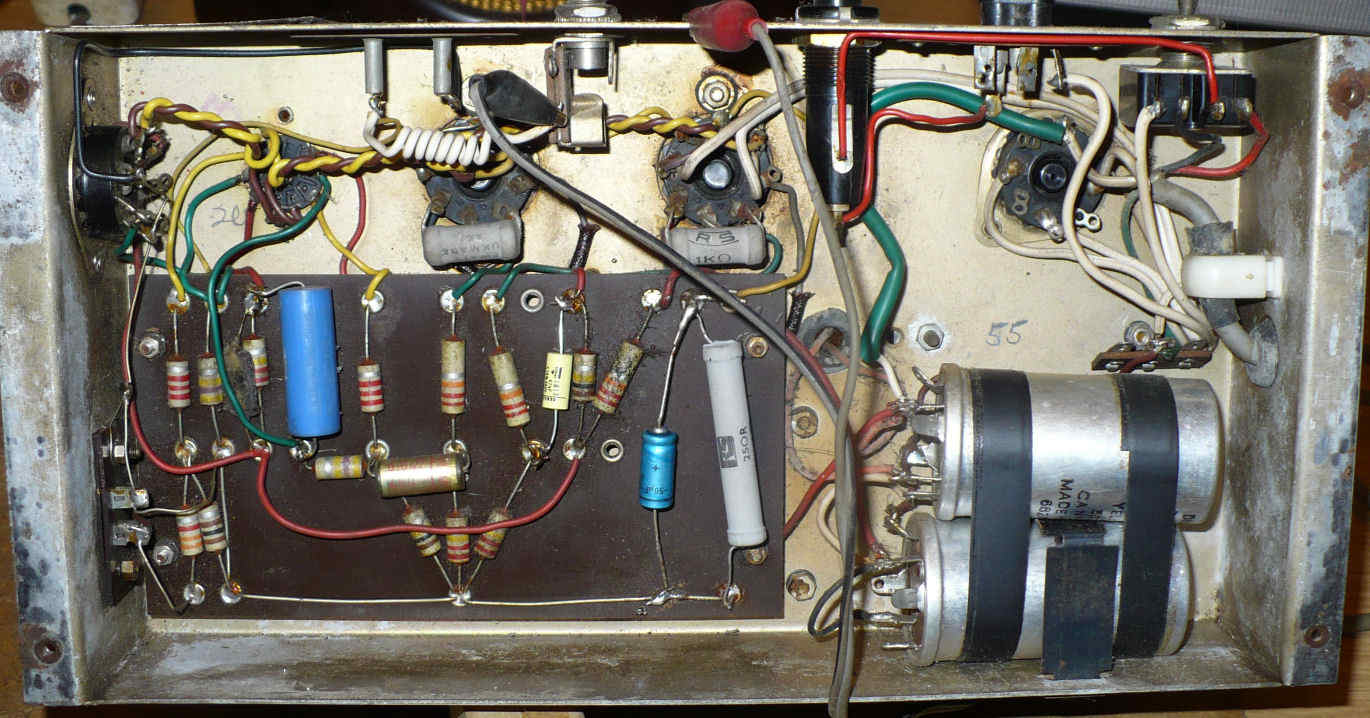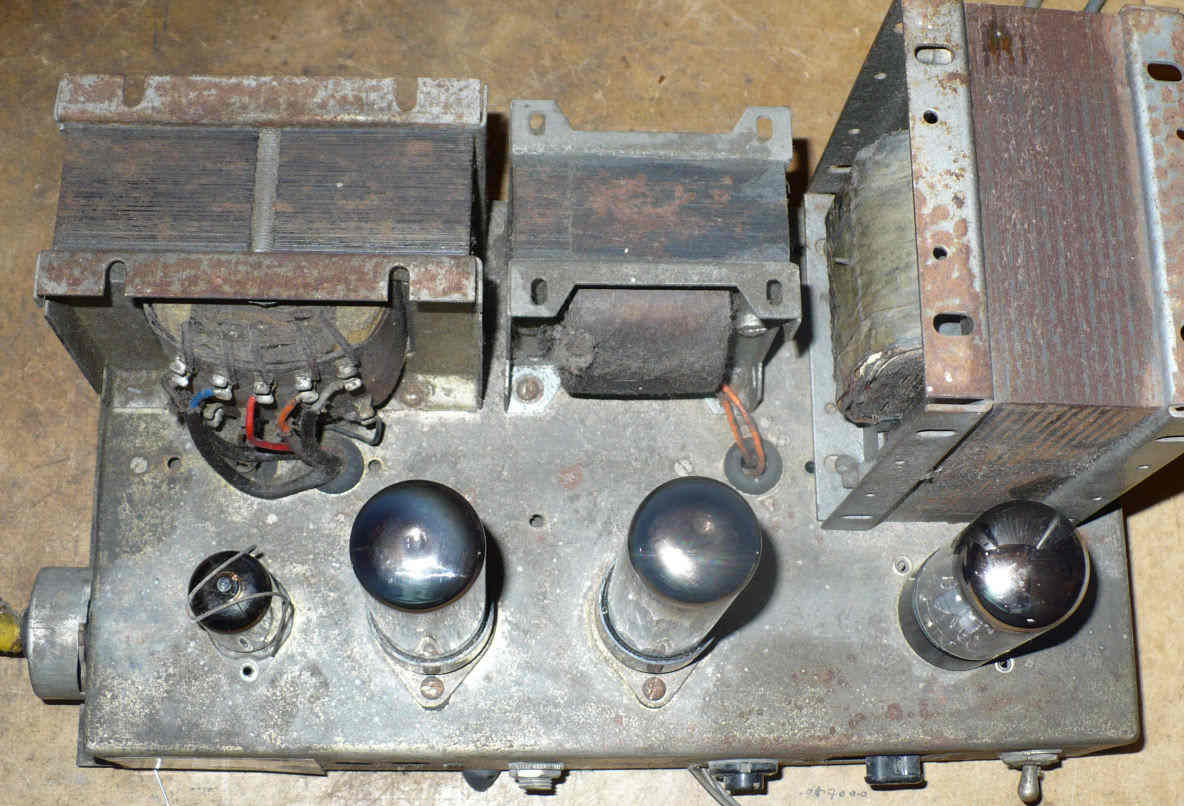
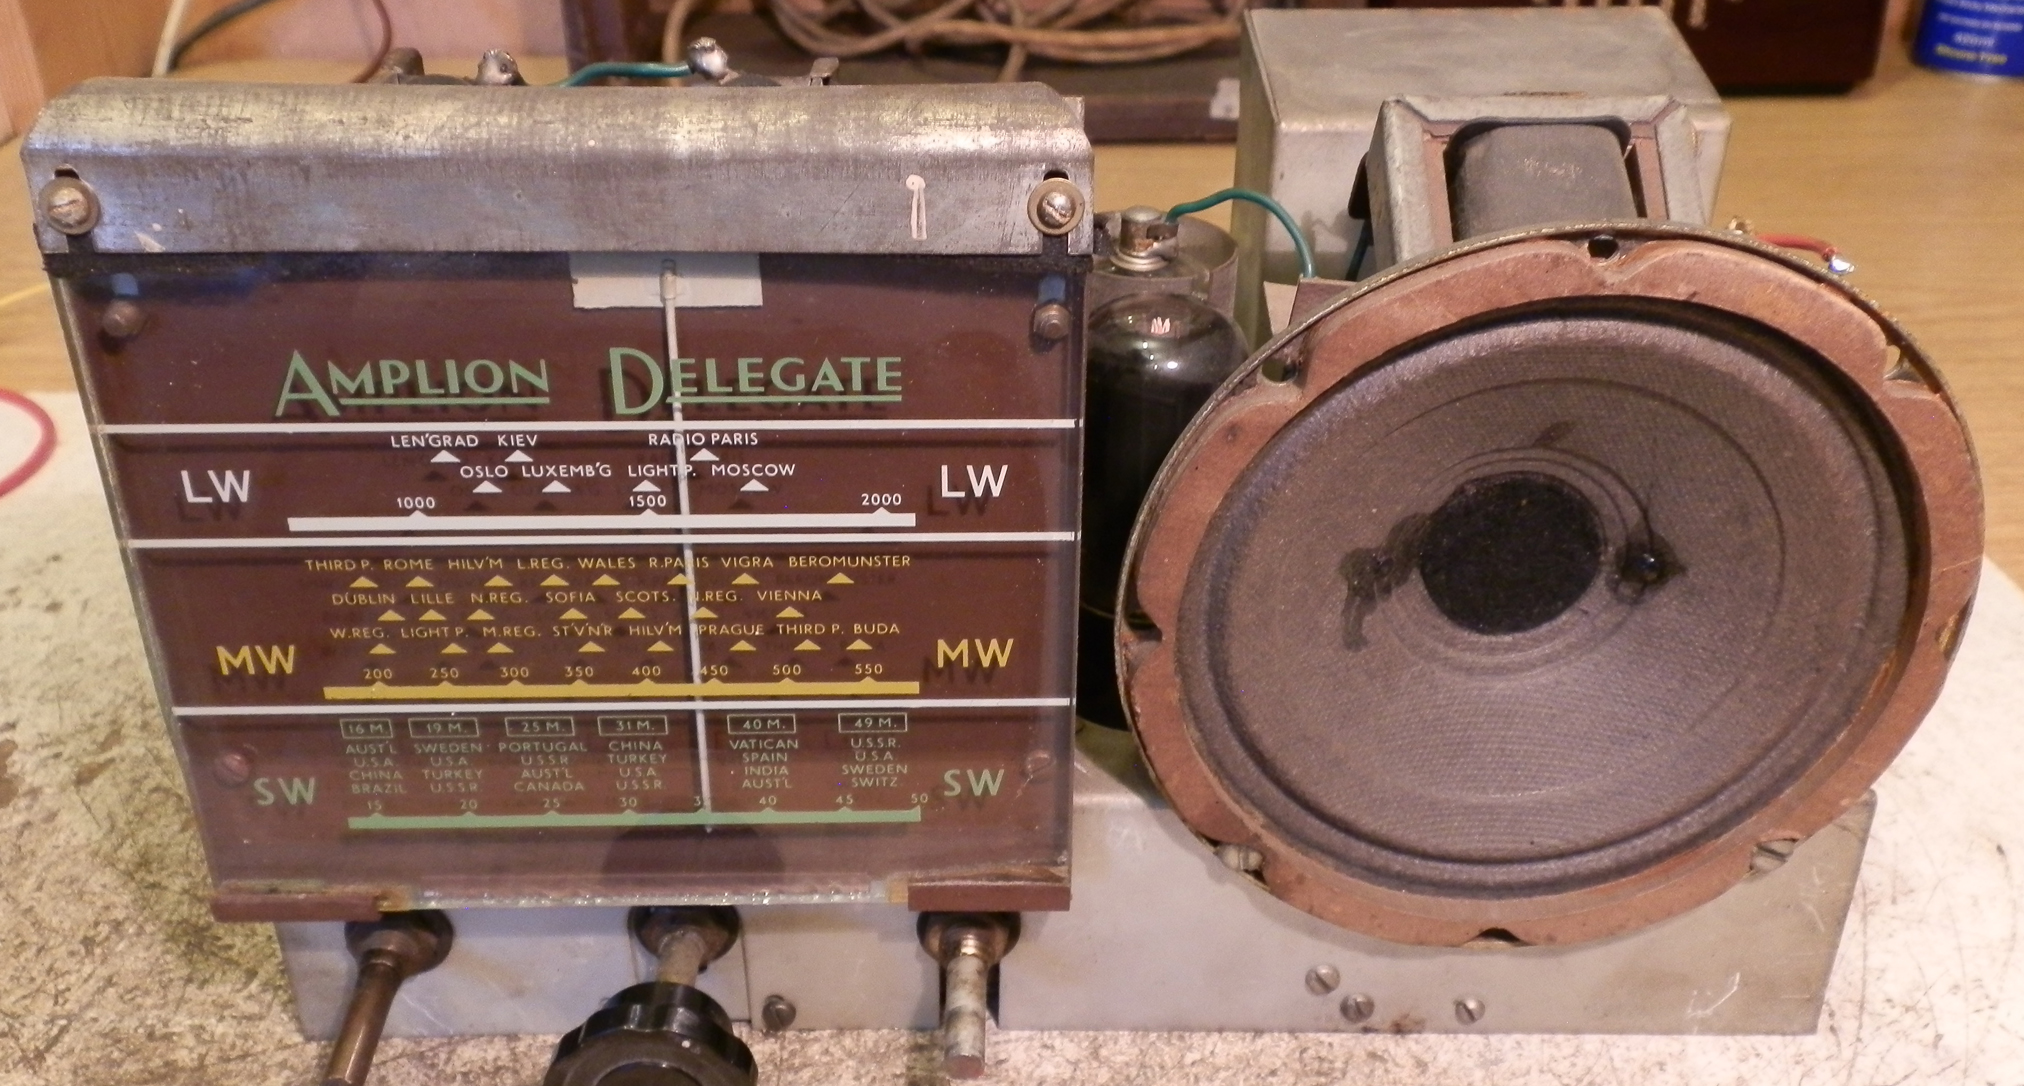
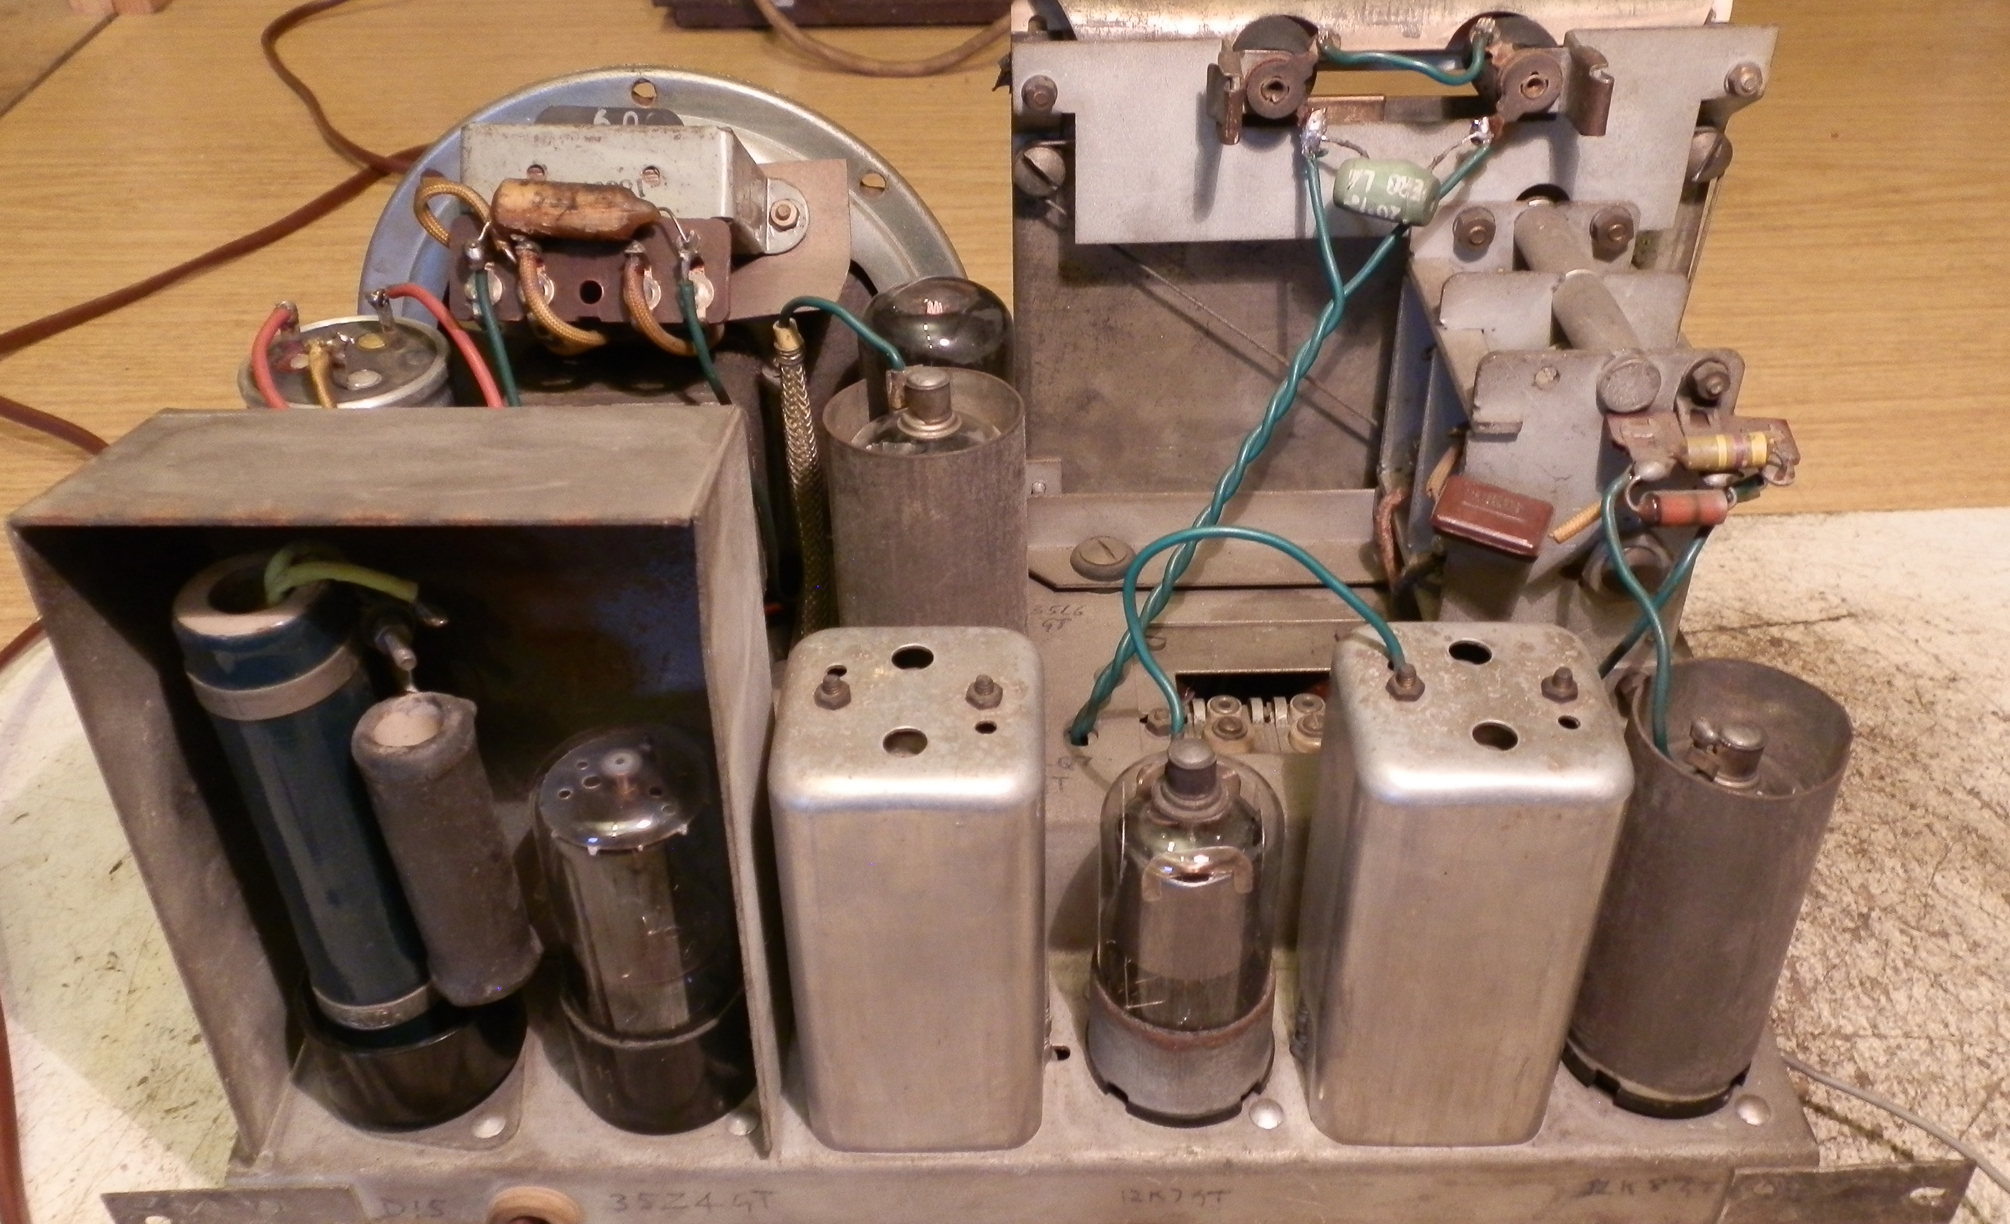
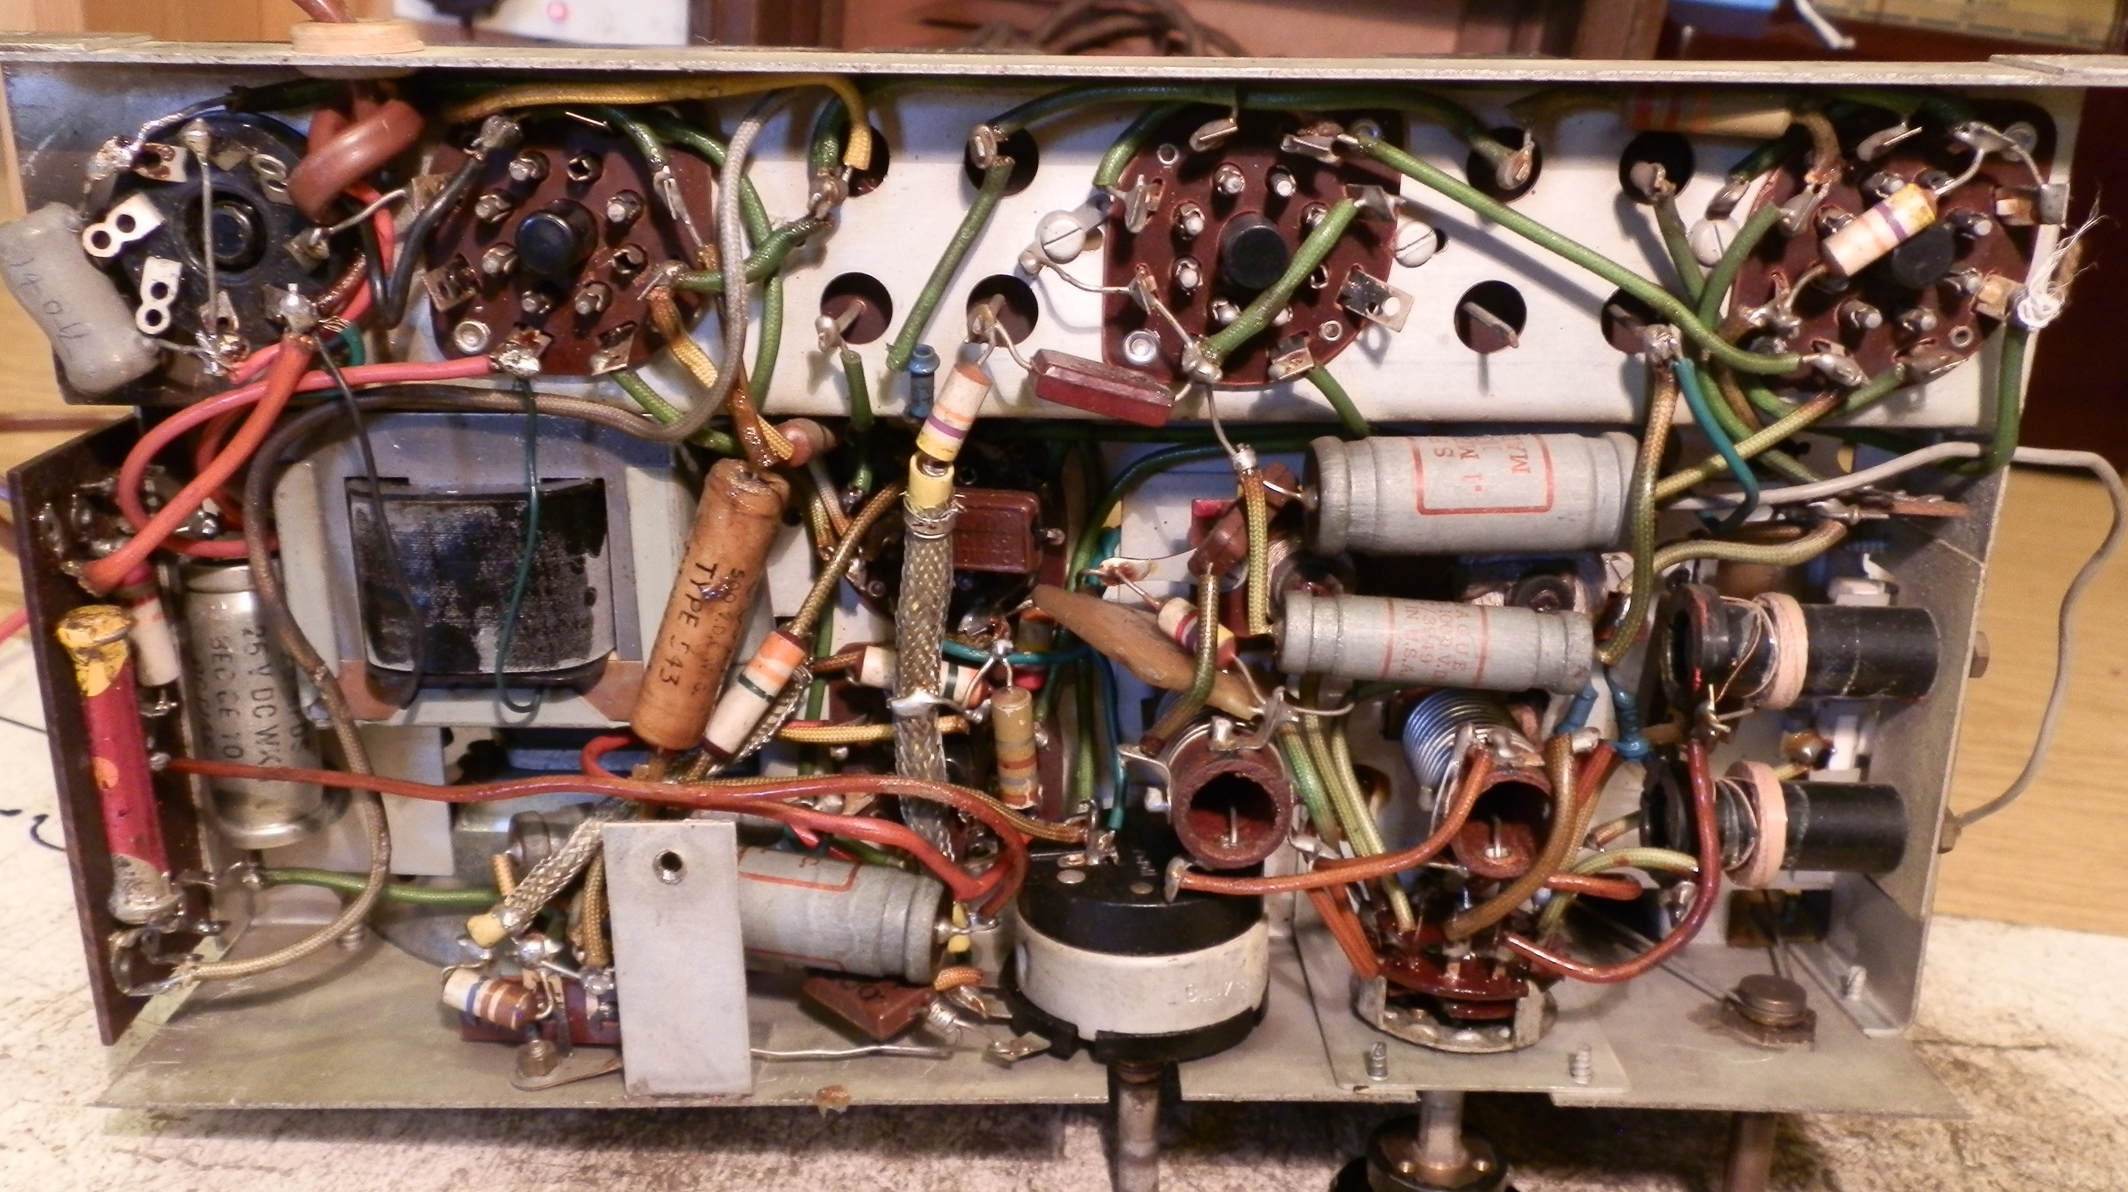
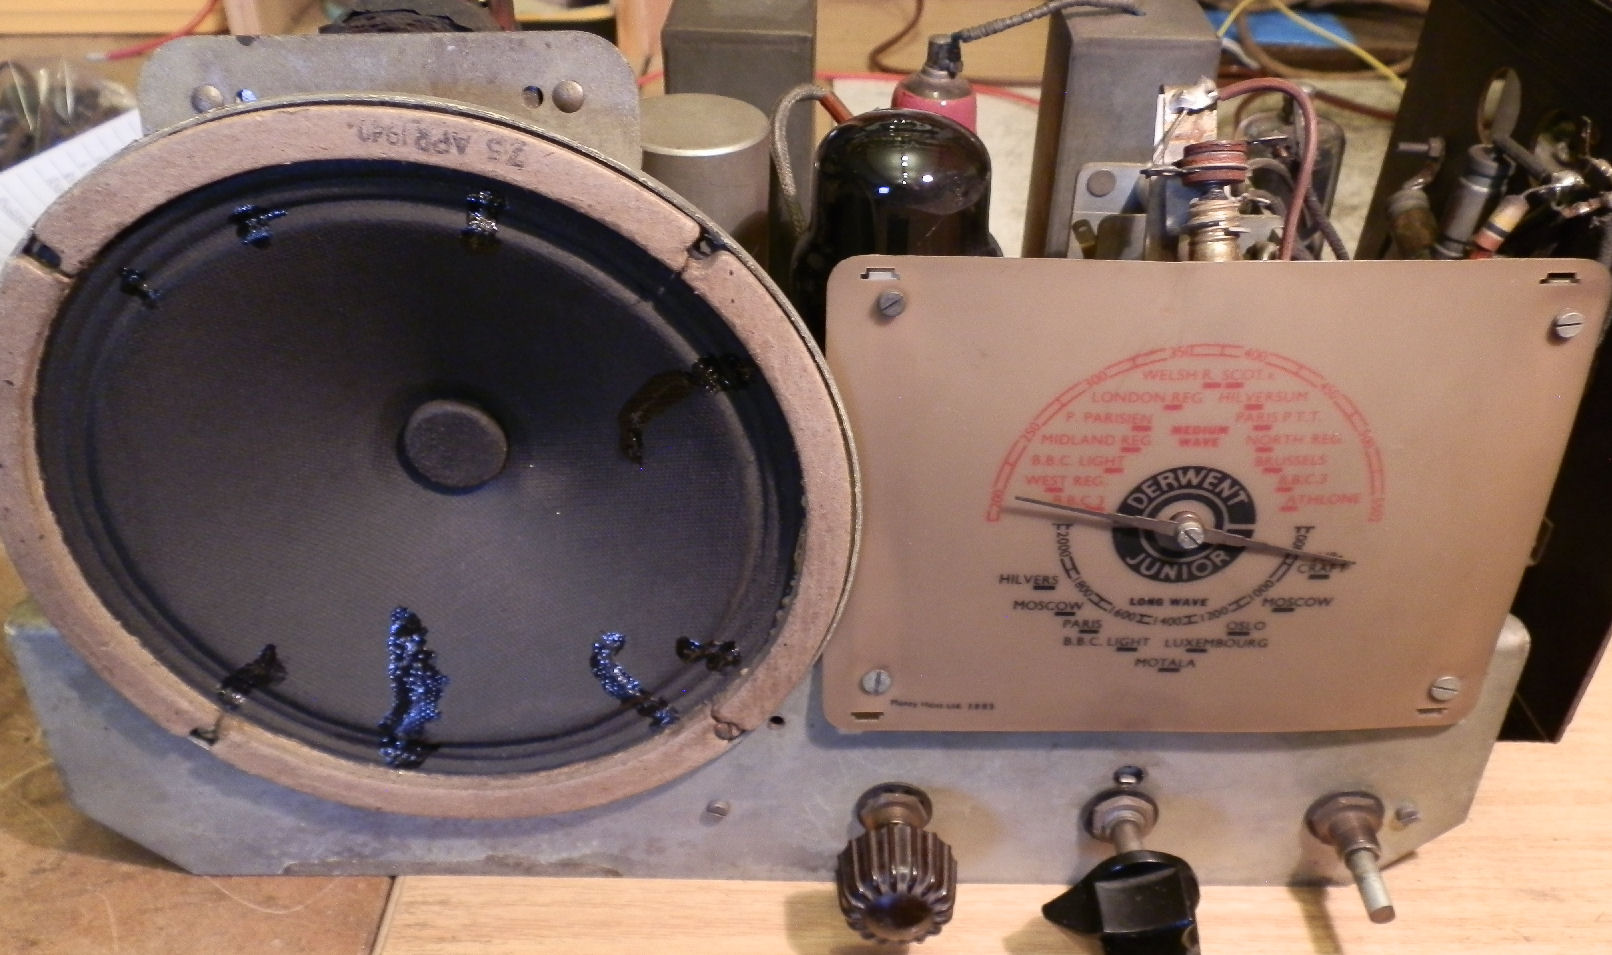
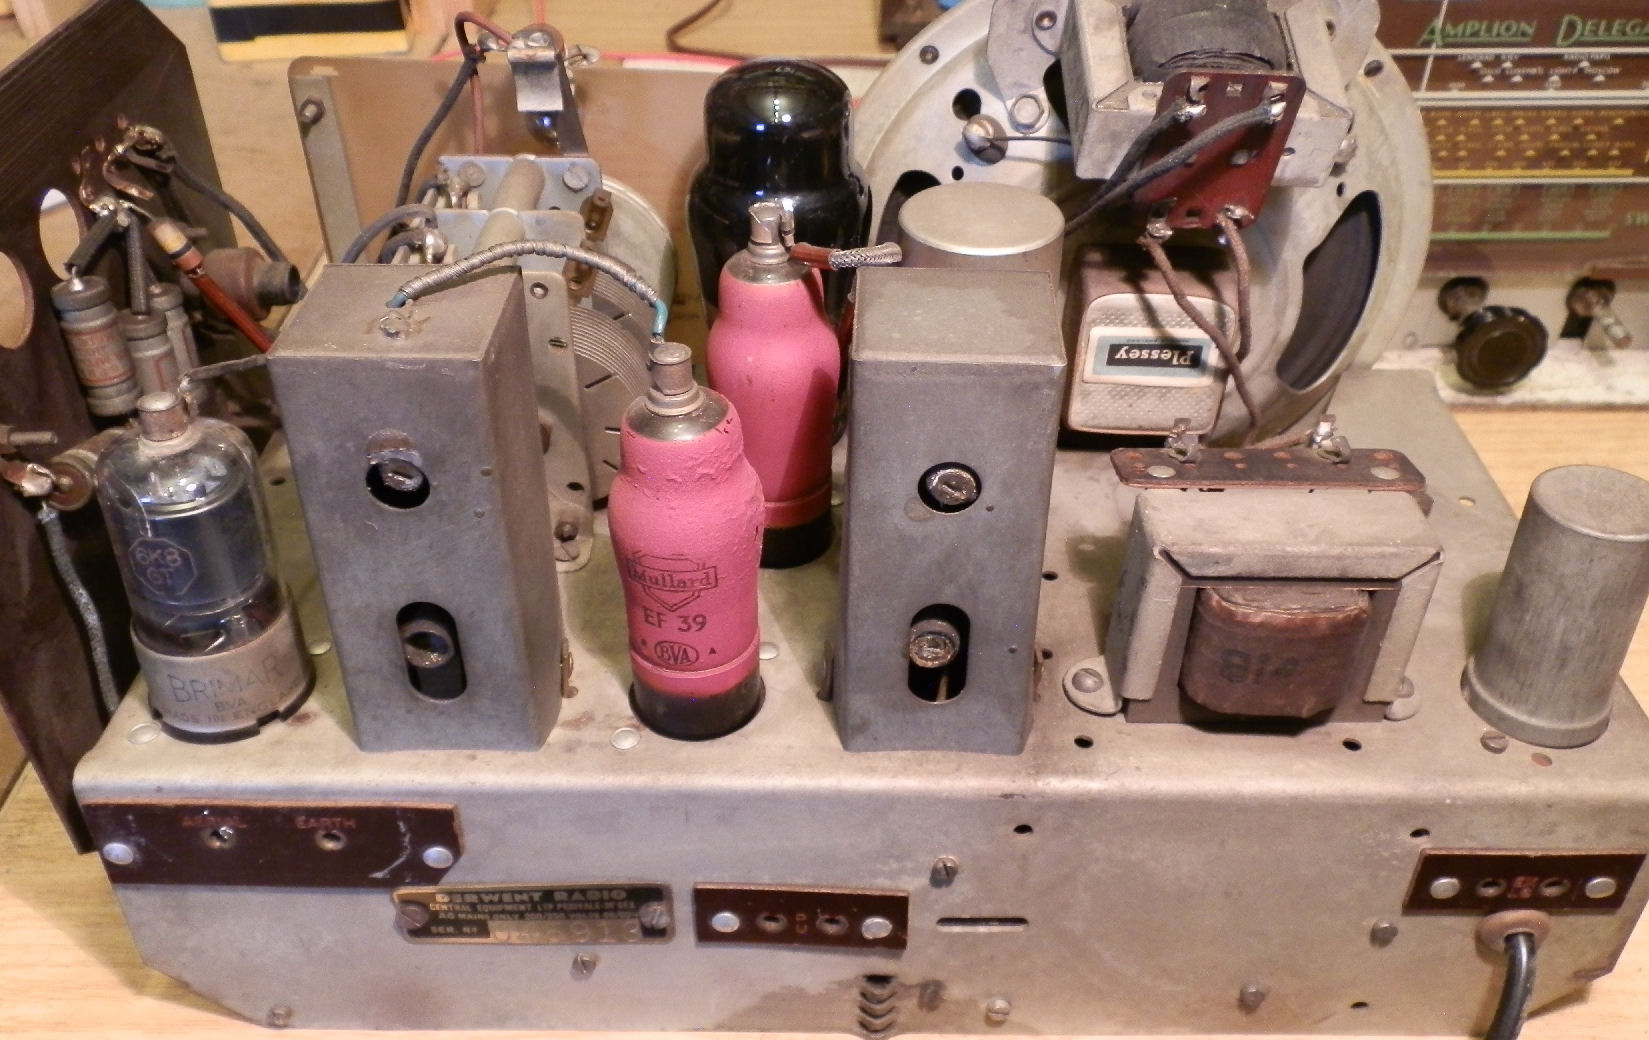
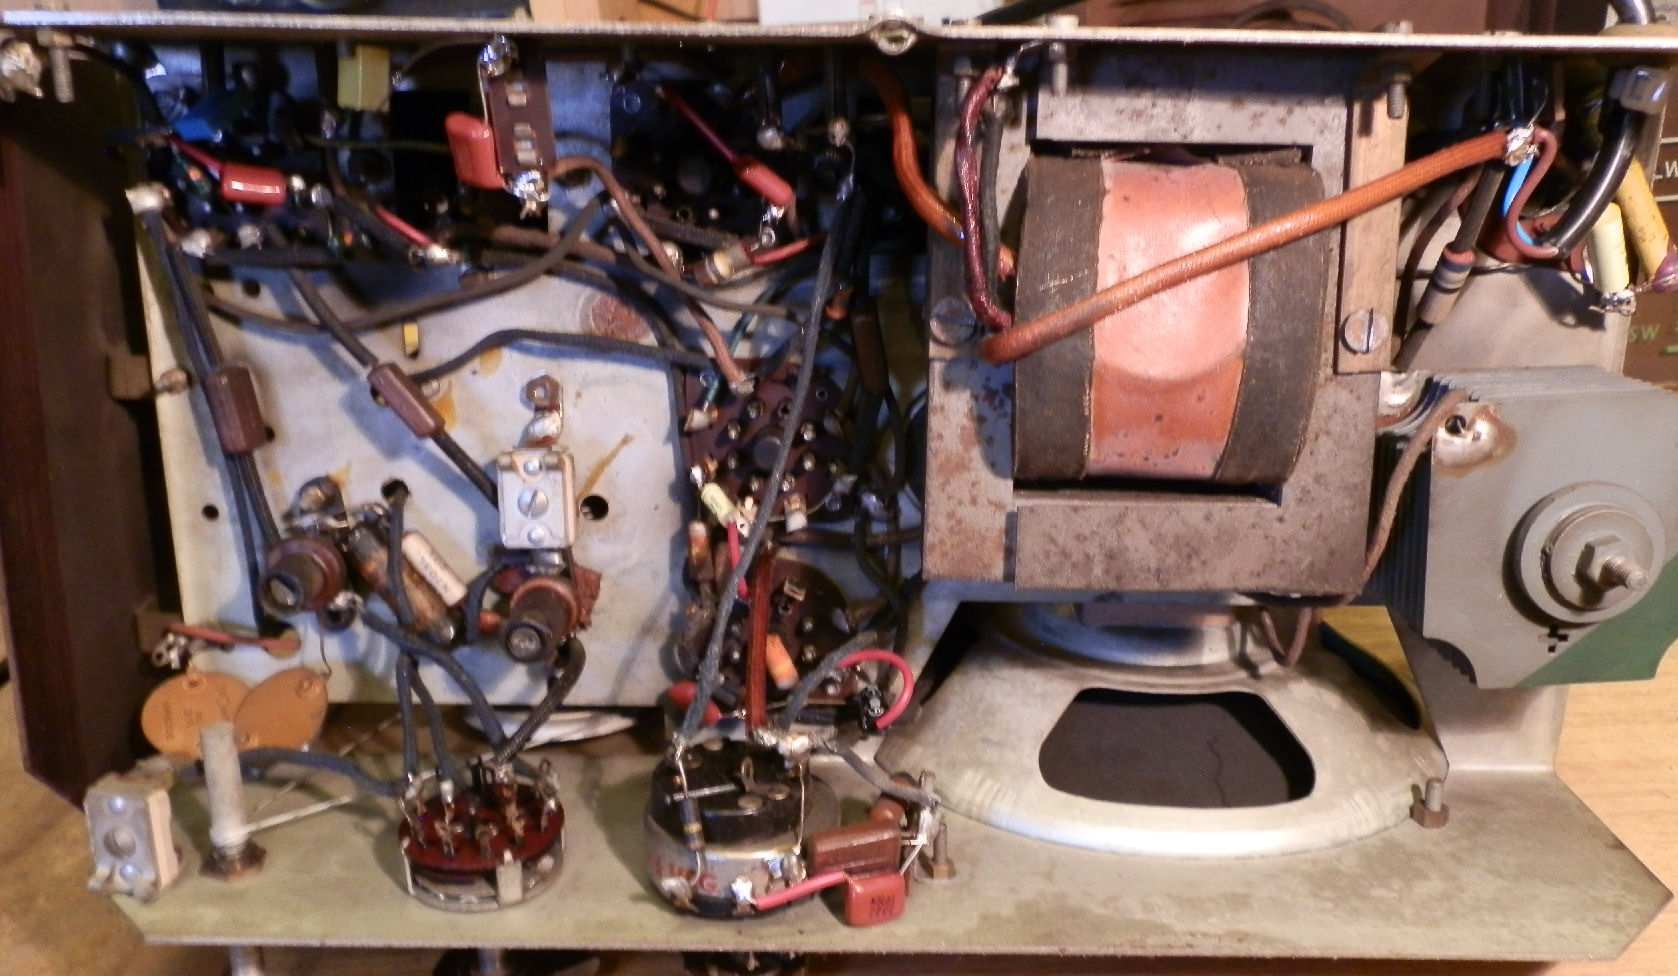
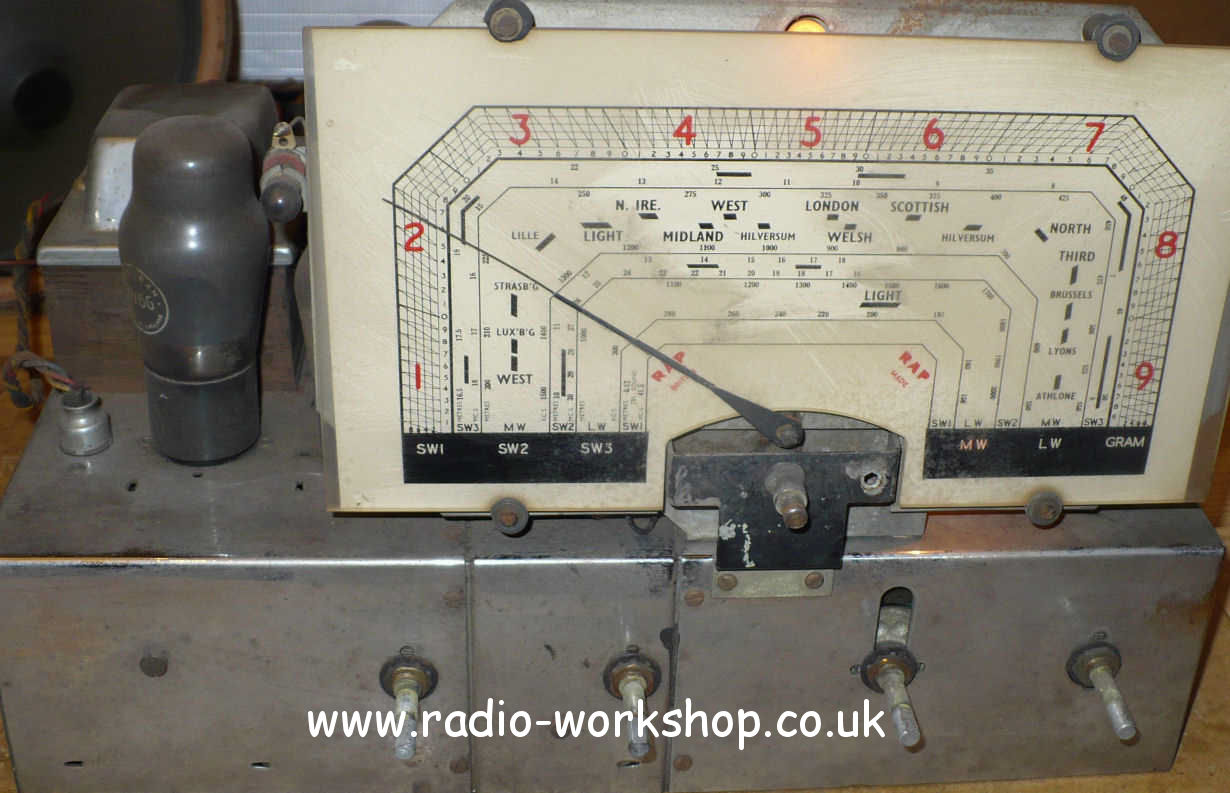
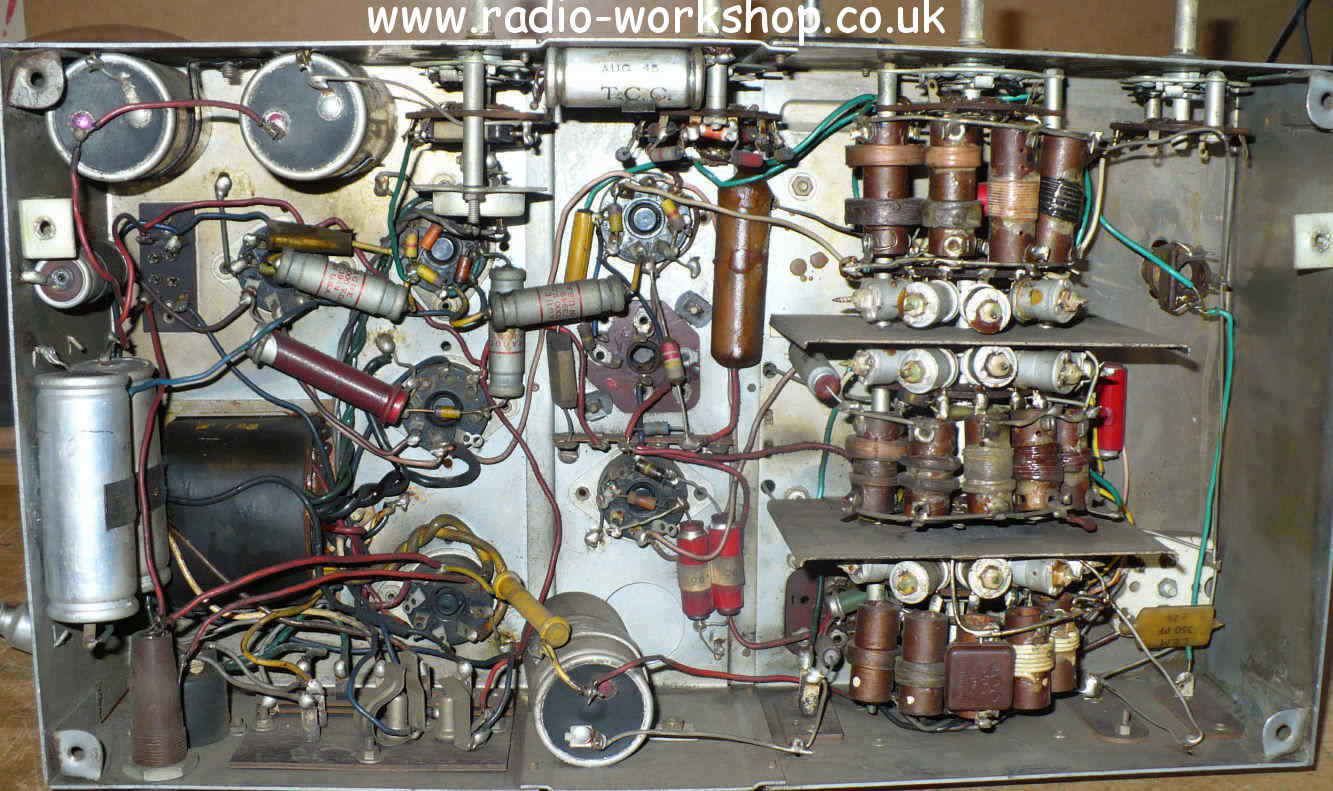
It’s often helpful to see a picture of the chassis layout when repairing or restoring a vintage valve radio. For those who wish to restore their own radios, the chassis photographs below might be of some help as far as component positioning and layout is concerned. You can click on a photo to see a larger image. I’ll be adding more photographs as and when I get them, so do keep an eye on this page.
You might look at the chassis photos and think… How could I begin to get to grips with all those components and start repairing my own vintage radios? Capacitors and resistors everywhere, loads of wiring… I’ll never be able to understand that lot! Do bear in mind that we all had to start somewhere.
When I was young, a TV engineer came to our house to fix the telly. He took the bottom cover off and exposed shedloads of resistors and capacitors! I told him that I’d wanted to become a TV engineer but, seeing that lot… No way!
“It’s not as complicated as it looks,” he said. “When you leave school, get a job as an apprentice radio and TV engineer. You’ll soon learn.” He was right. If you’re keen to learn, you might consider joining my Members’ Area.
AMPLION DELEGATE
BUSH AC1
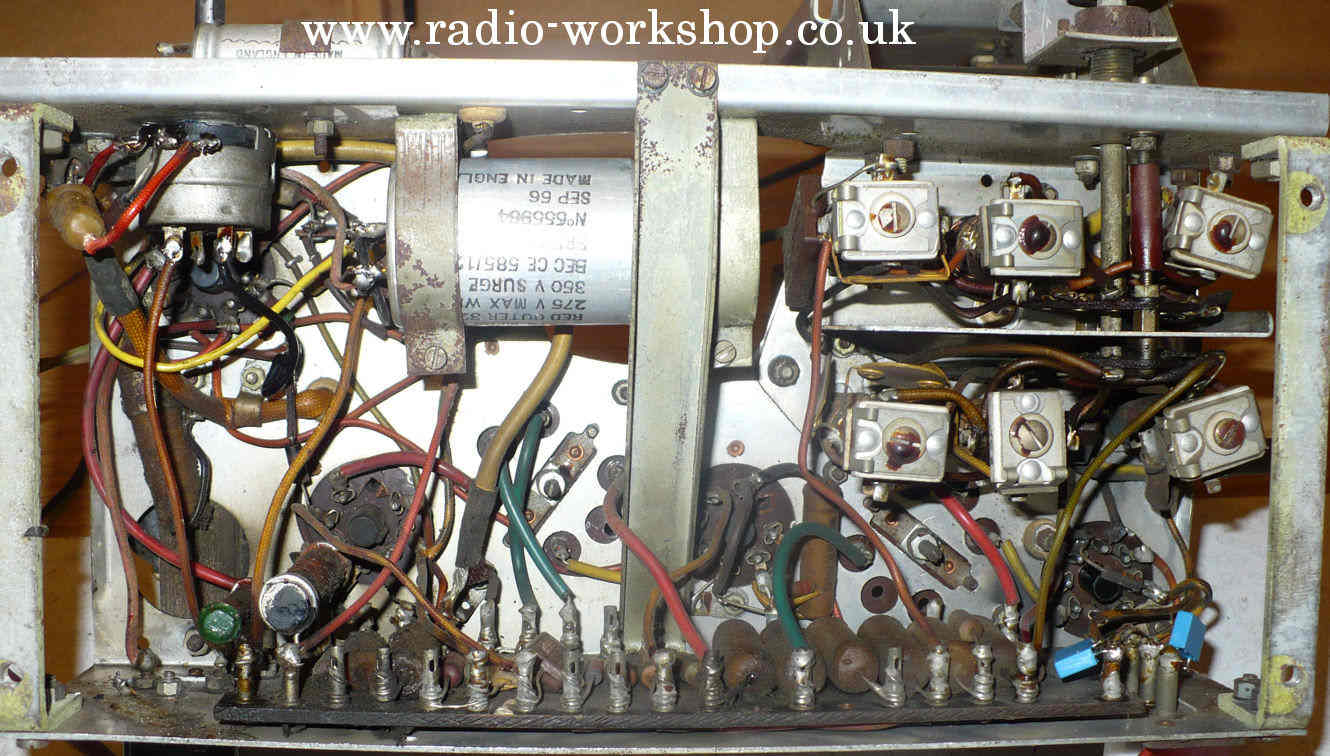
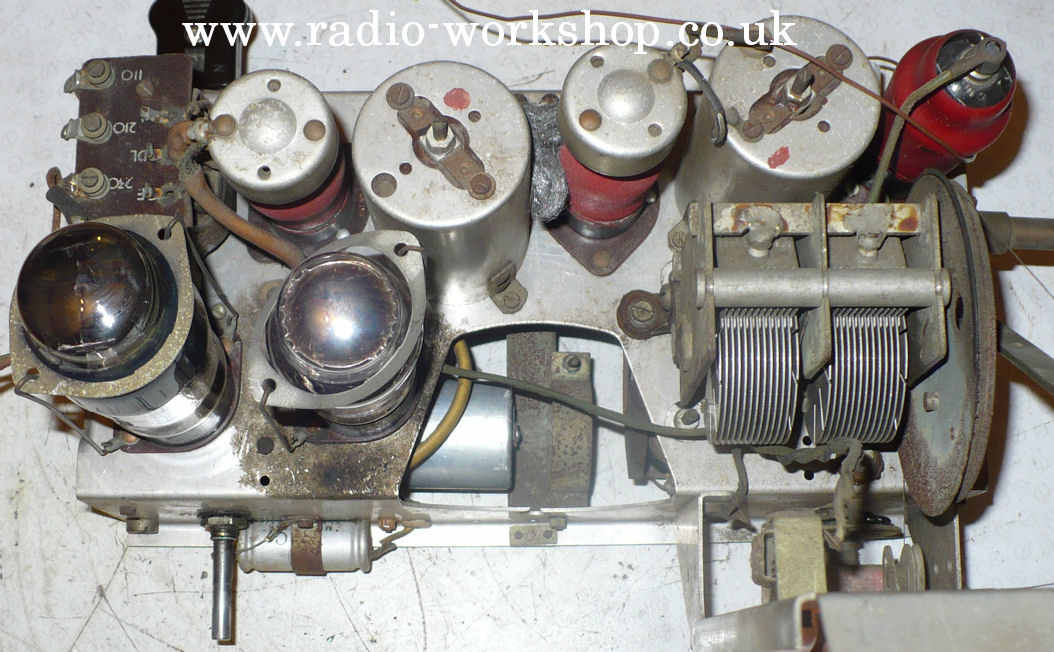
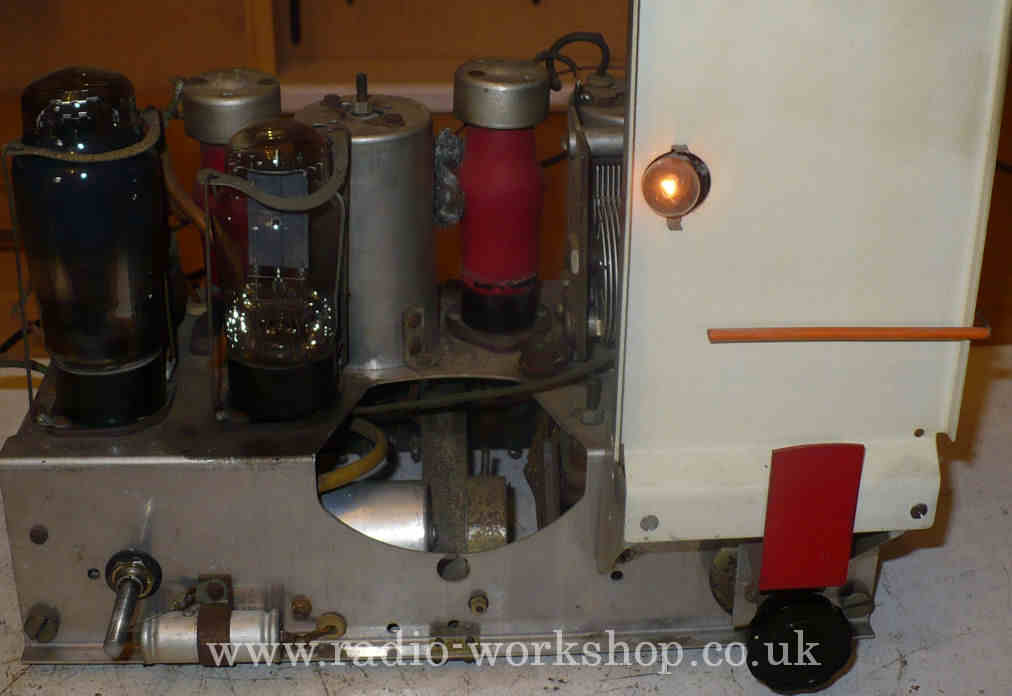
BUSH AC2
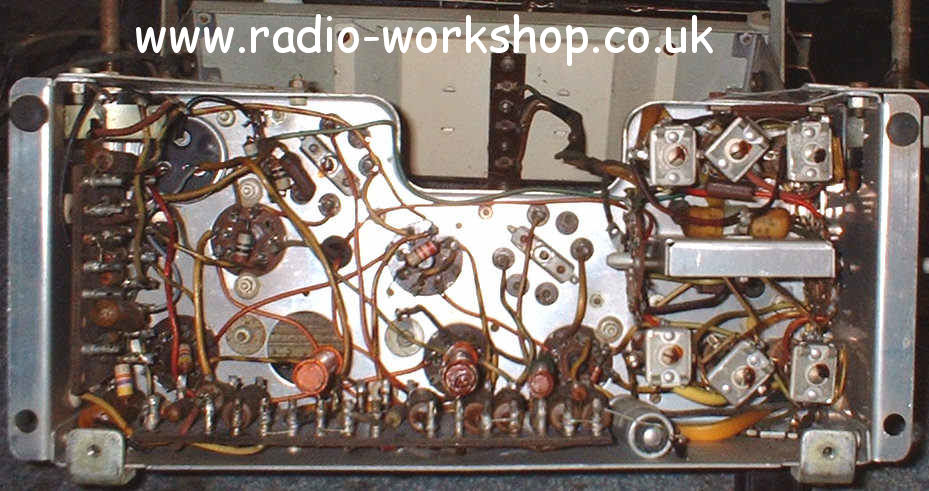
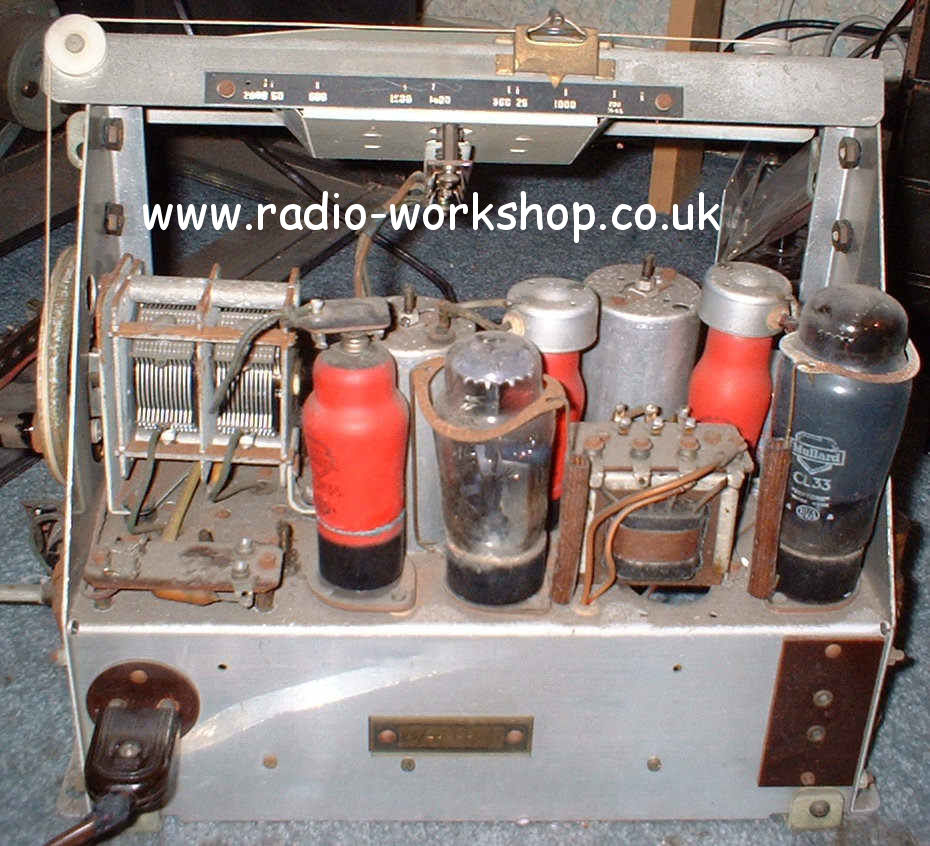
BUSH AC11
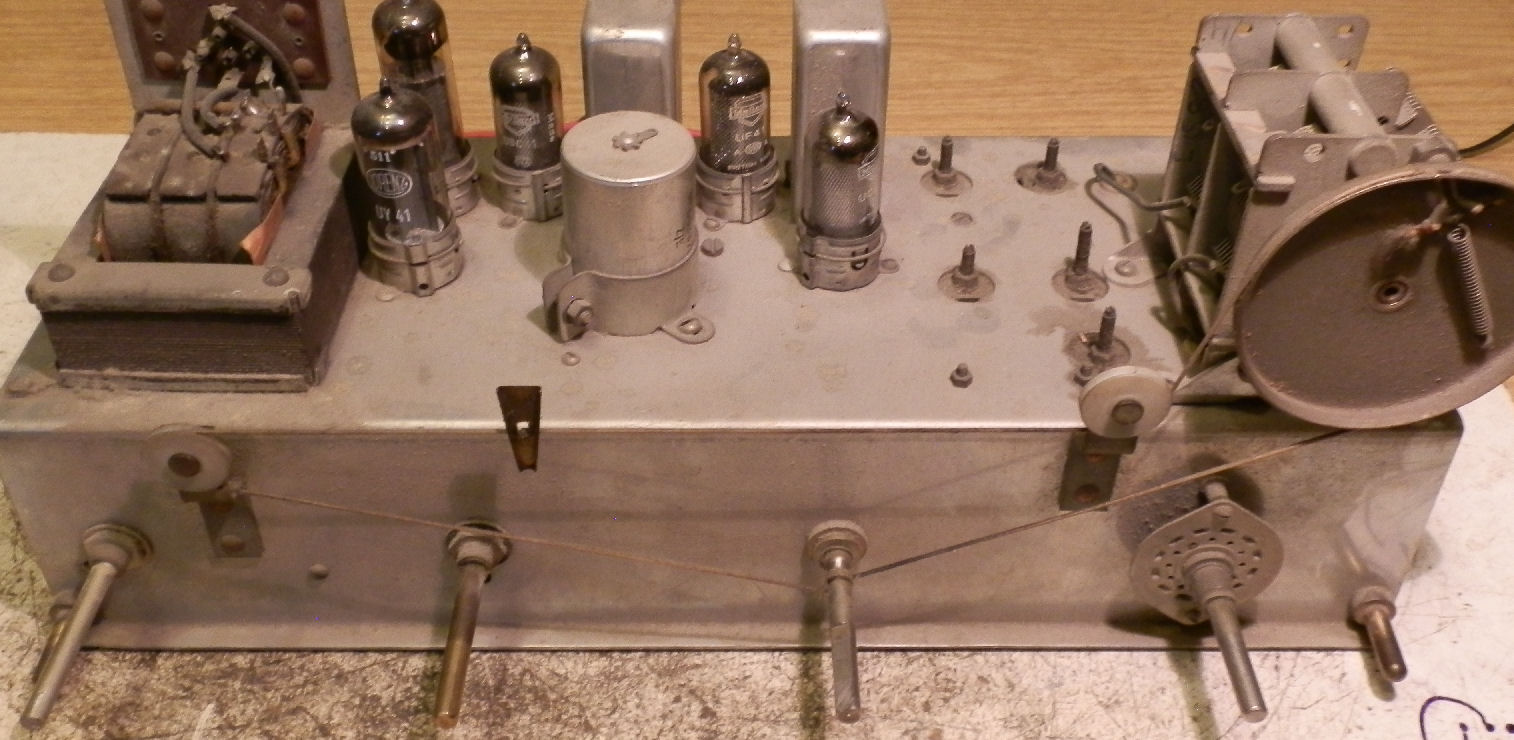
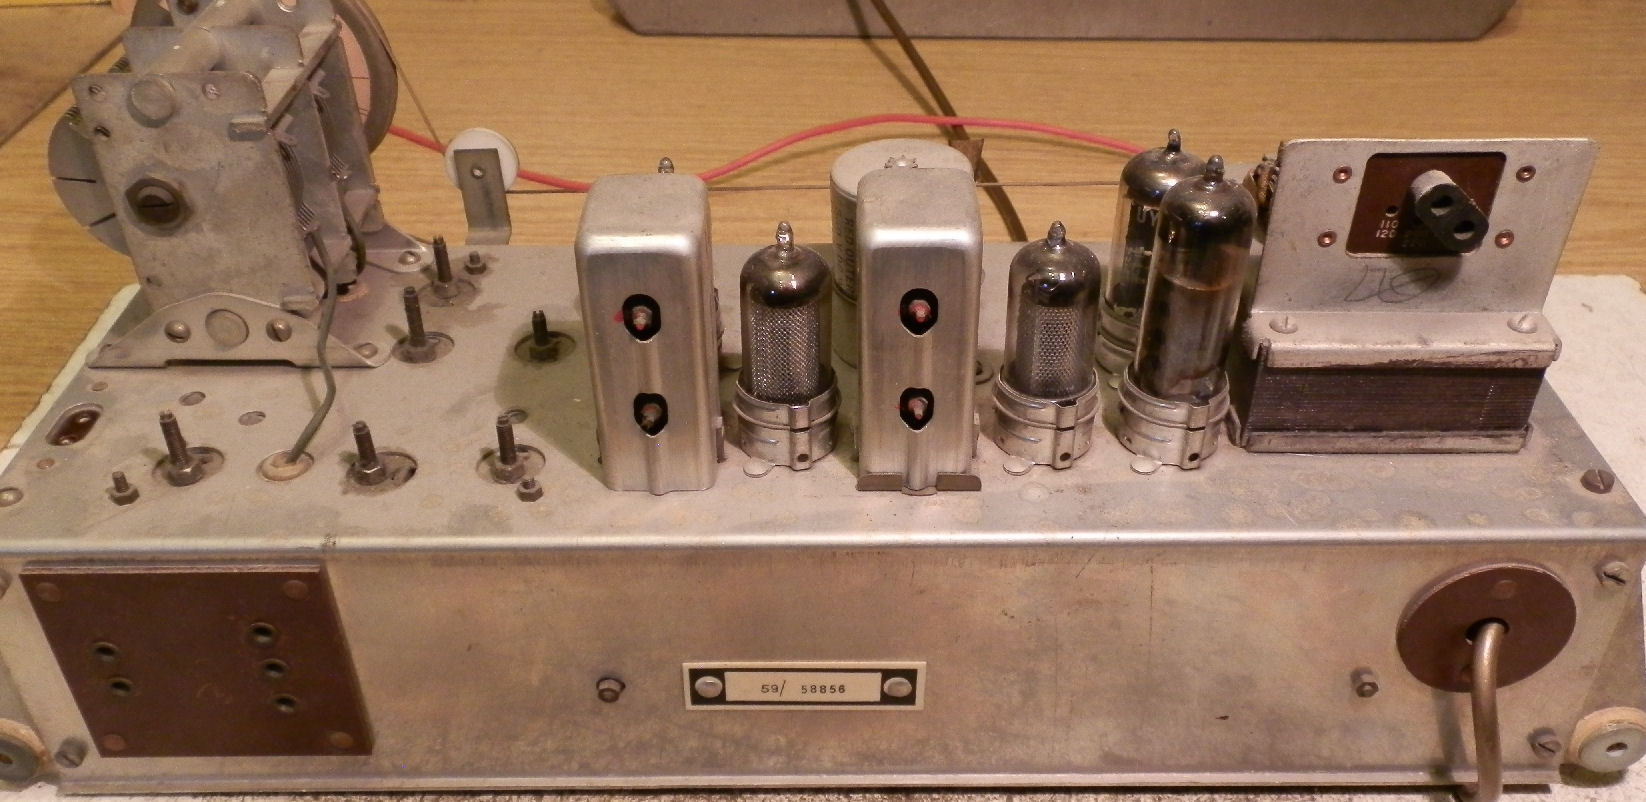
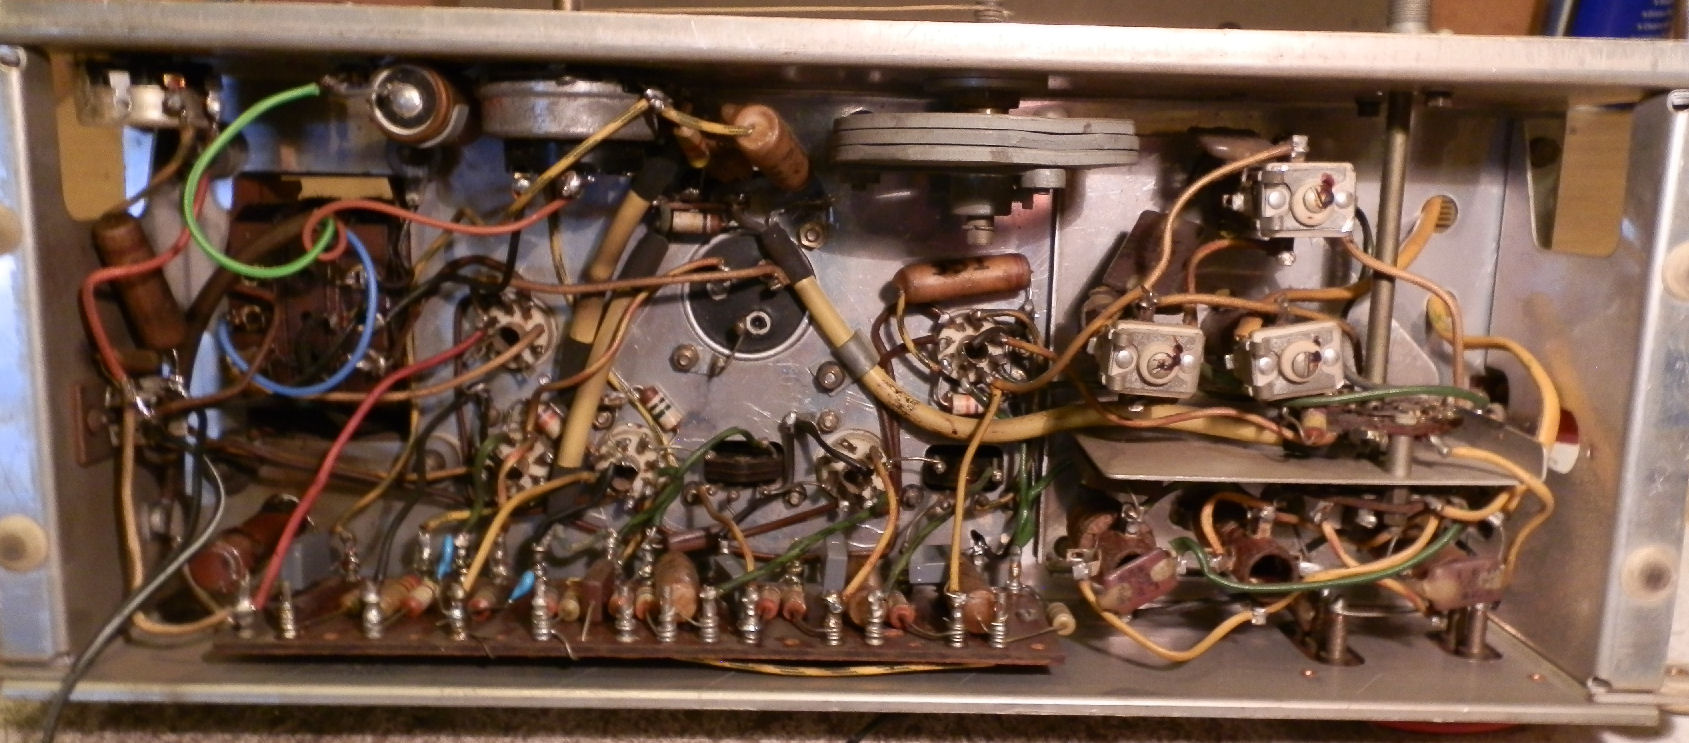
BUSH AC91
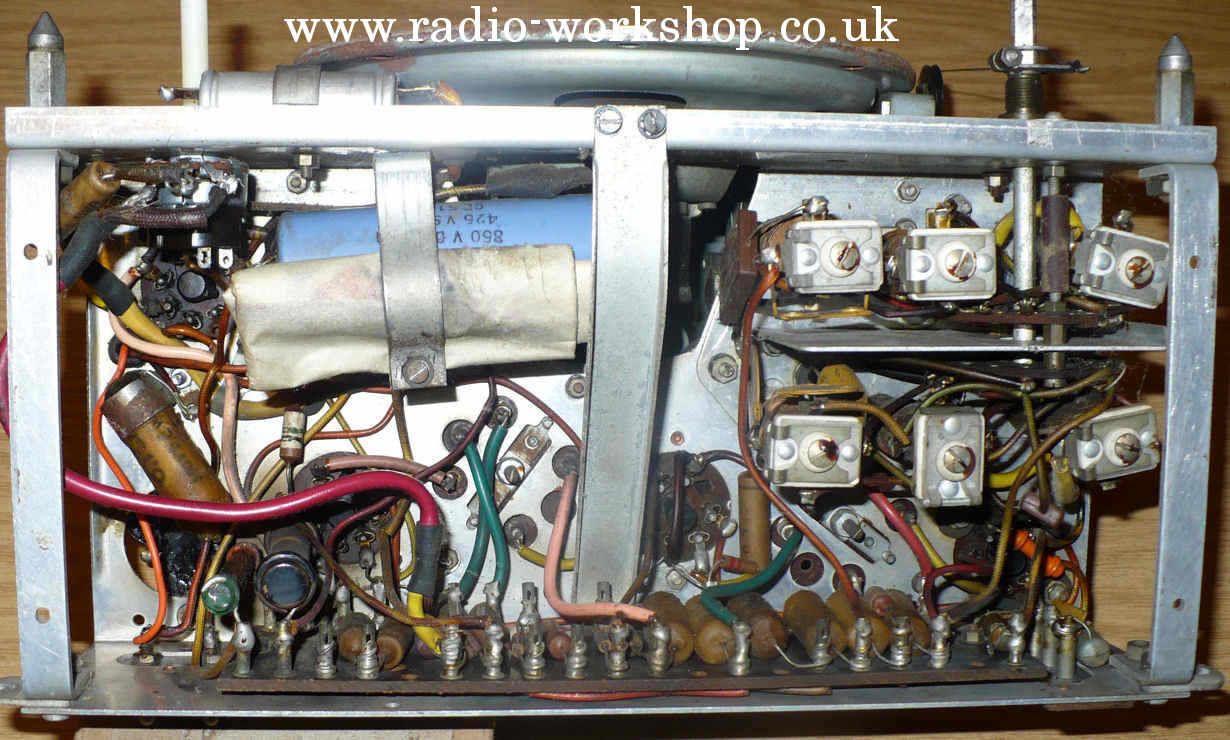
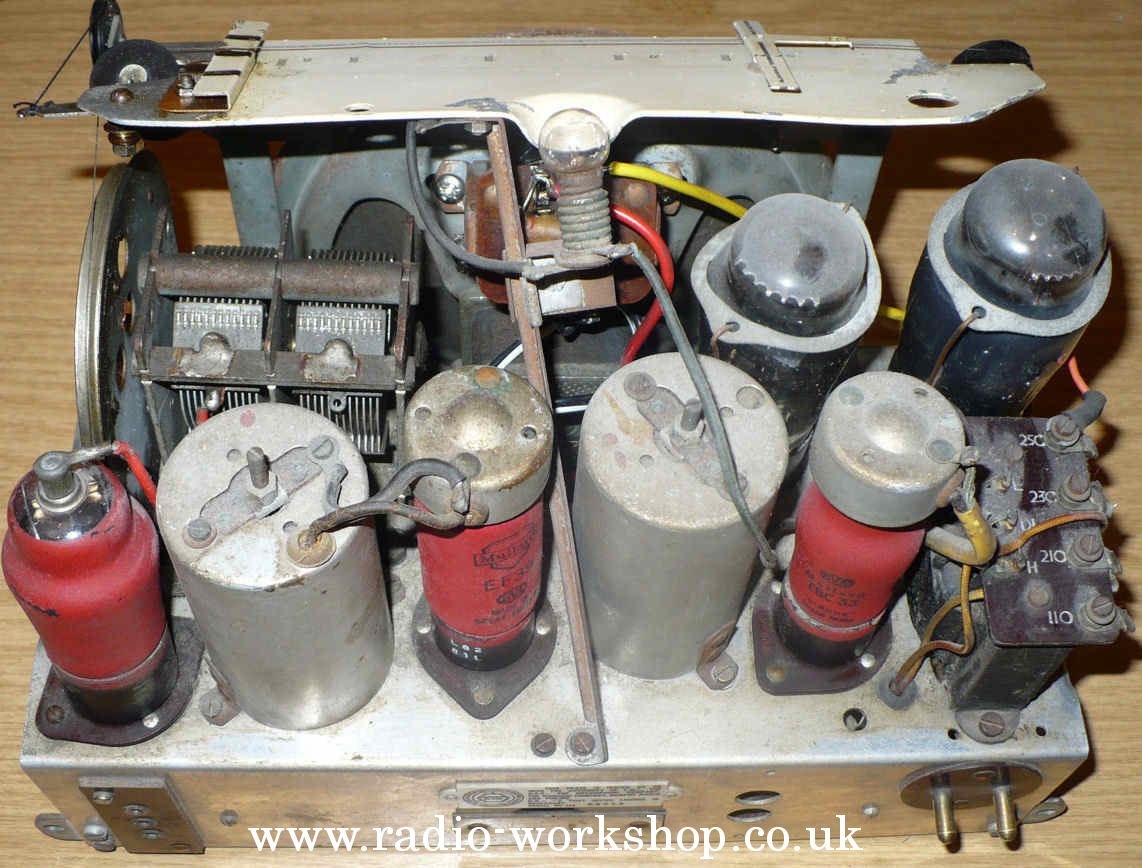
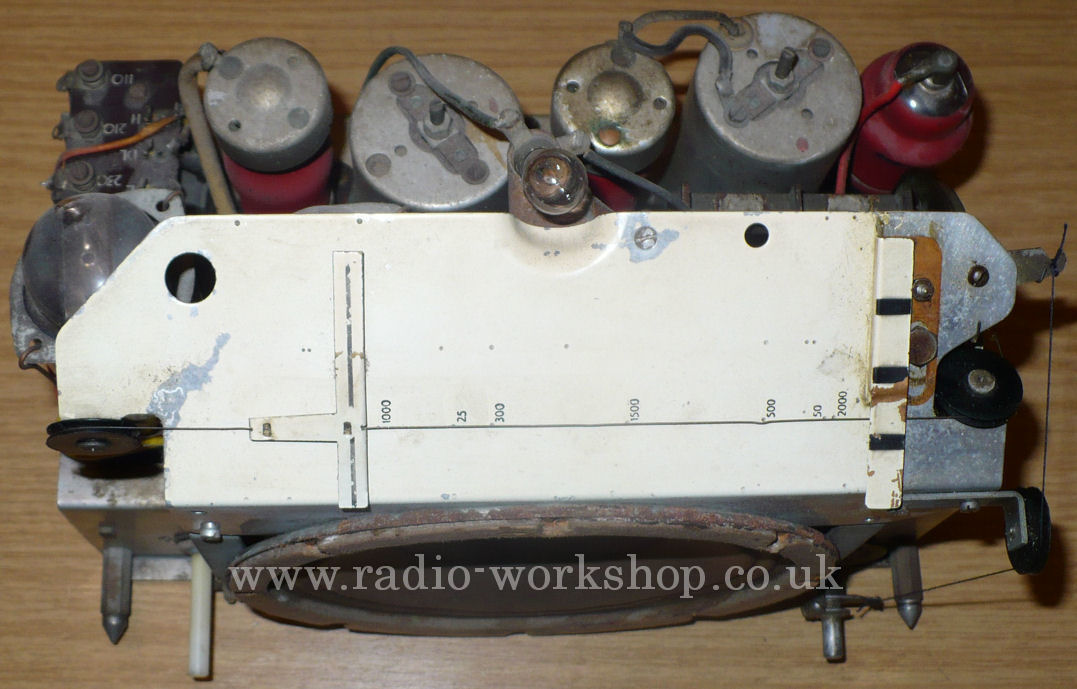
BUSH DAC10
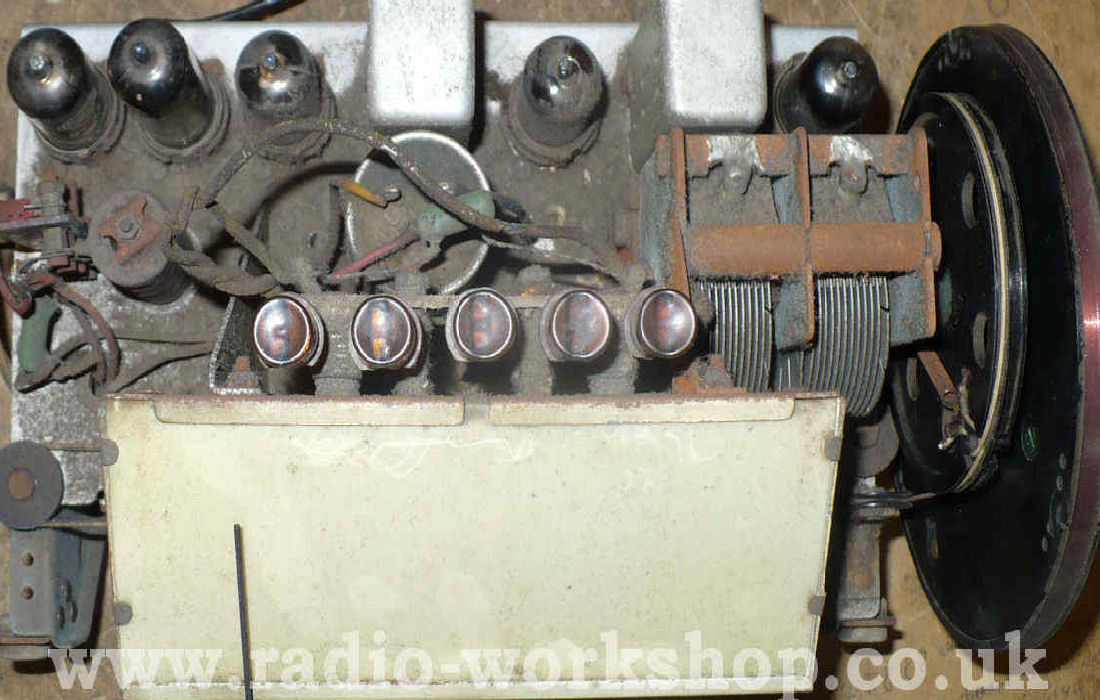
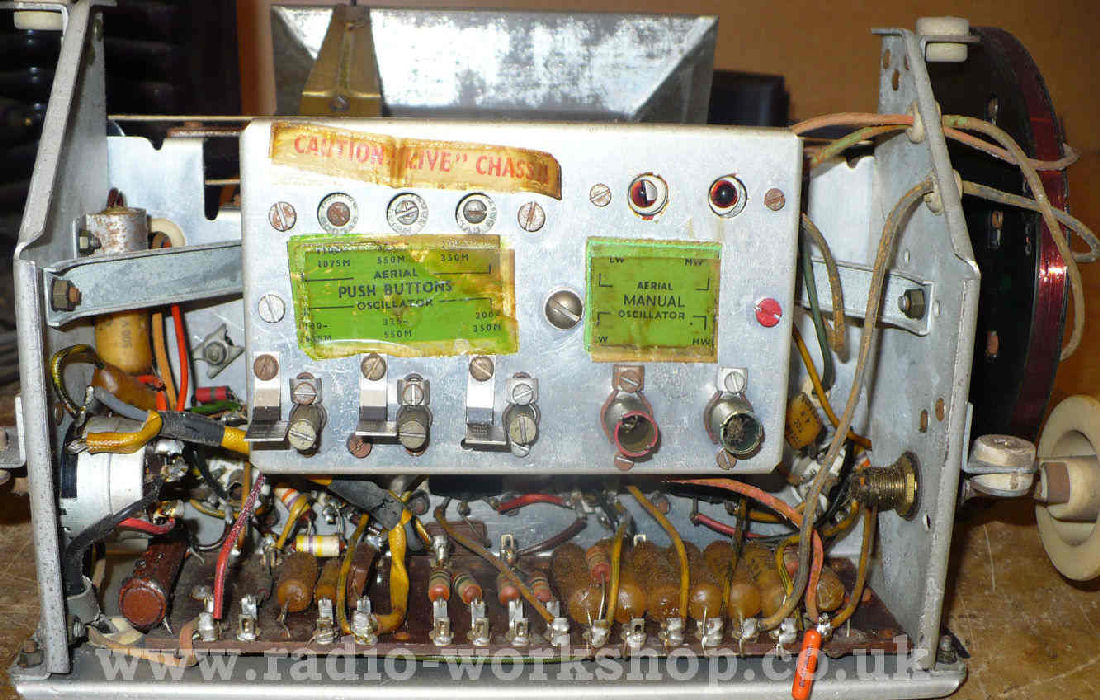
BUSH DAC90
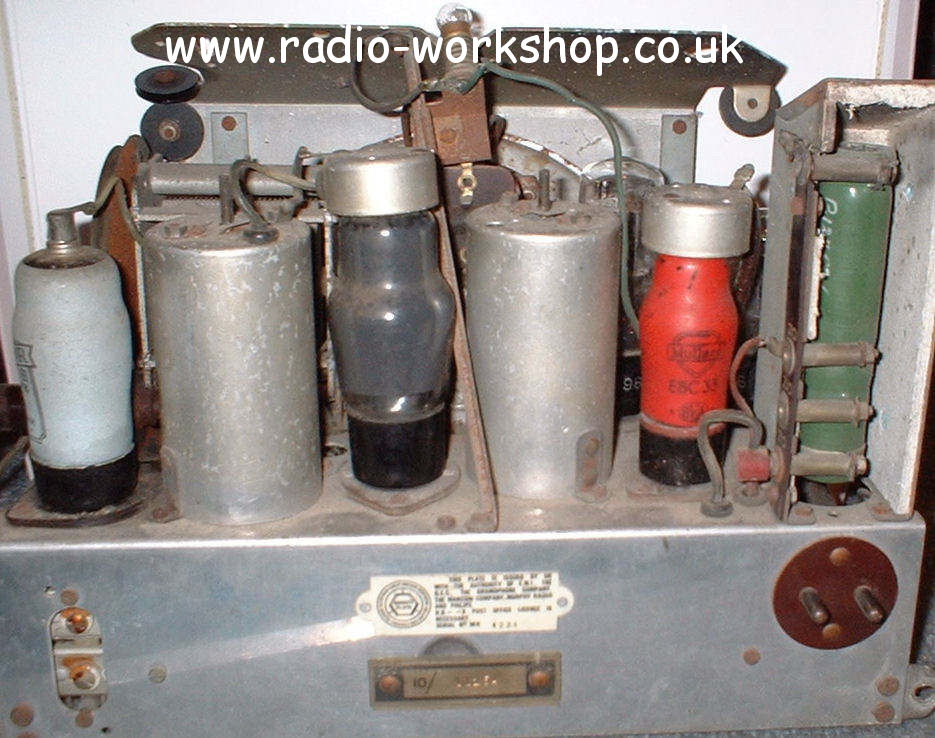
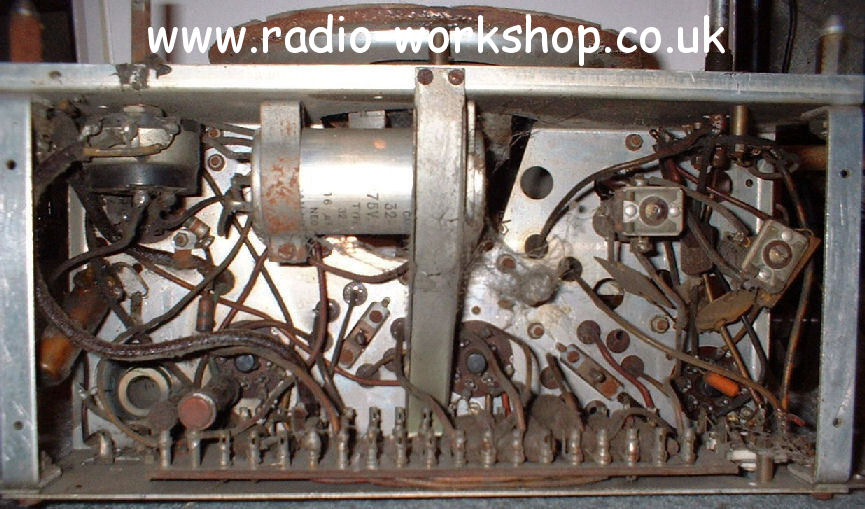
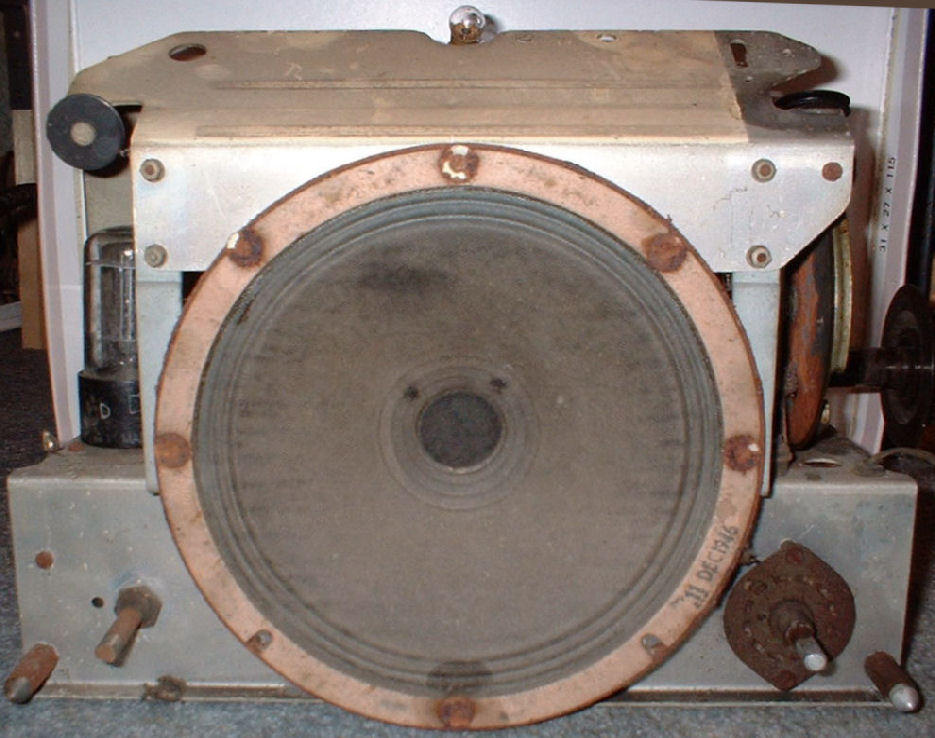
BUSH DAC90A
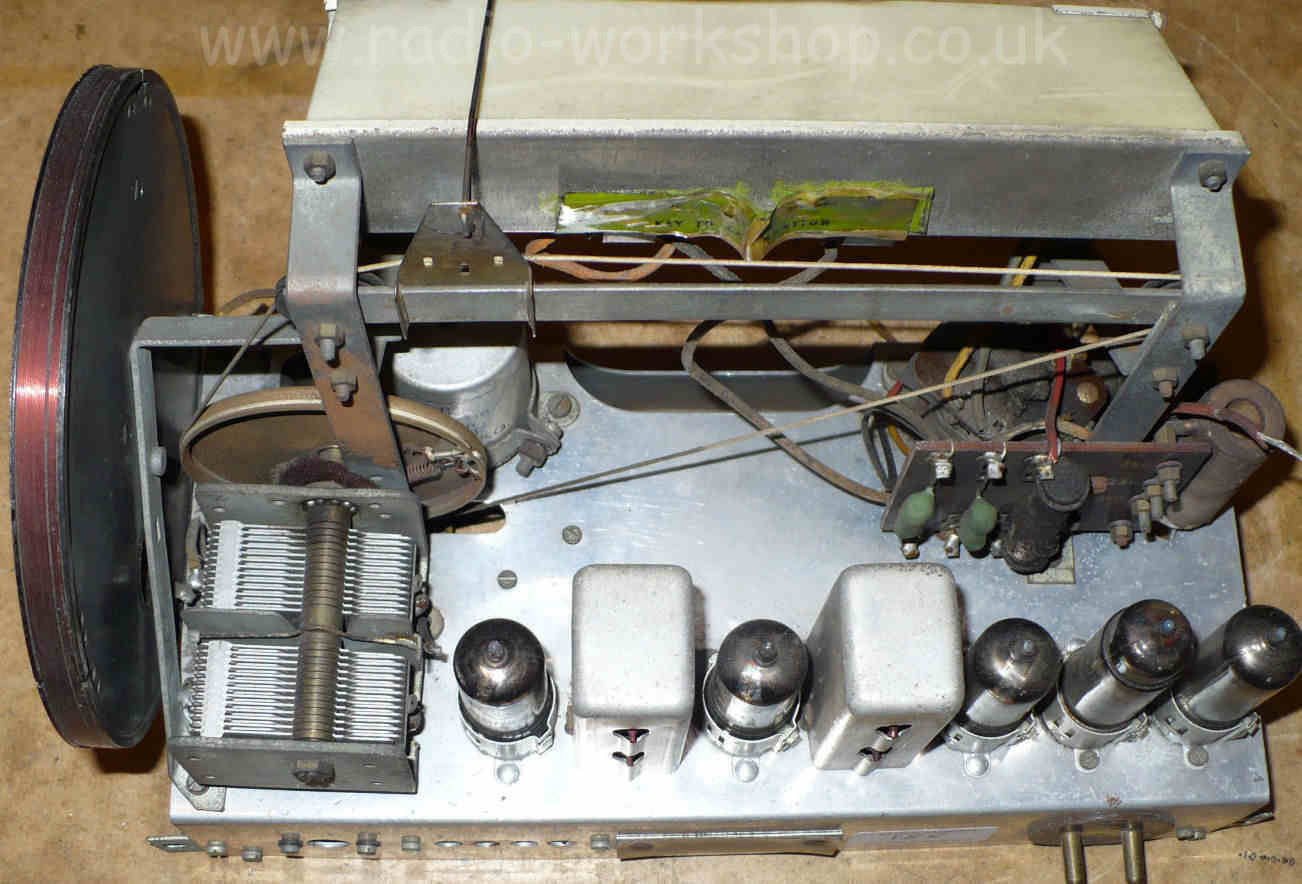
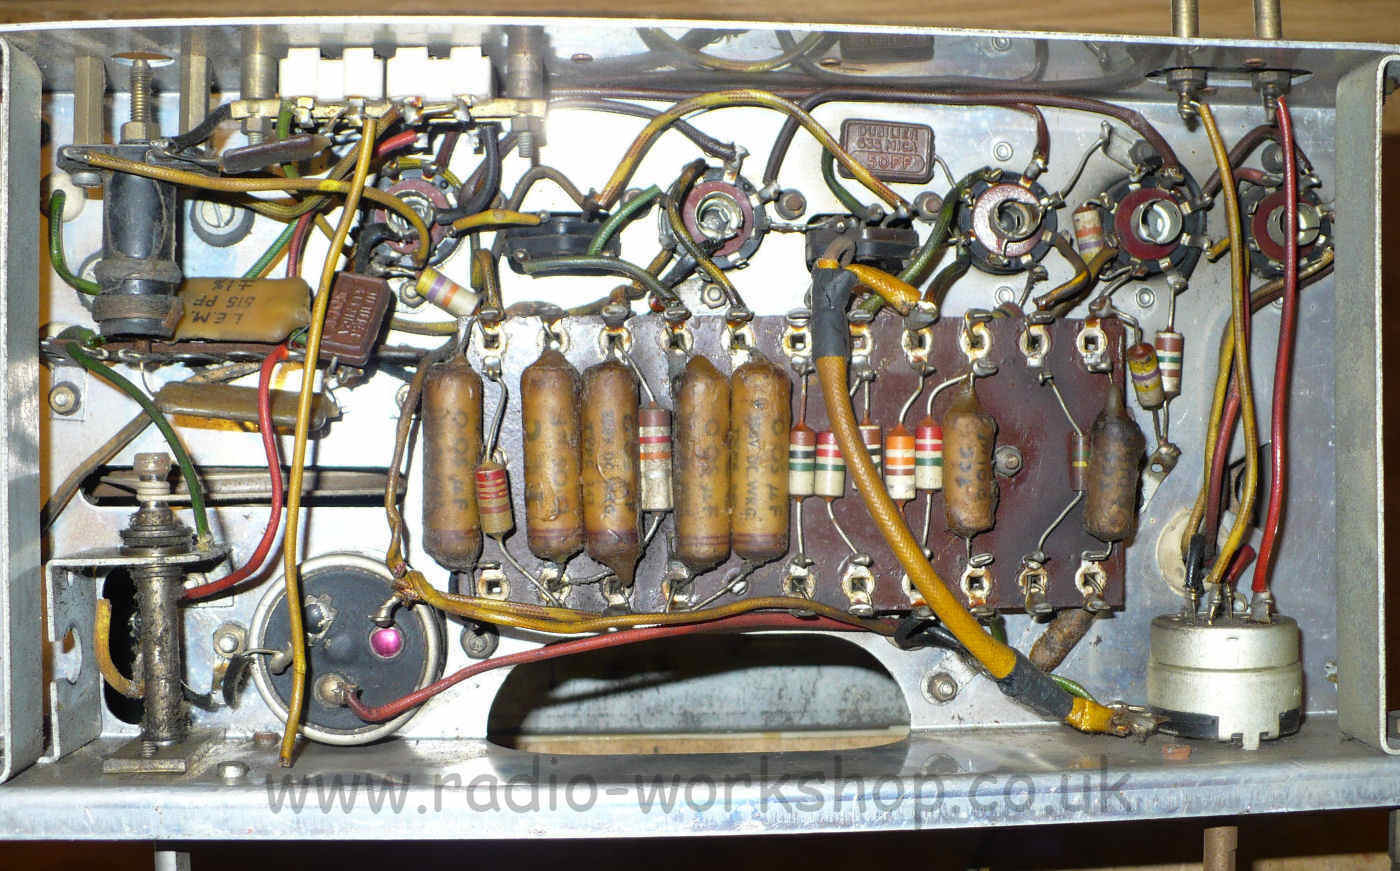
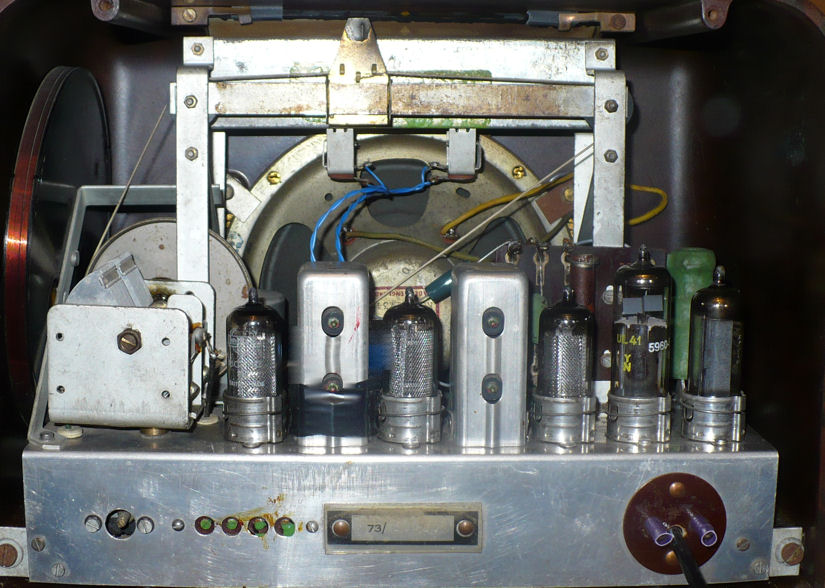
BUSH DAC90A EXPORT
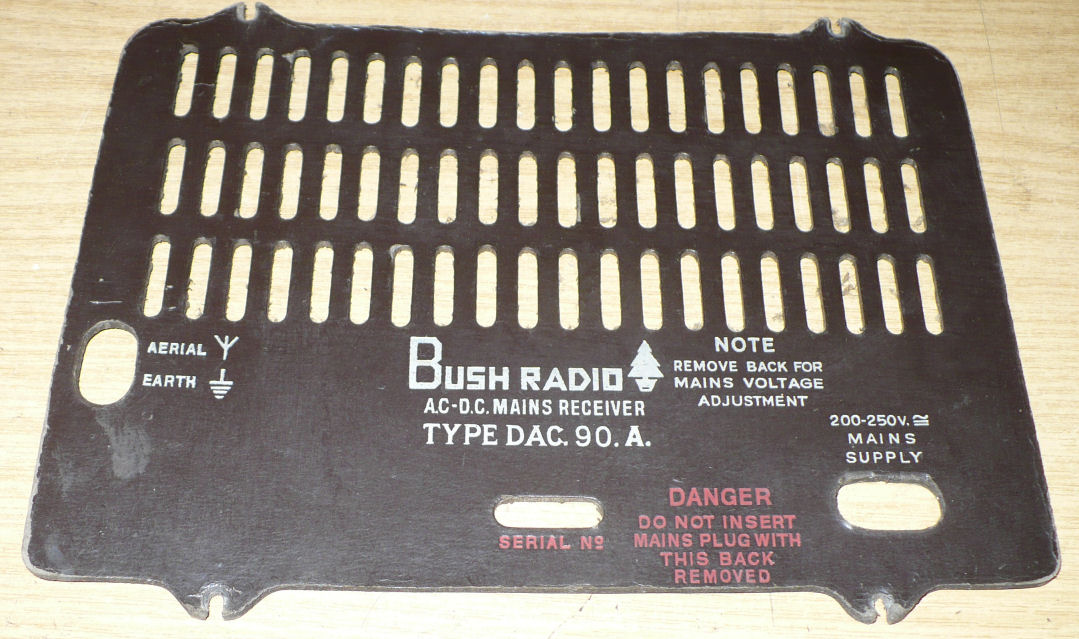
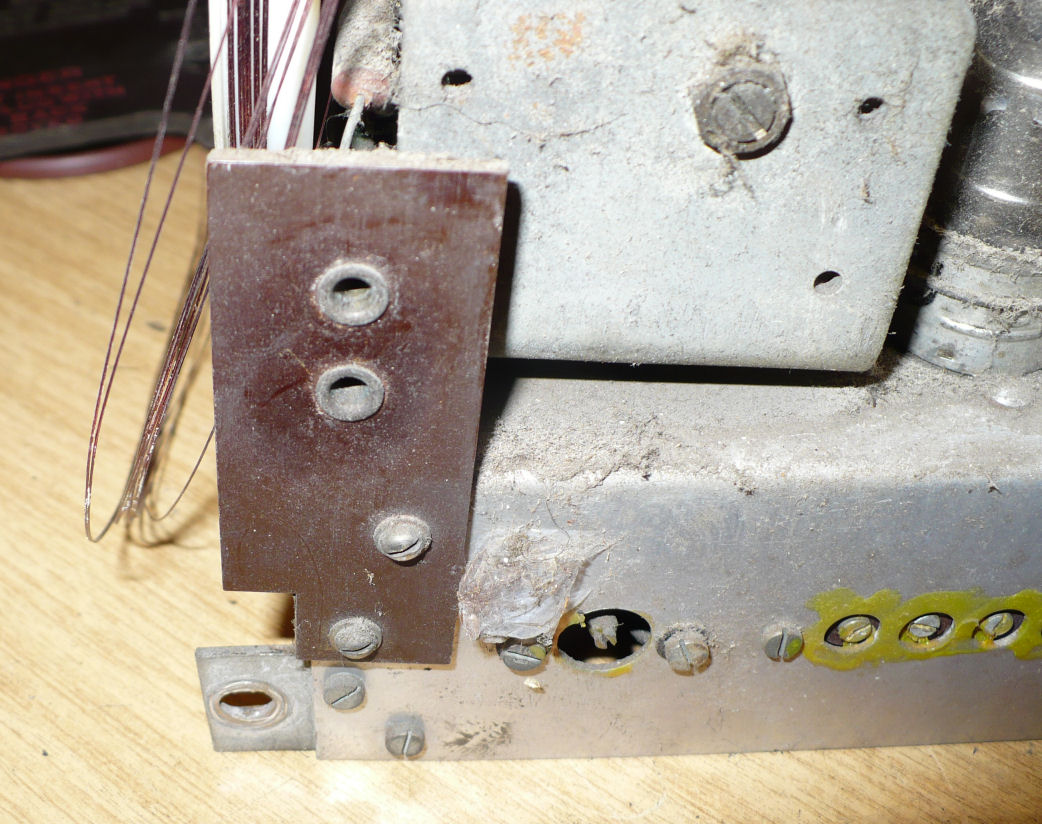
BUSH EBS31
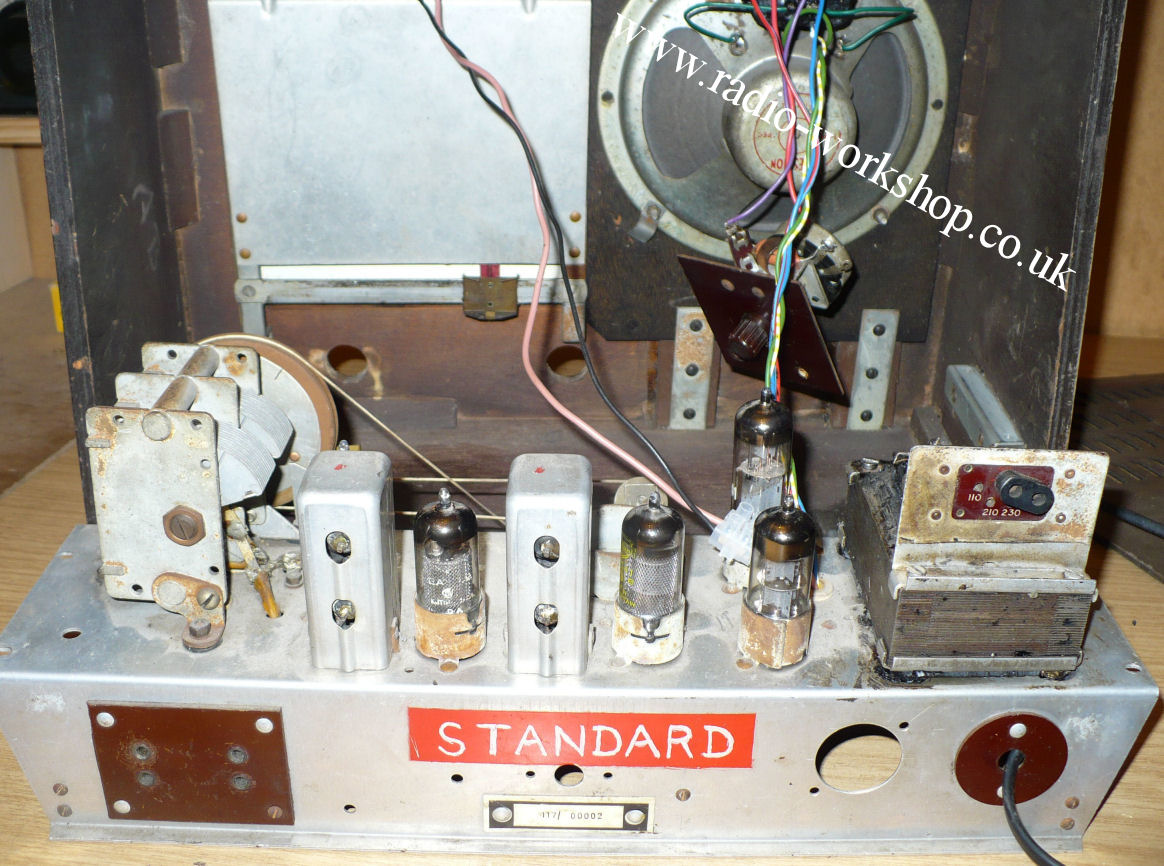
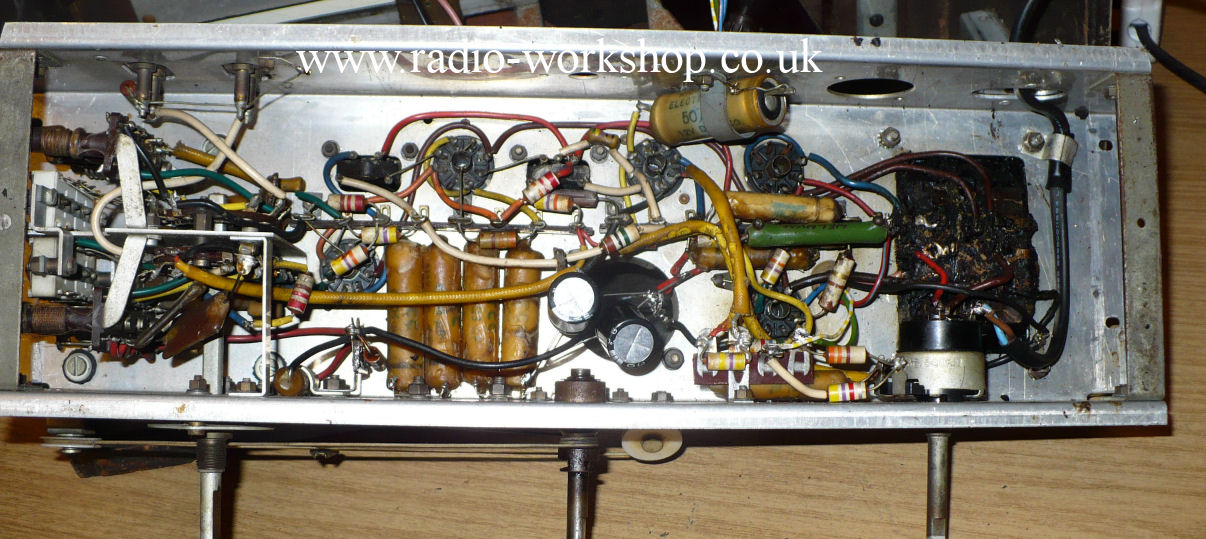
DECCA AW6
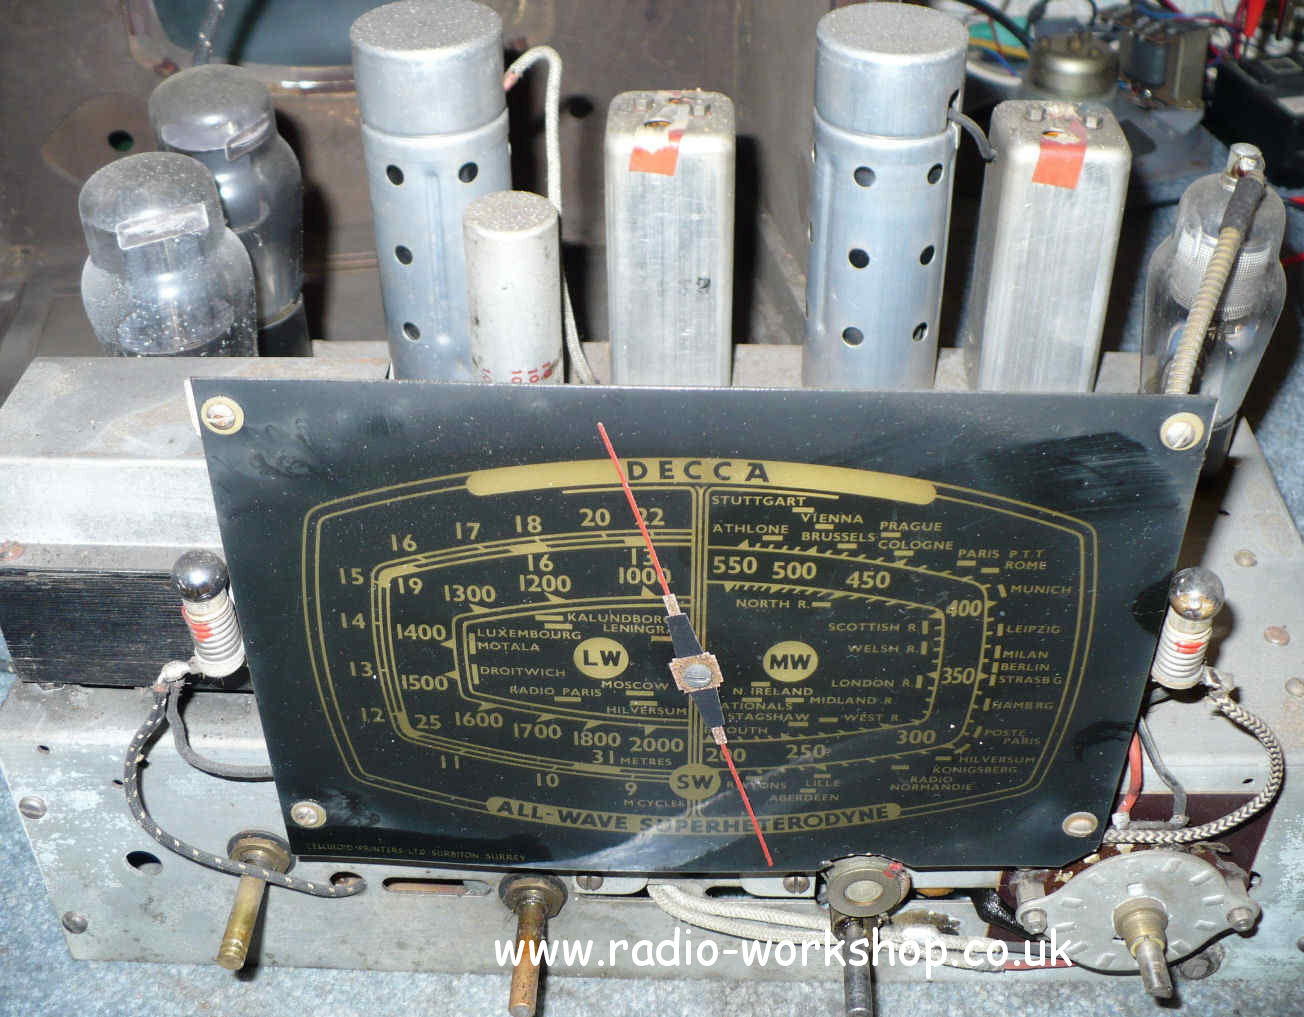
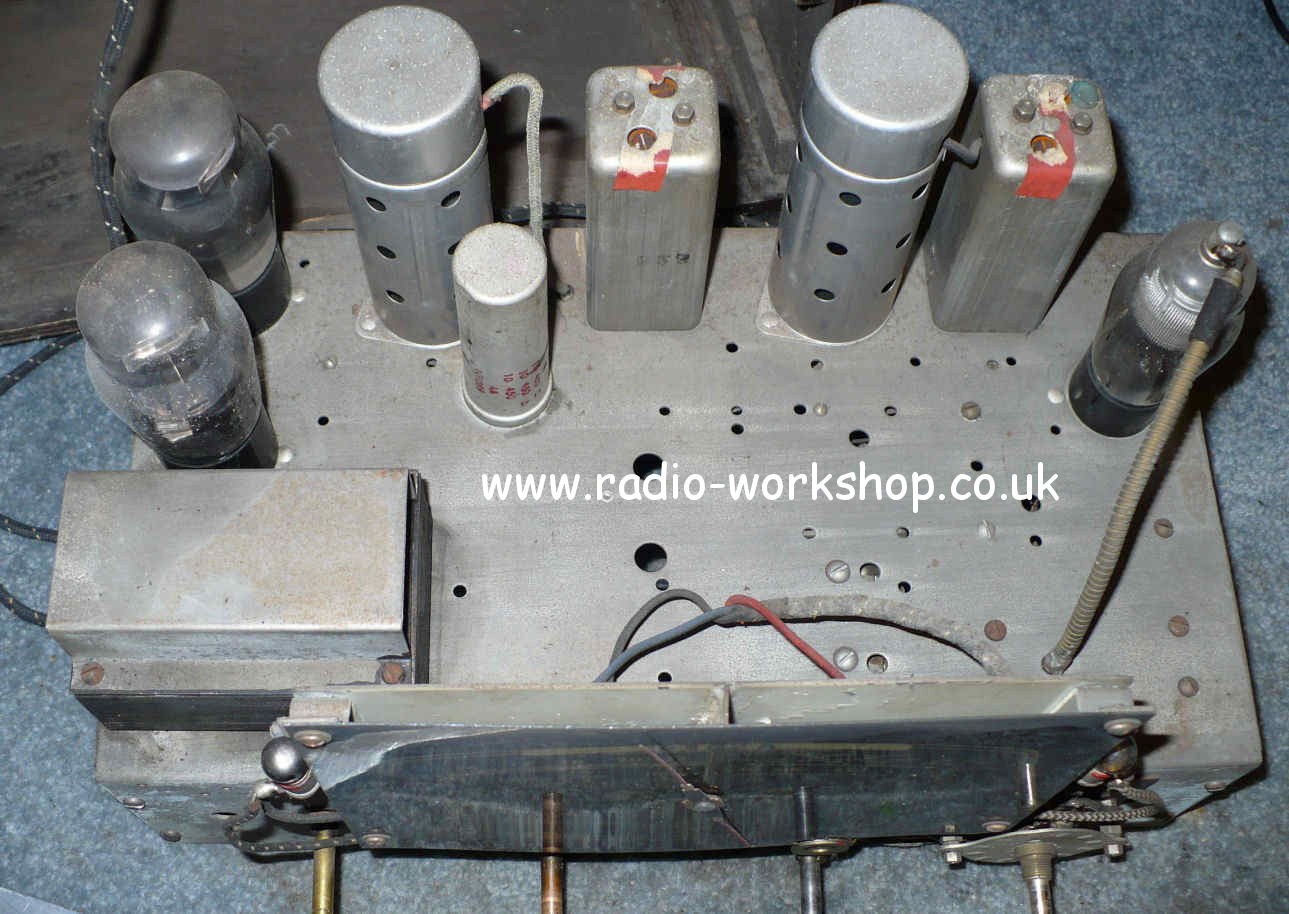
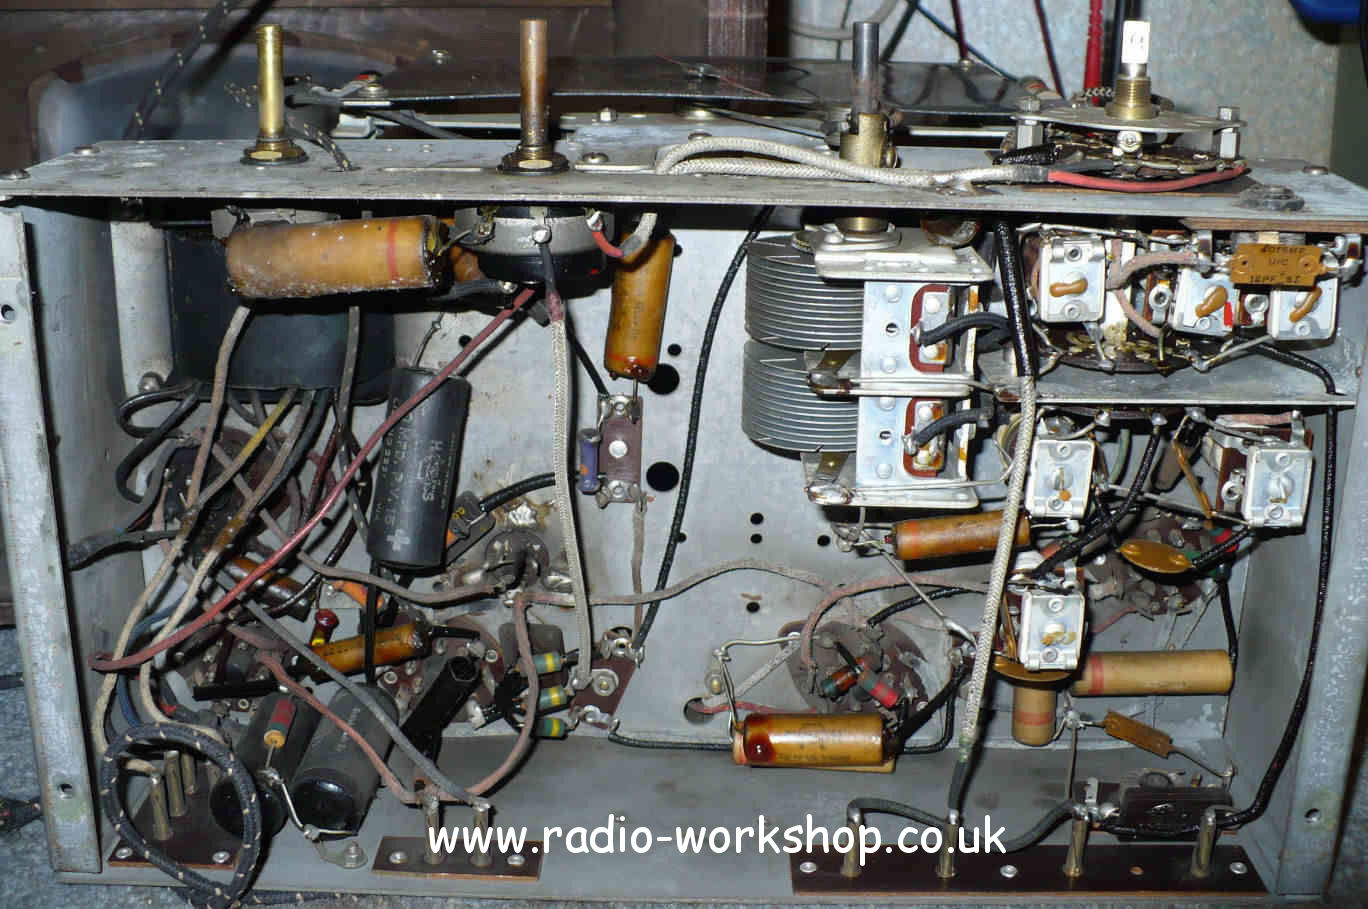
DERWENT JUNIOR
EKCO A110
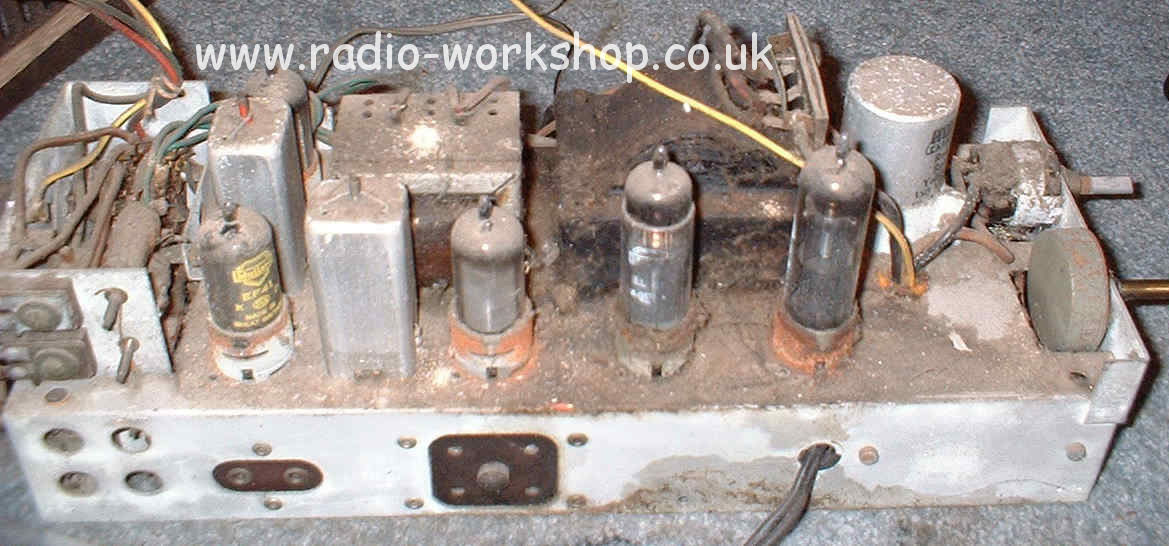
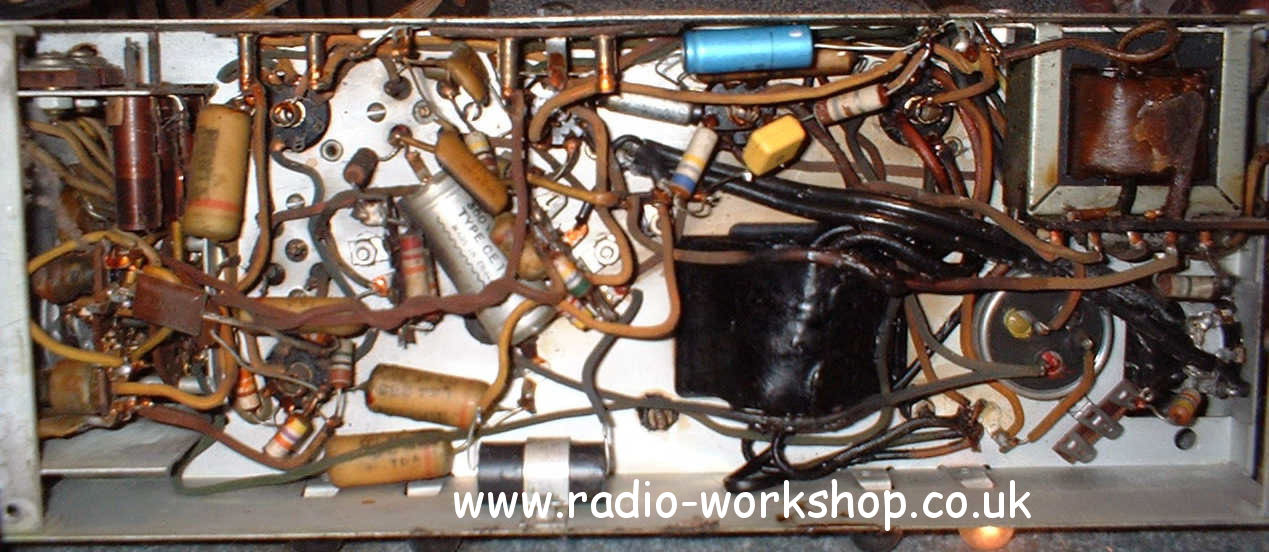
EKCO U143
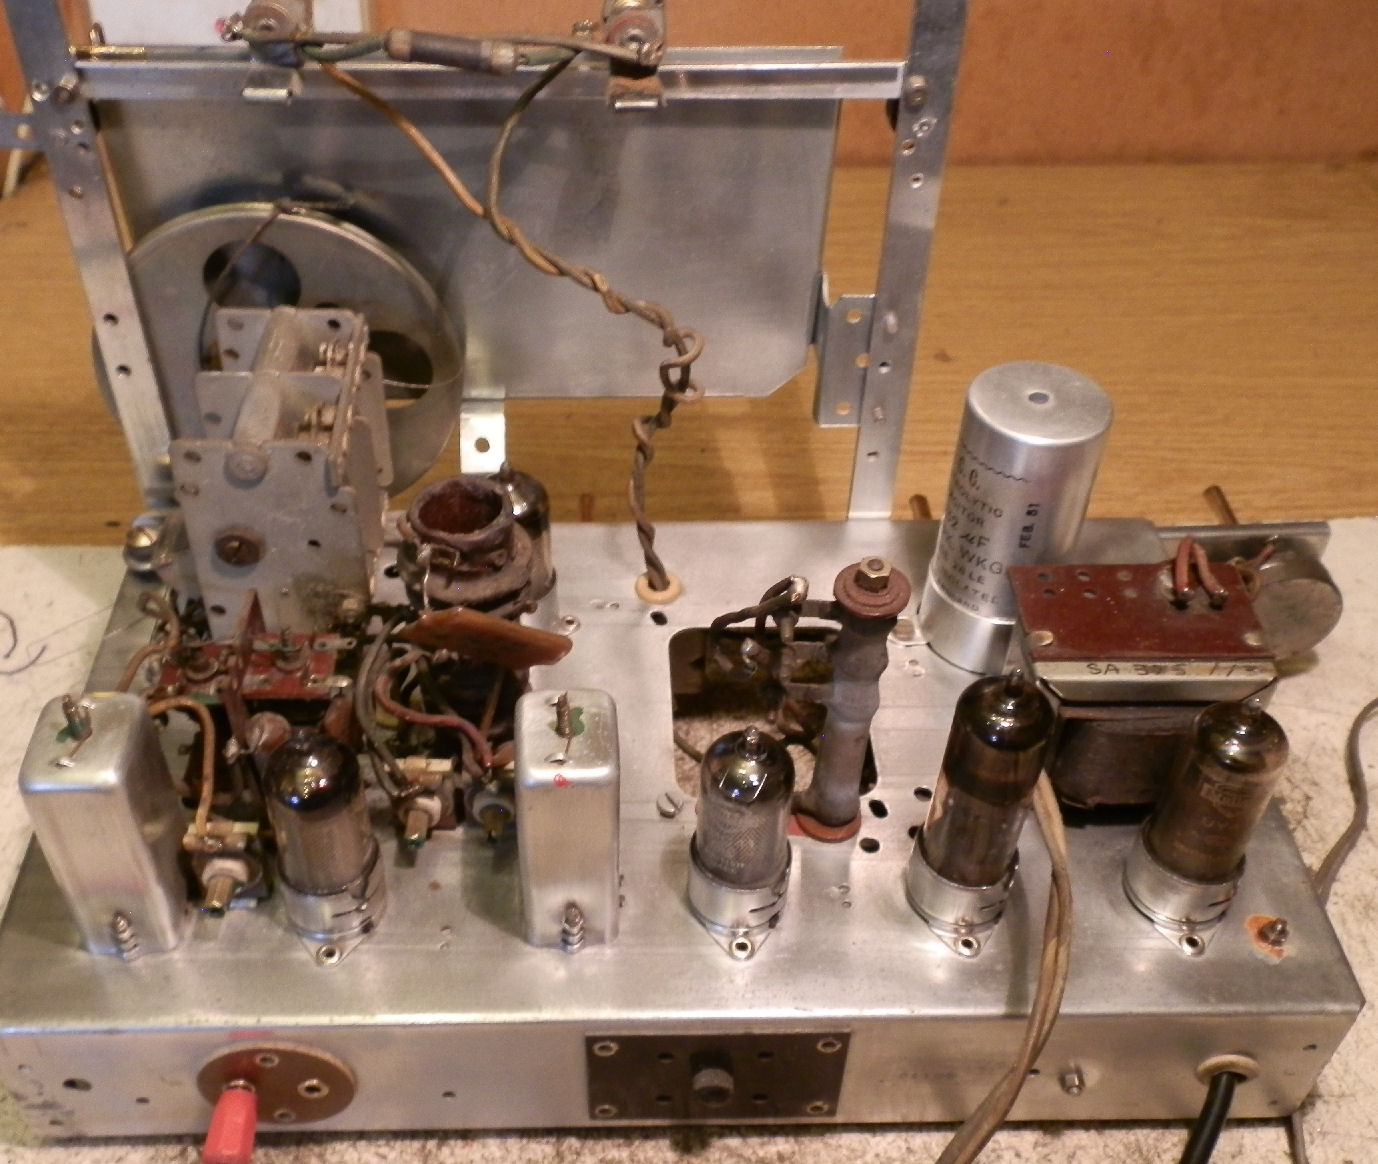
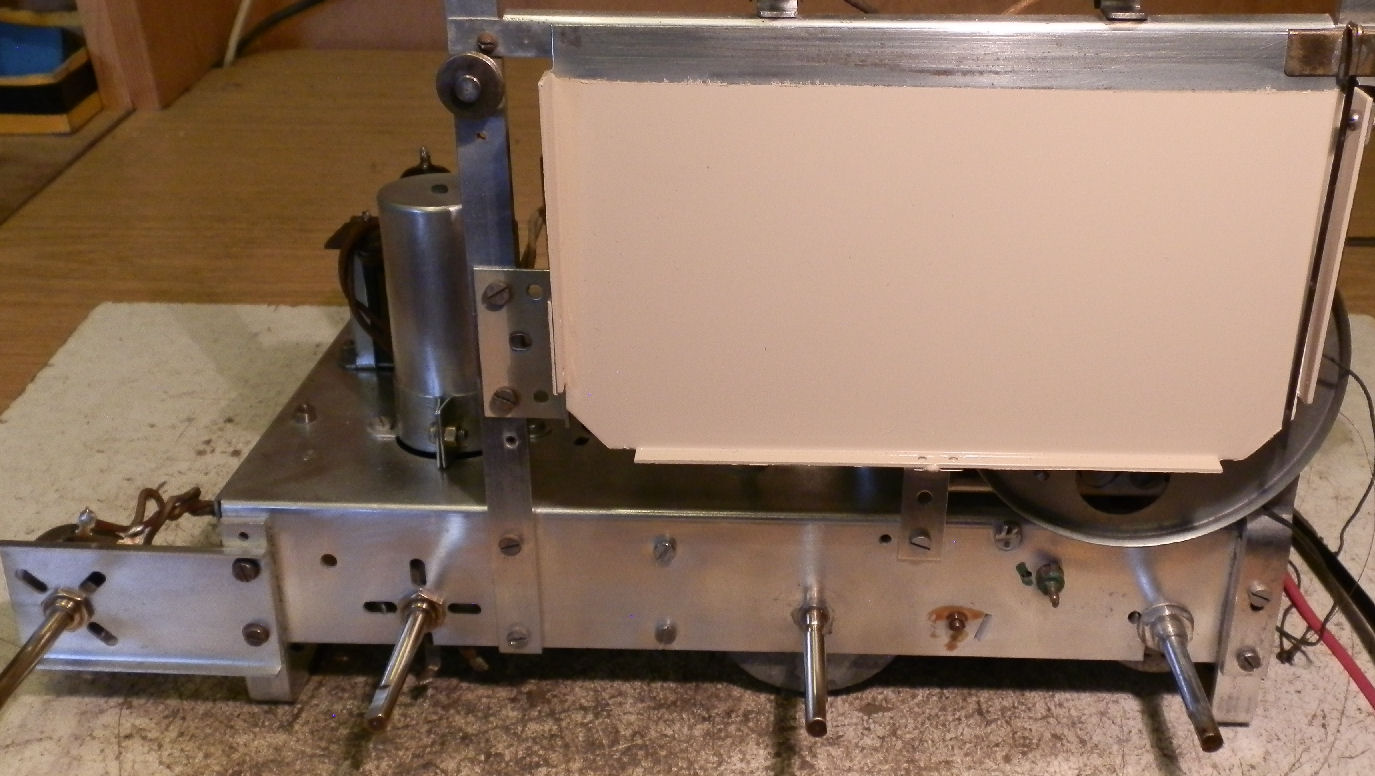
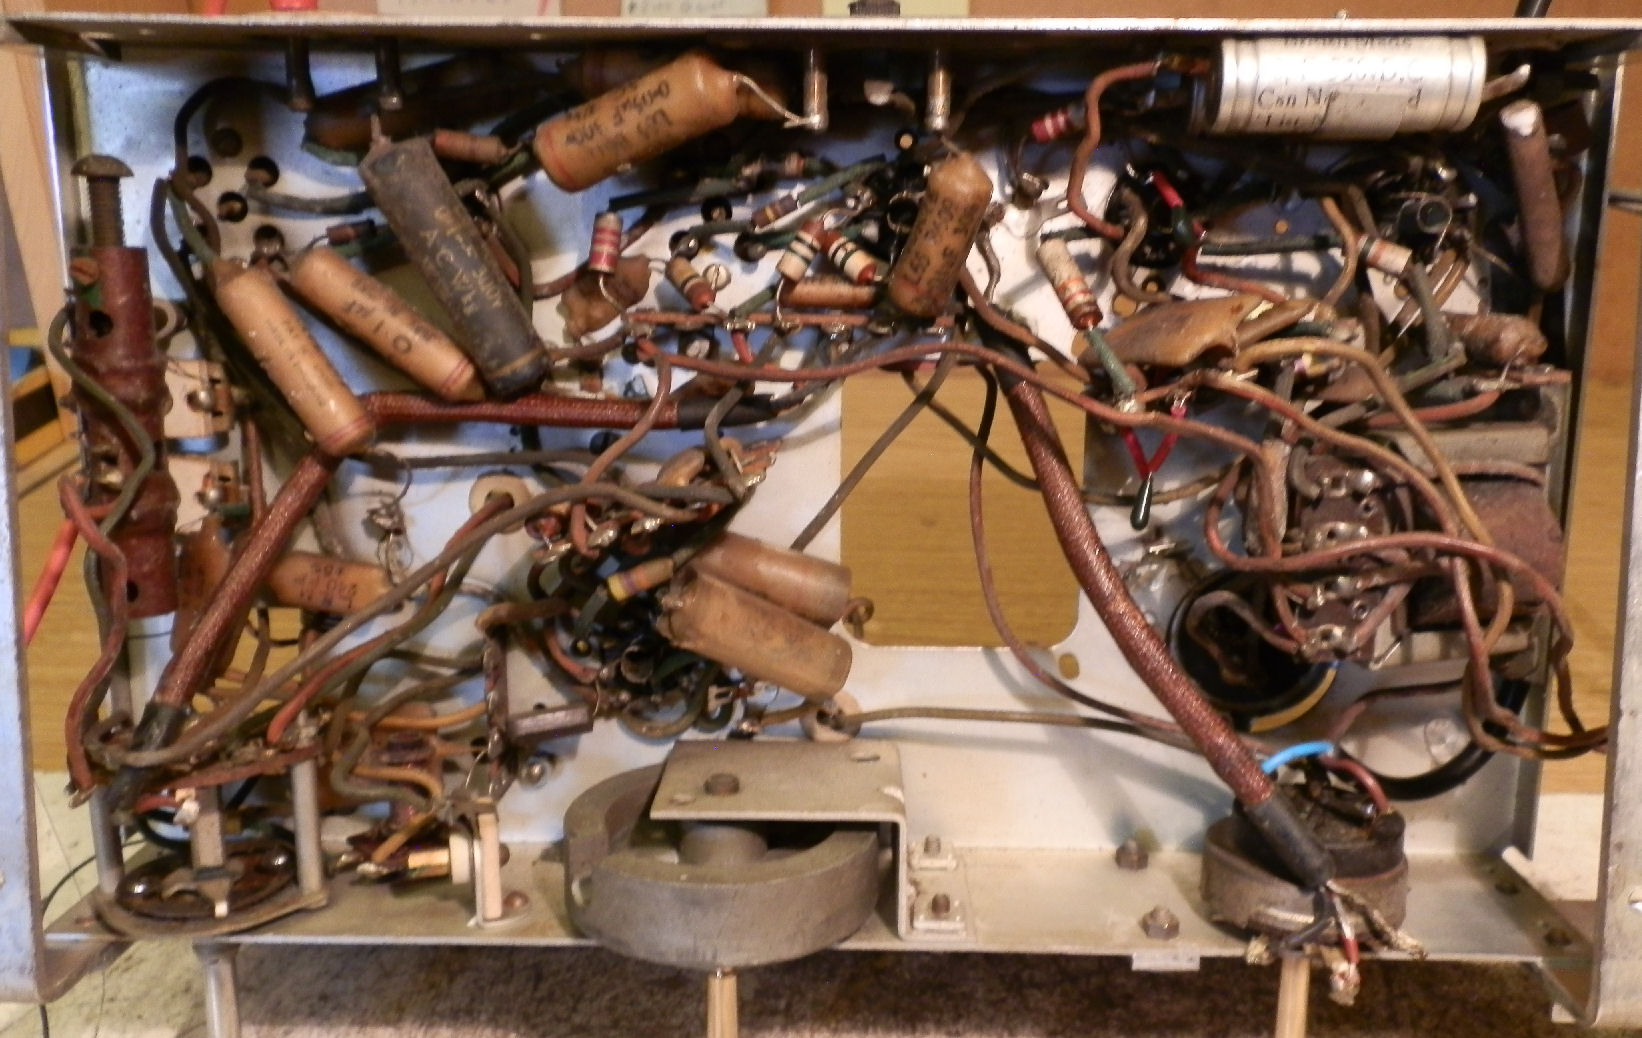
FERGUSON 391T RG
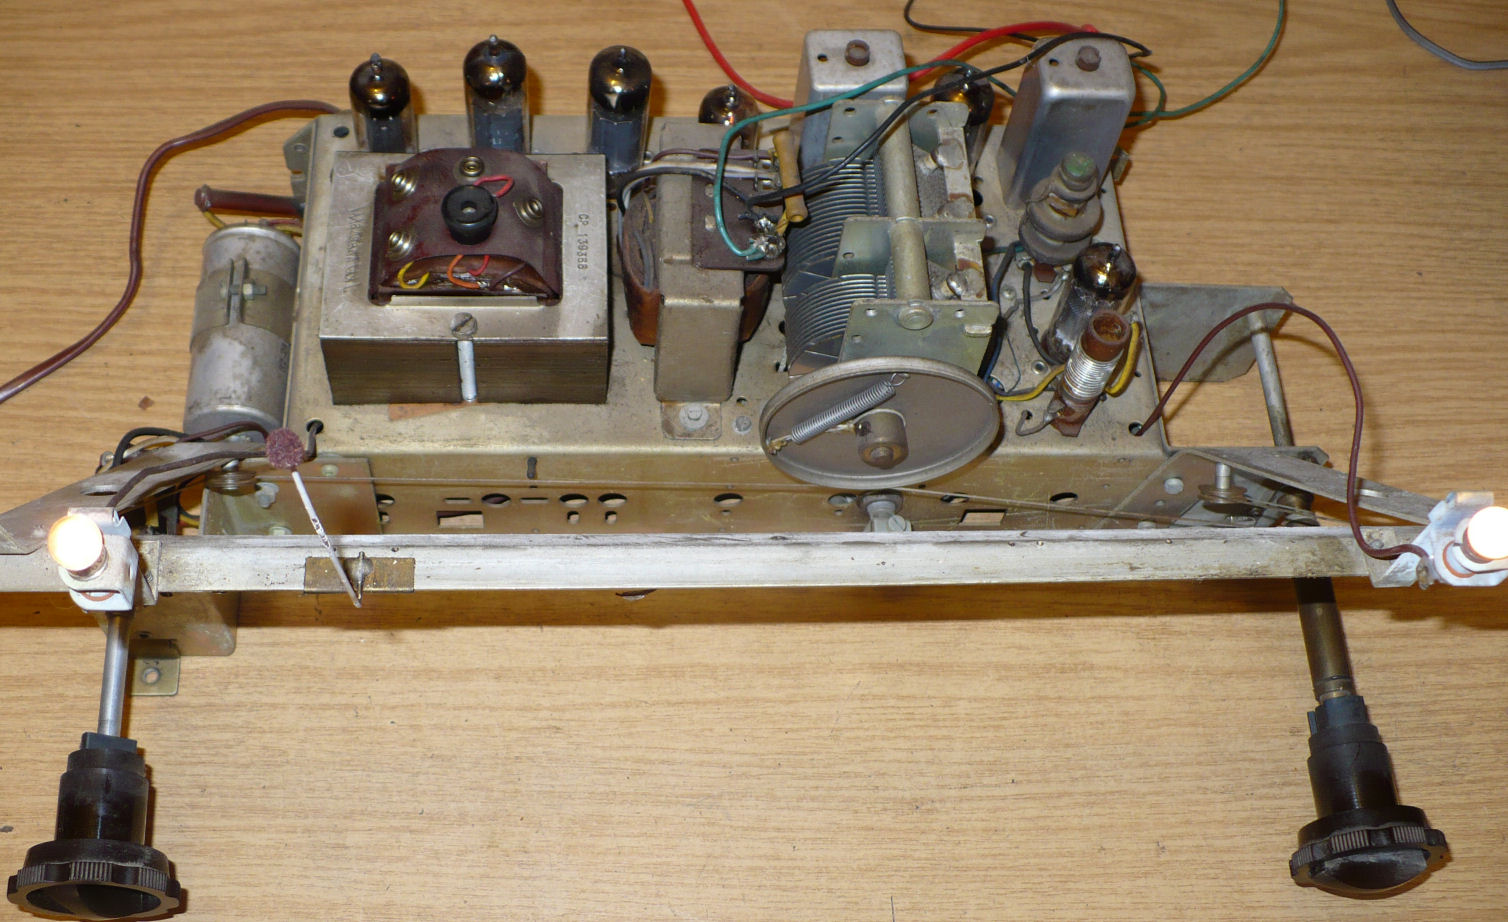
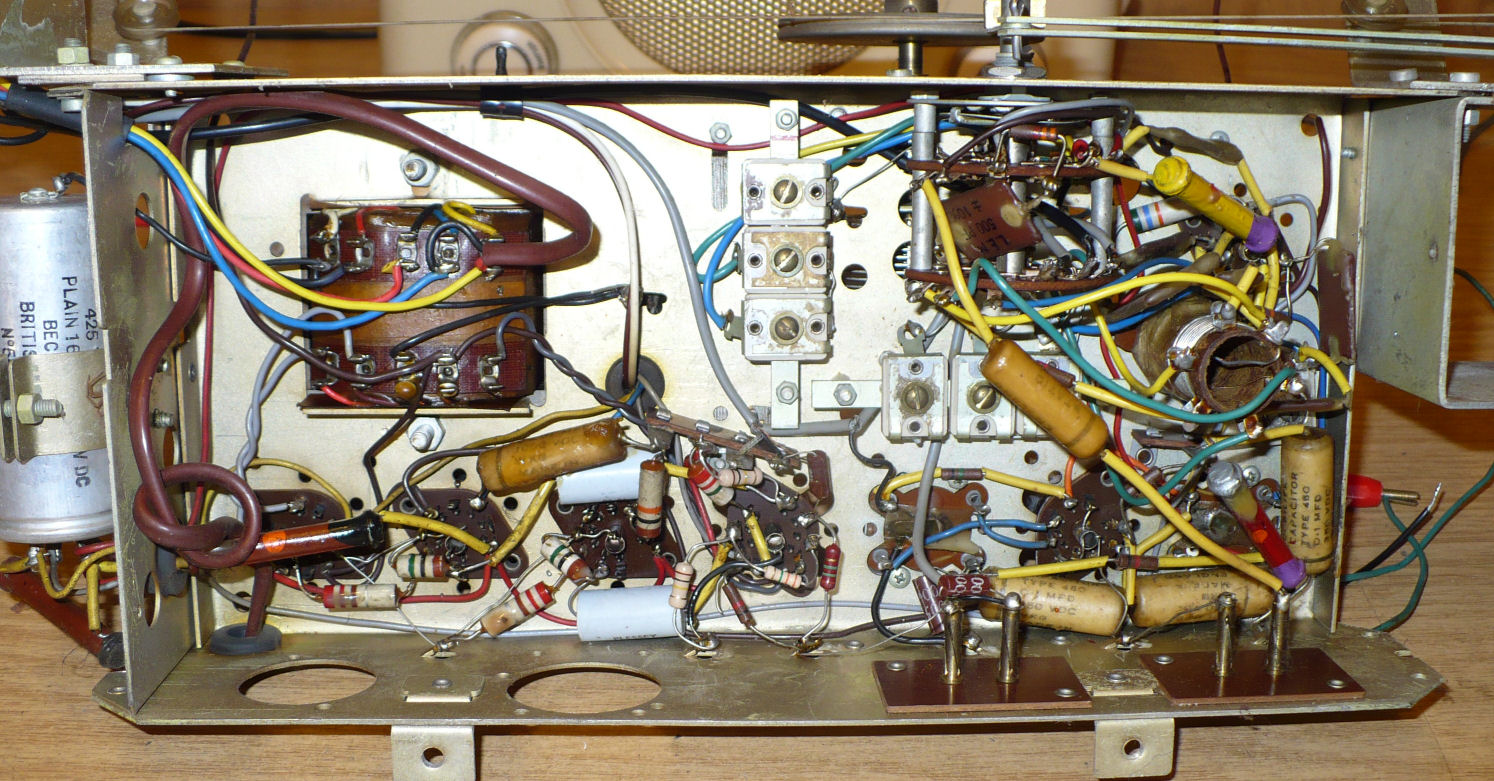
FERGUSON 454
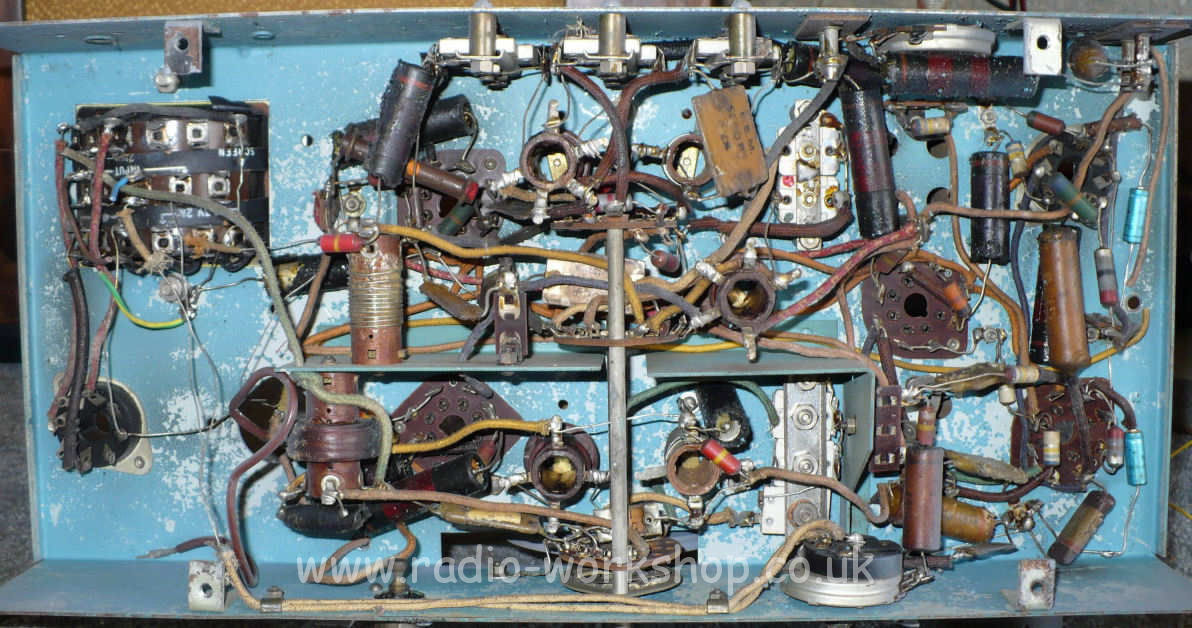
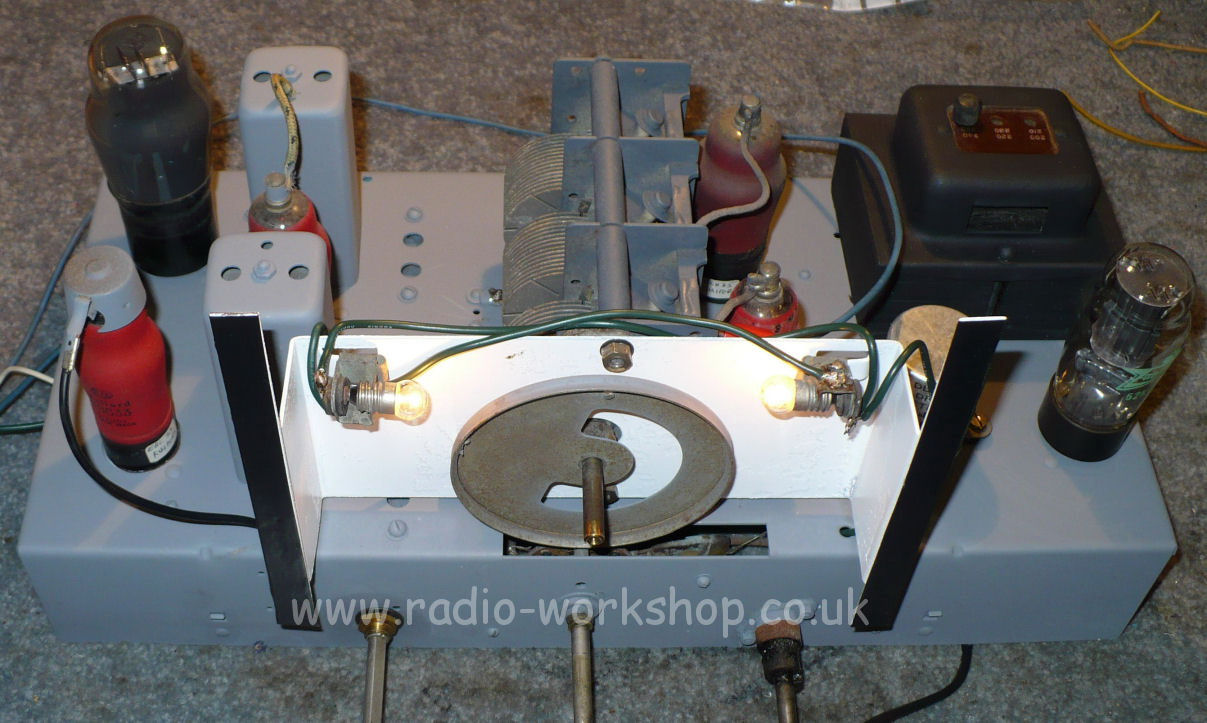
FERGUSON 603
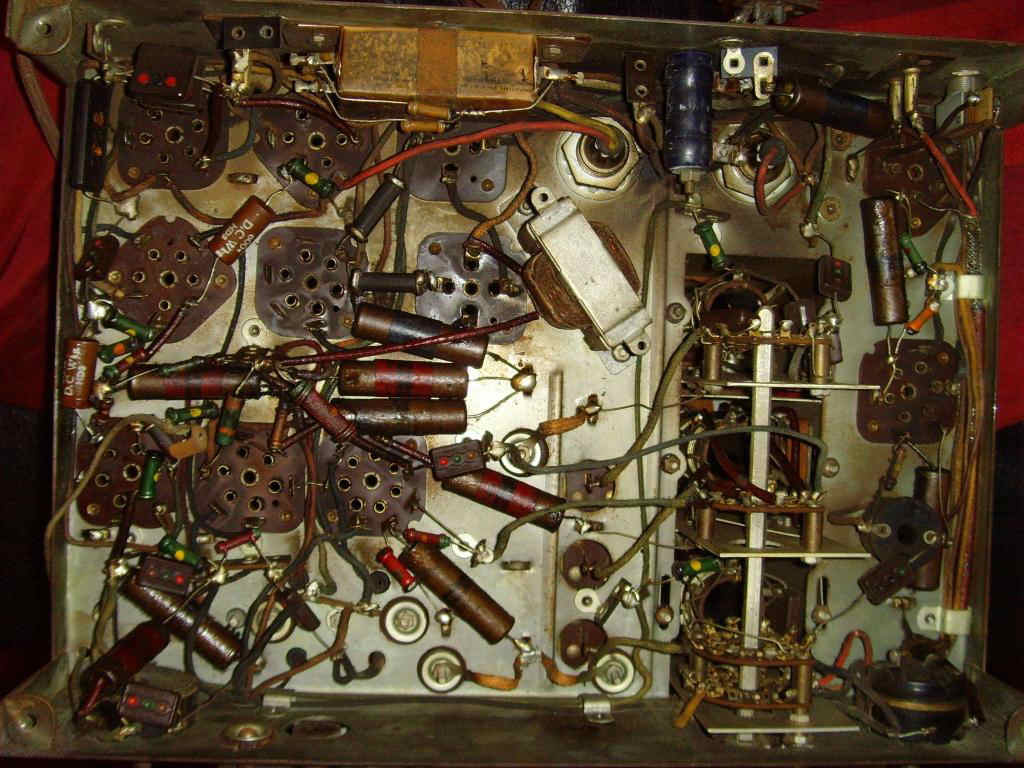
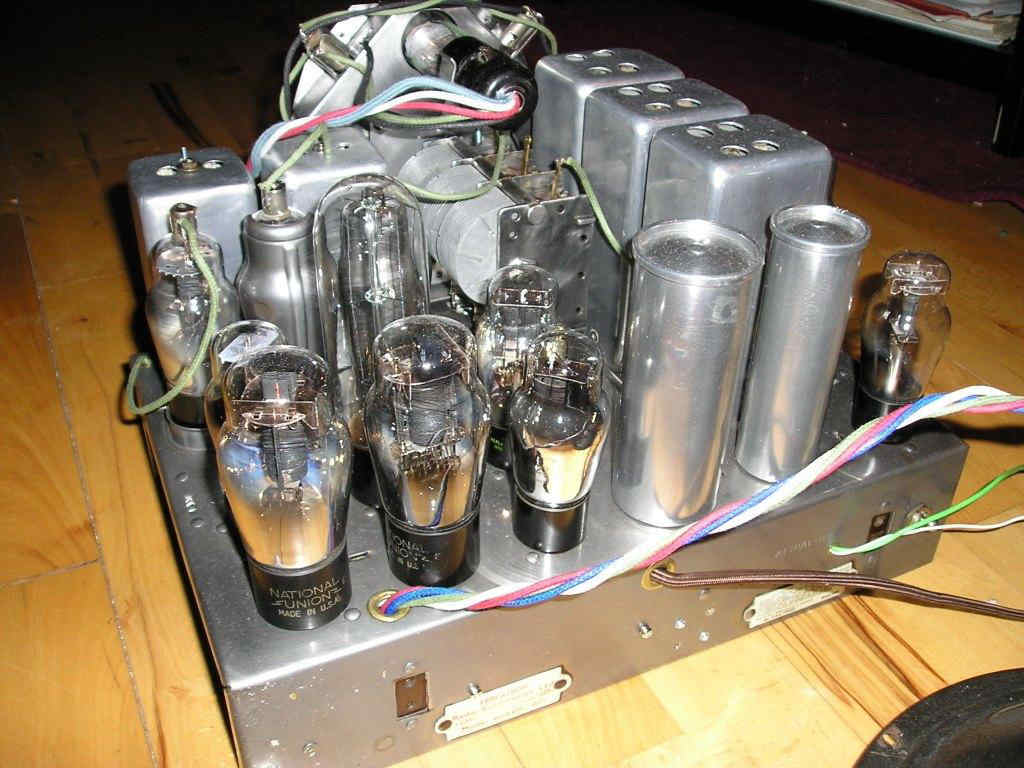
FERRANTI NOVA
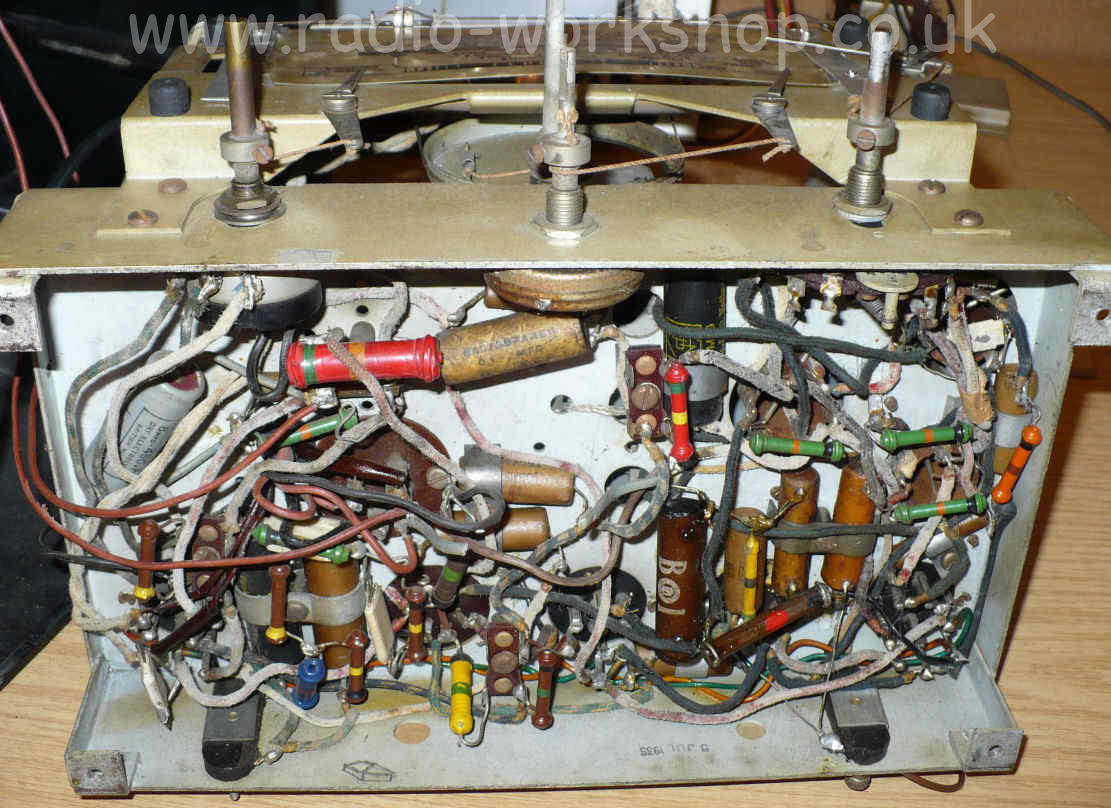
FULLOTONE
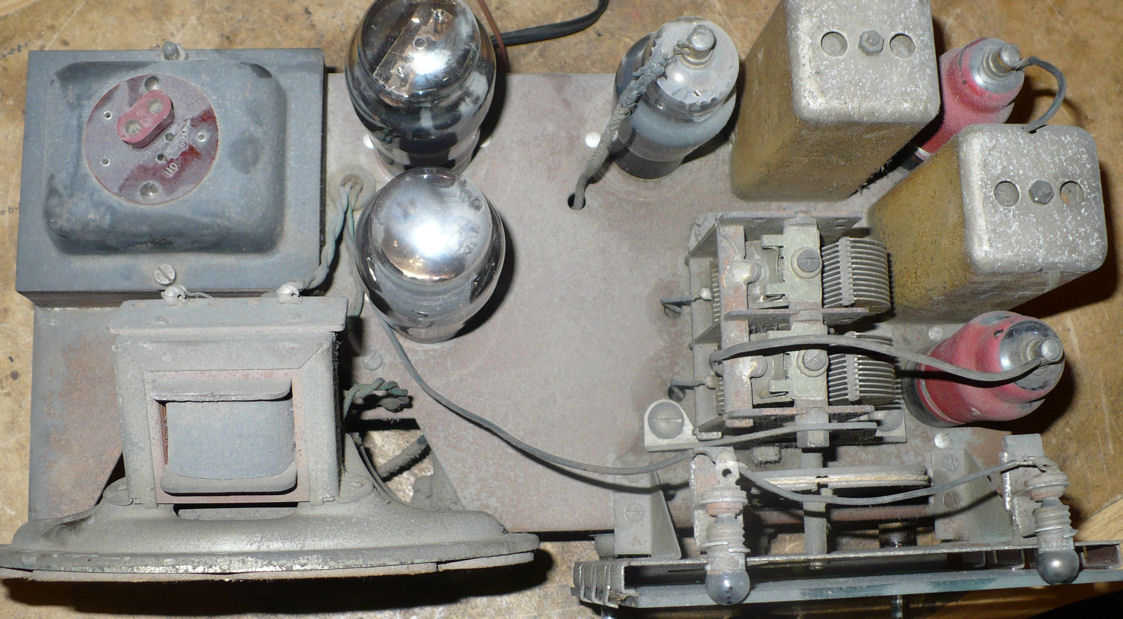
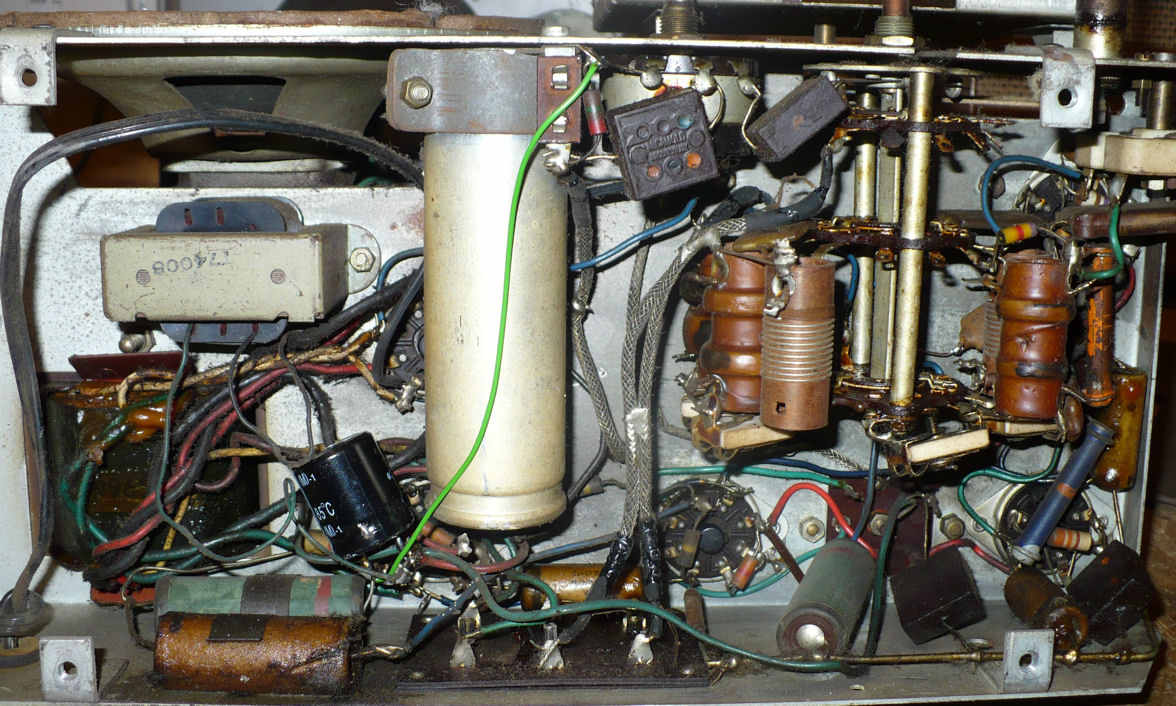
GEC BC5639
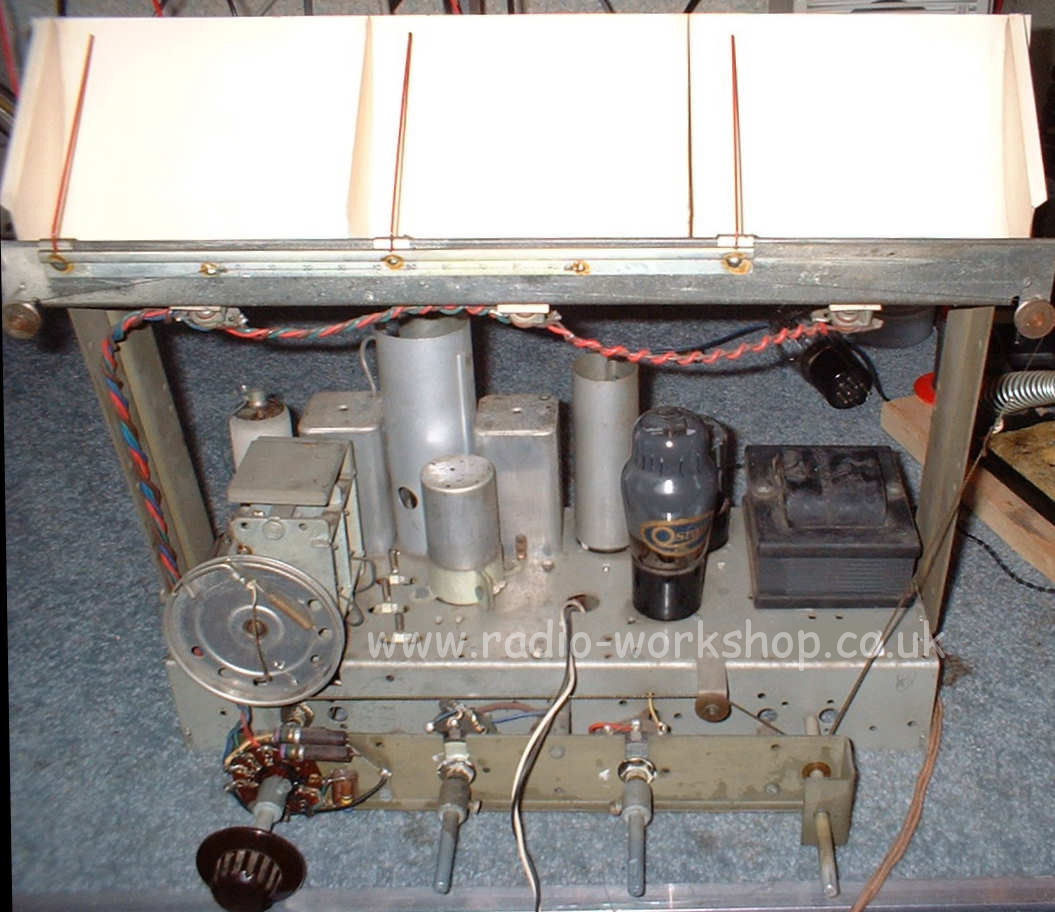
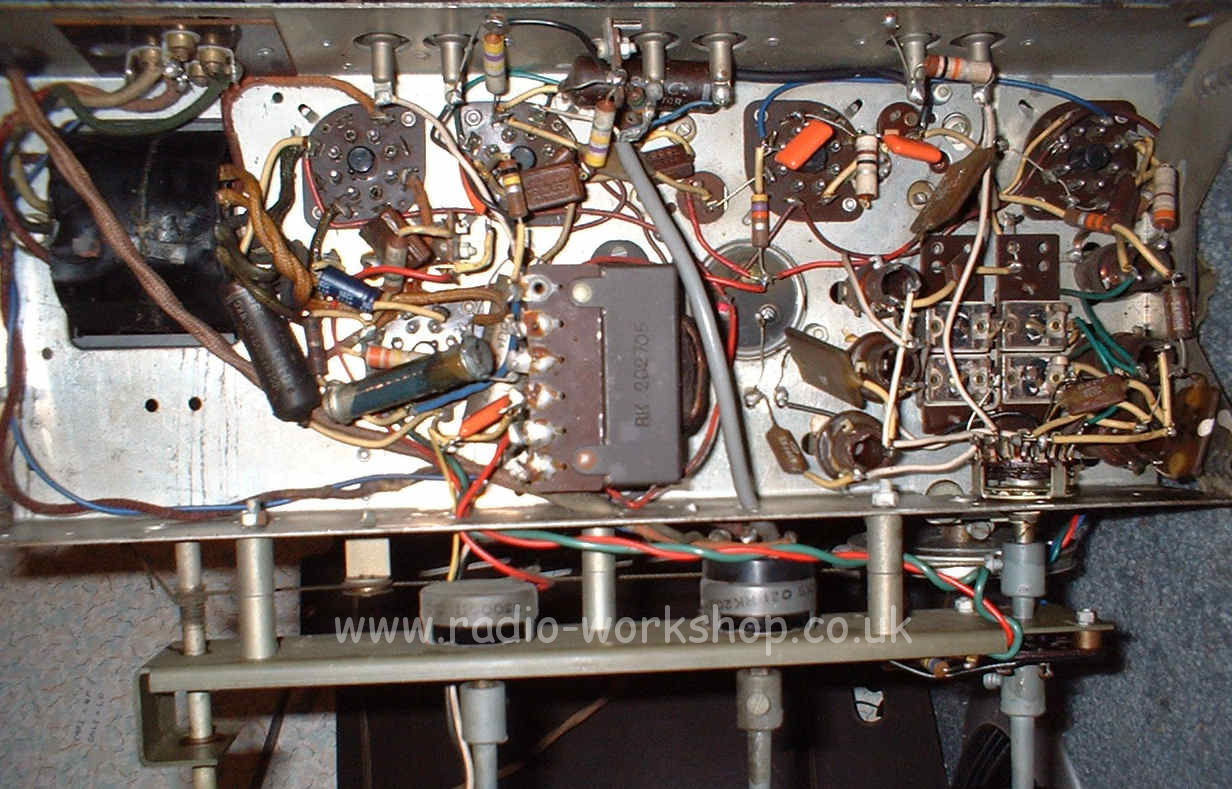
HMV 1117
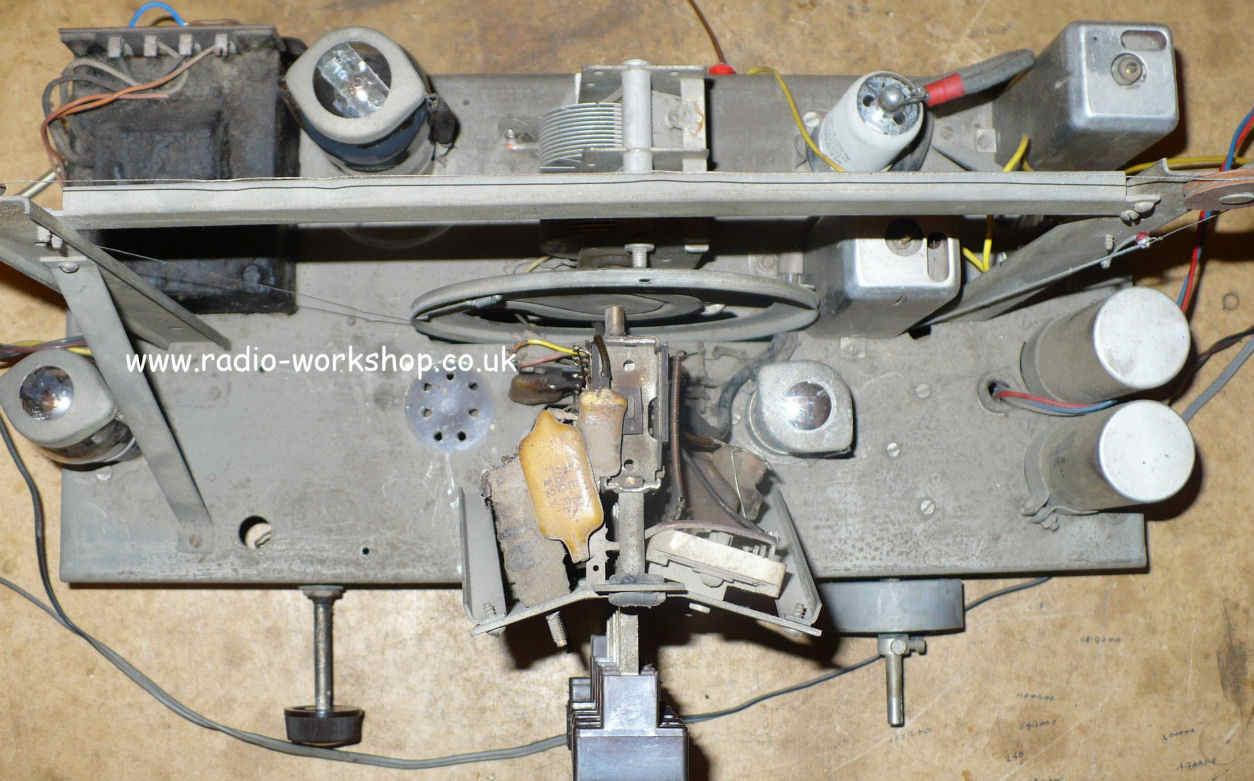
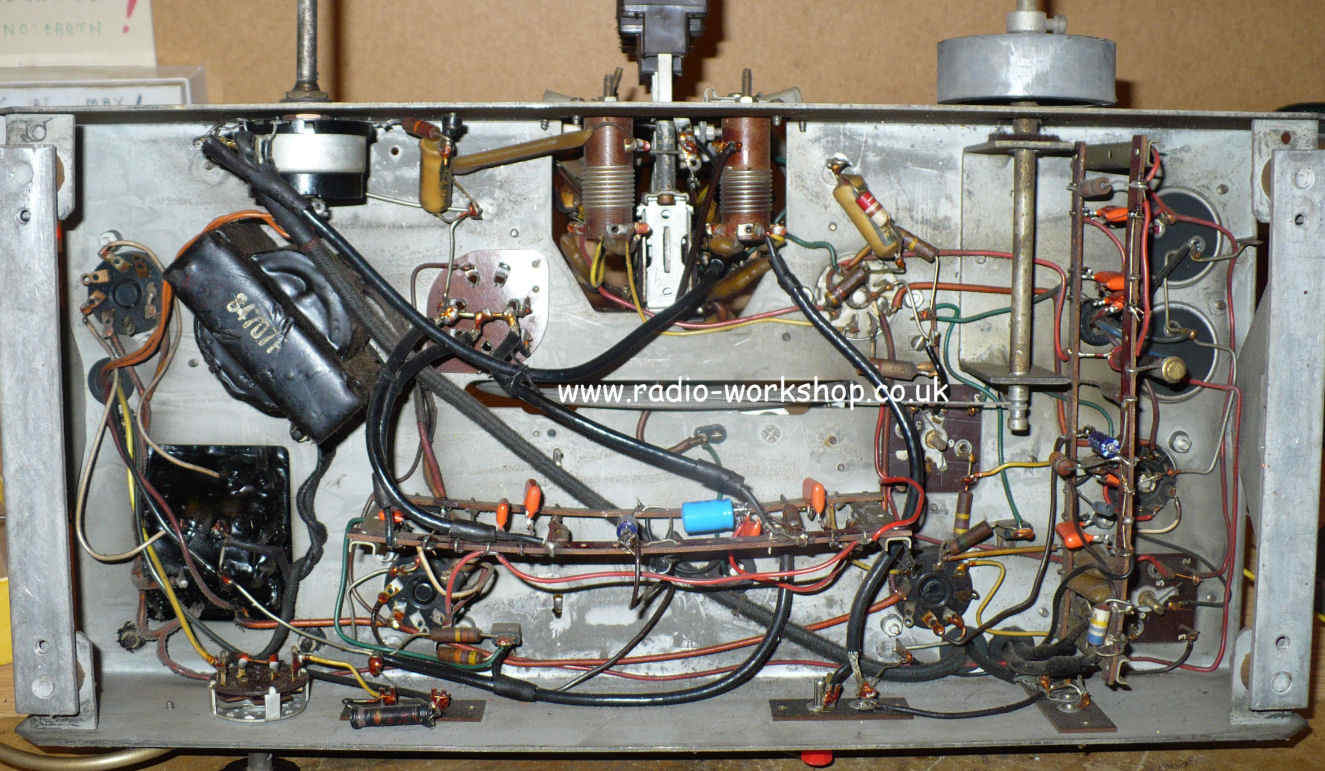
MARCONI T25DA
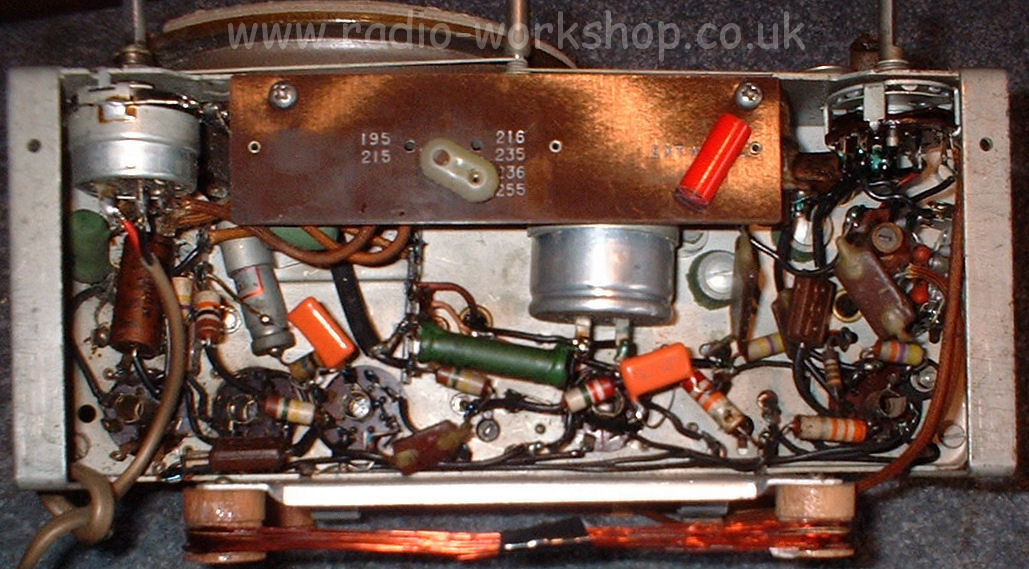
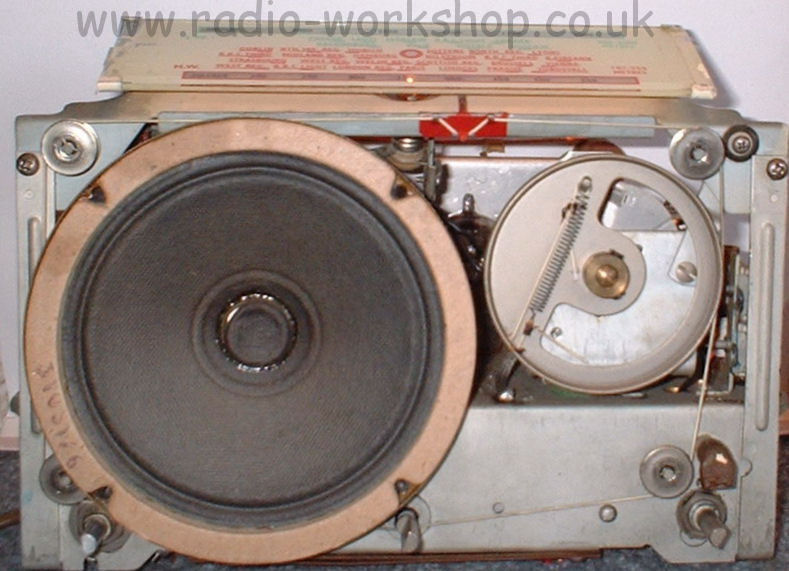
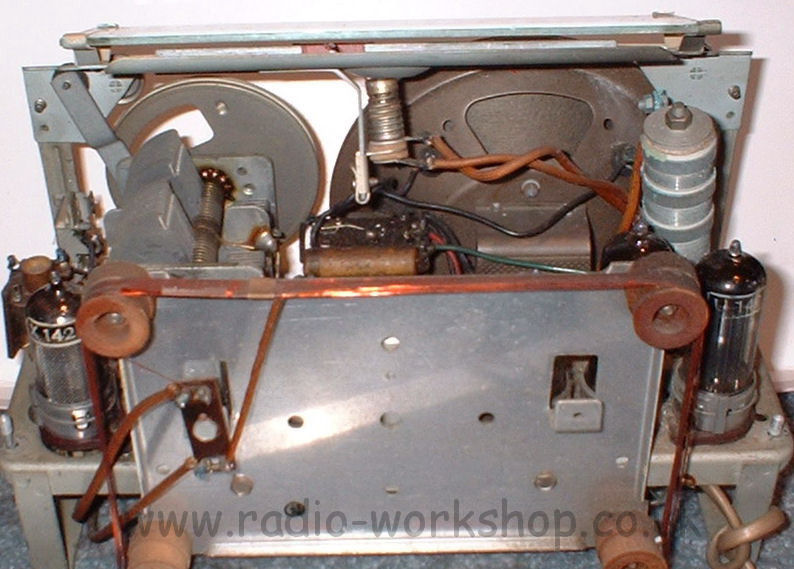
MURPHY A90
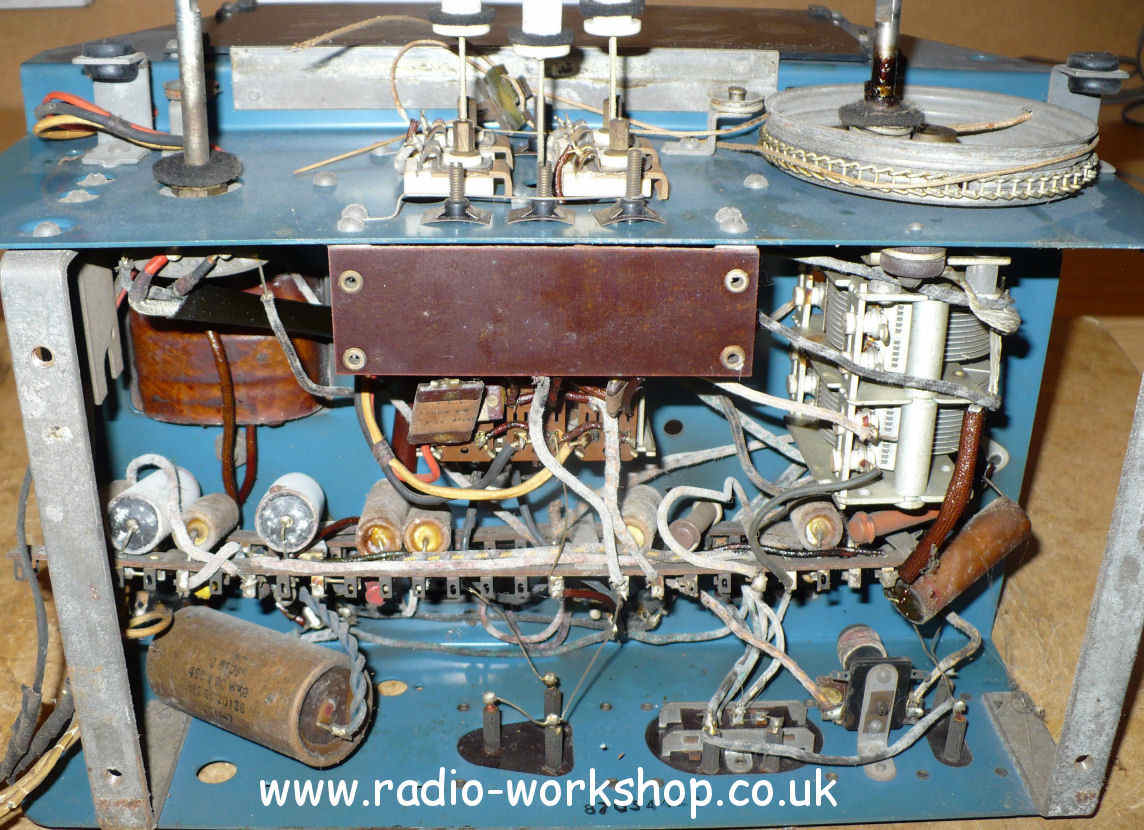
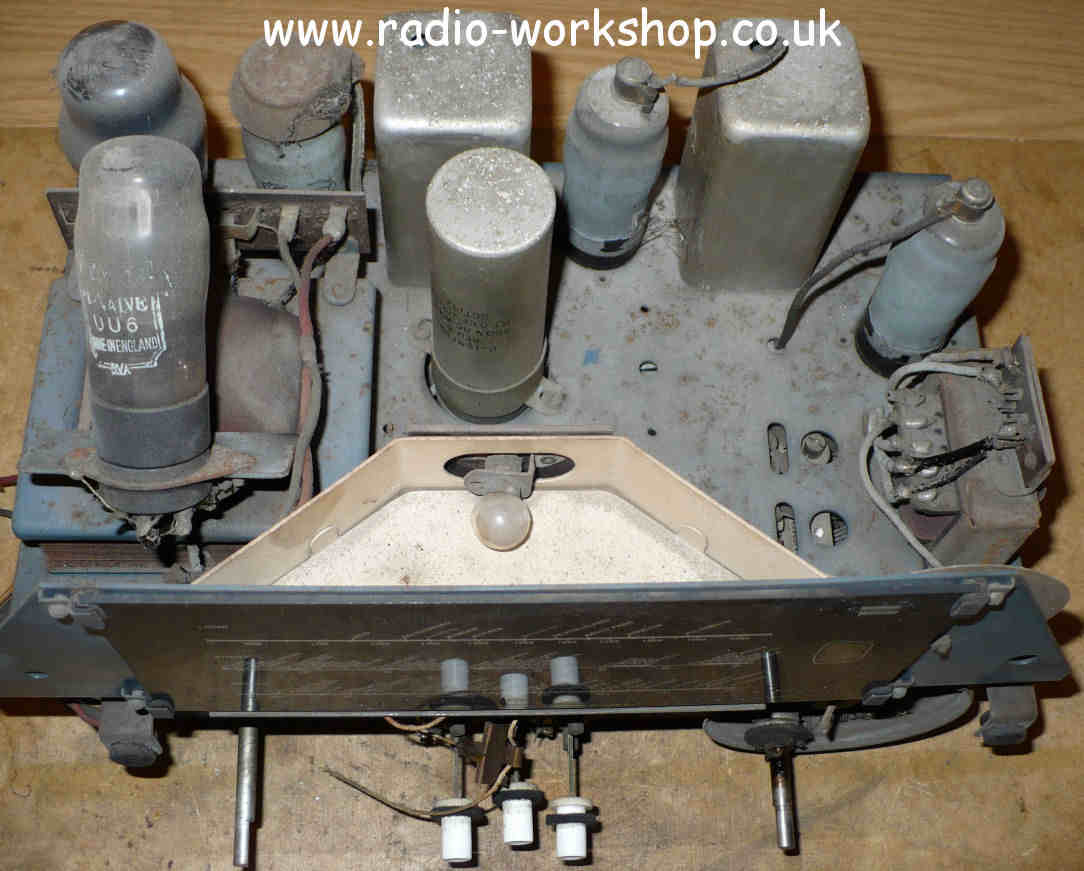
MURPHY A96
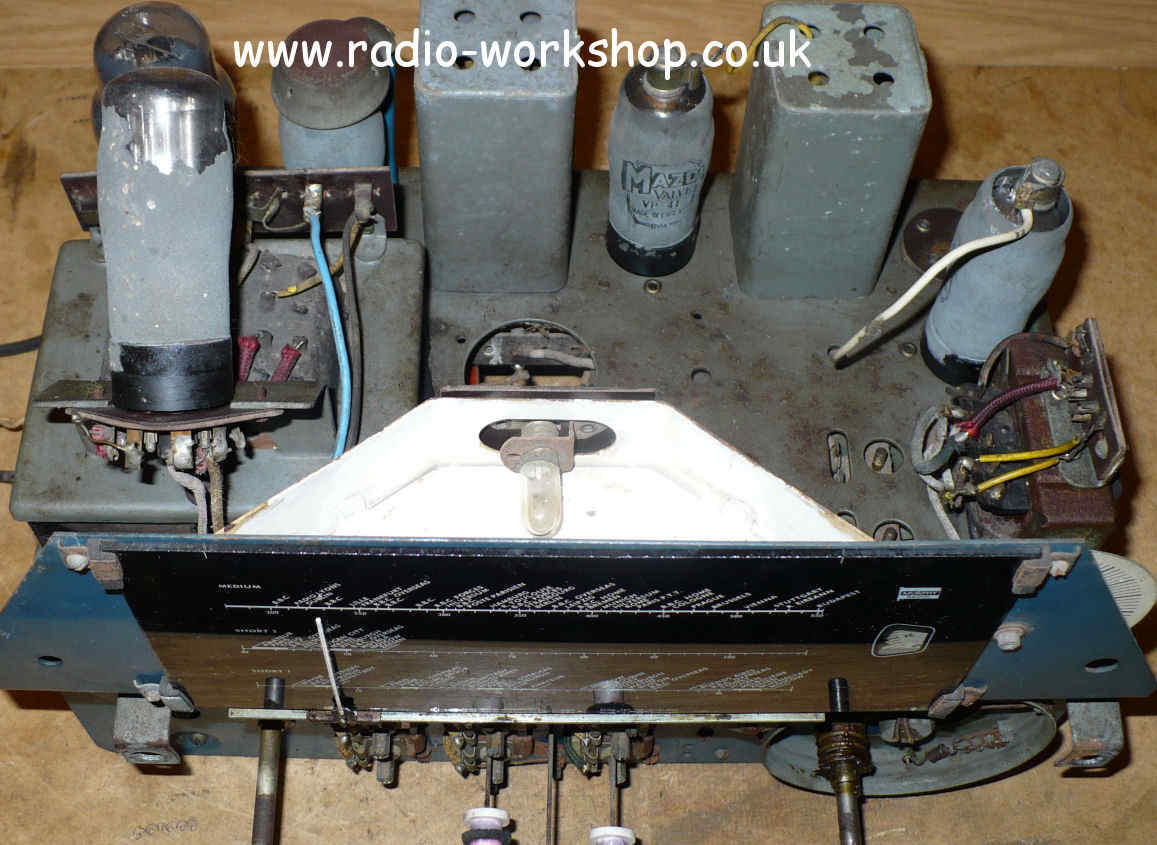
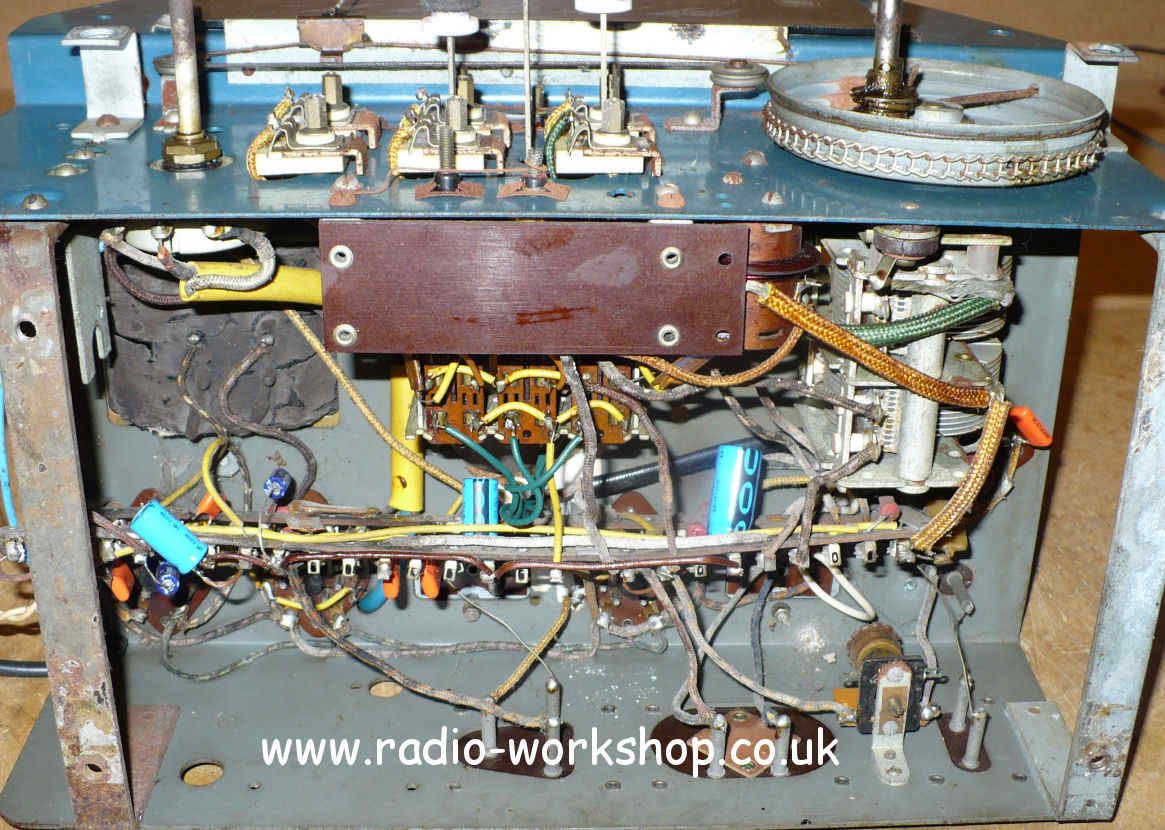
MURPHY A186
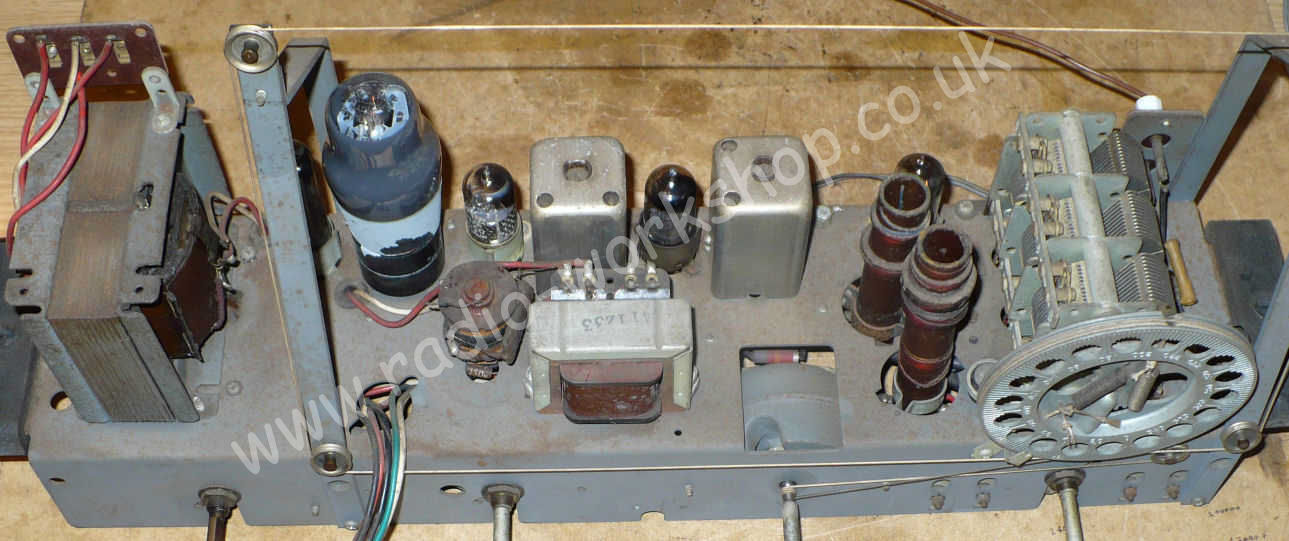
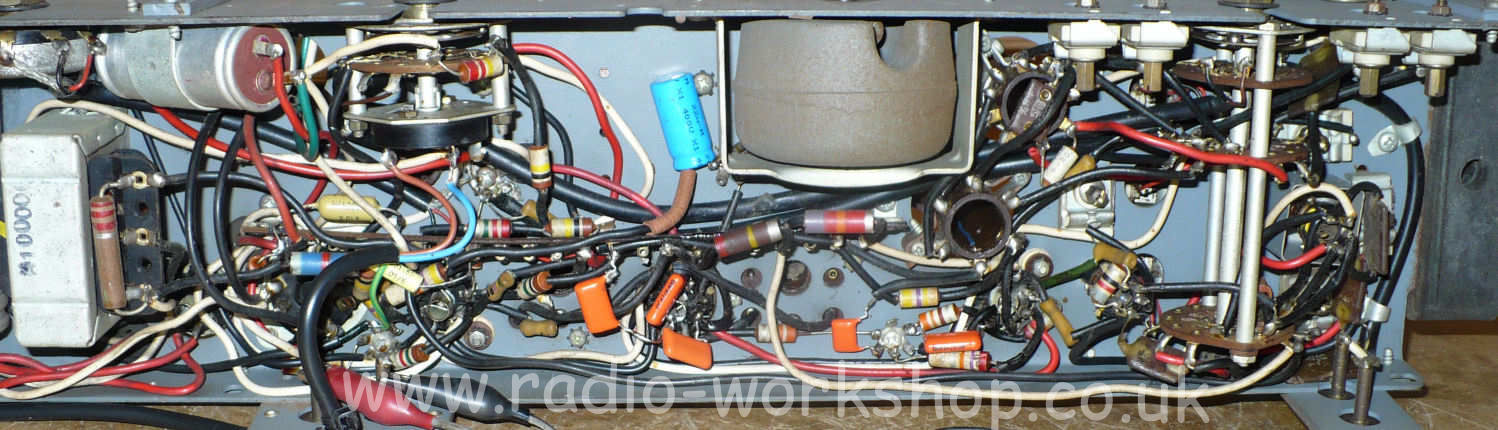
PILOT LITTLE MAESTRO MODEL 10
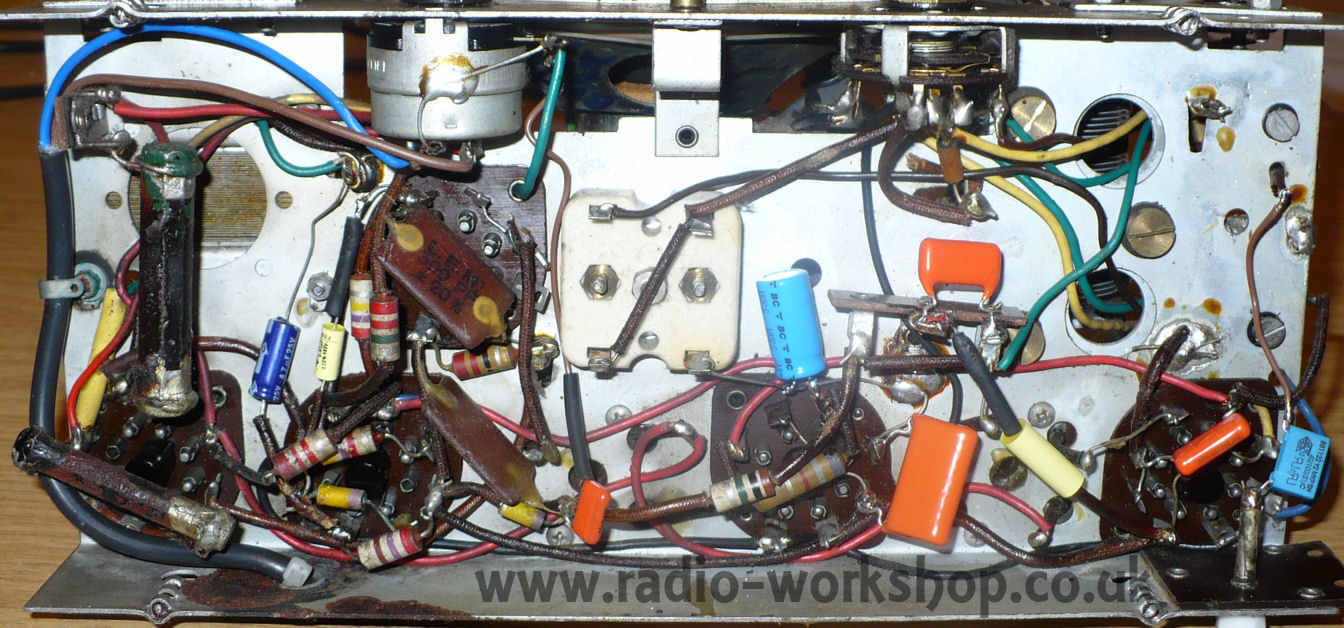
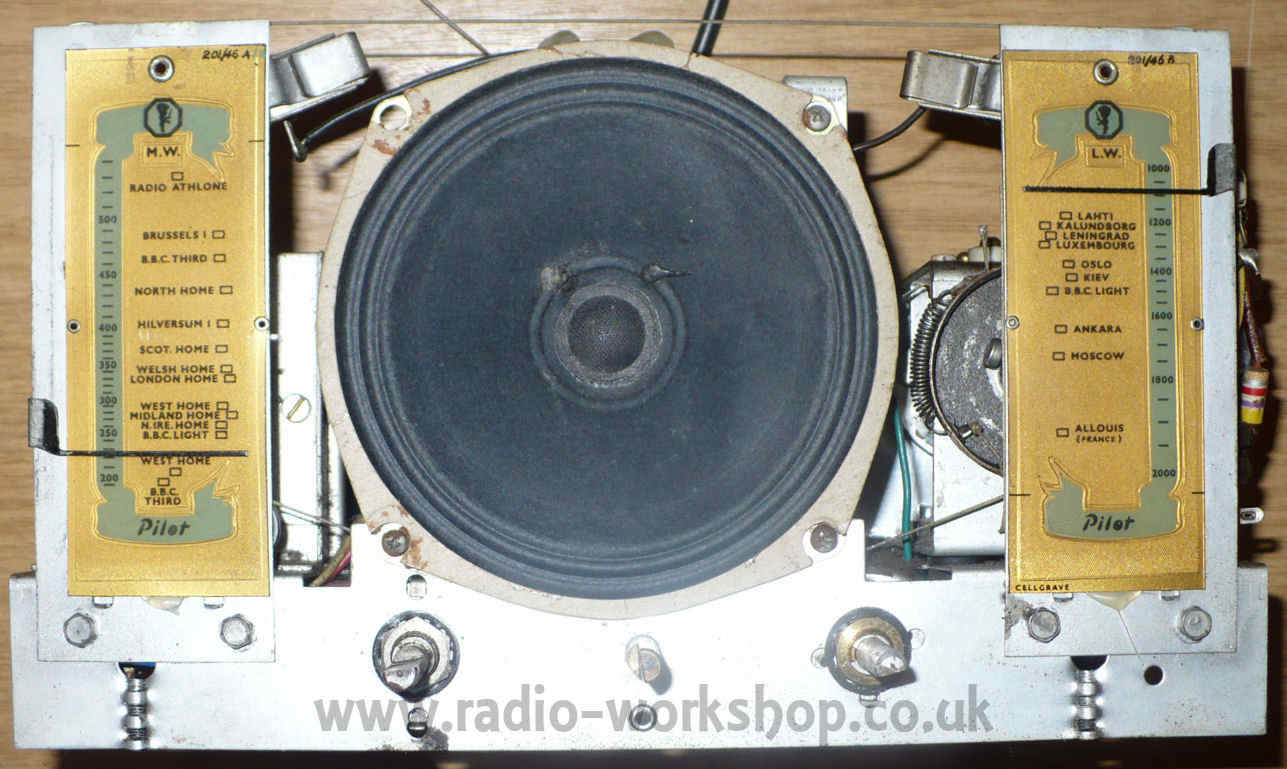
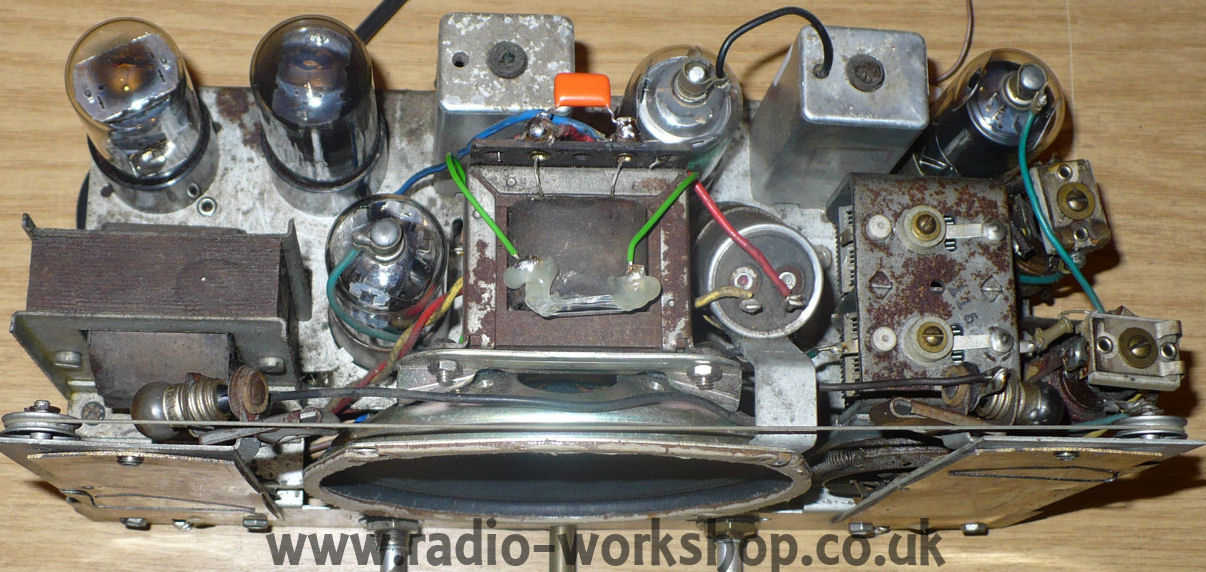
PYE 18A
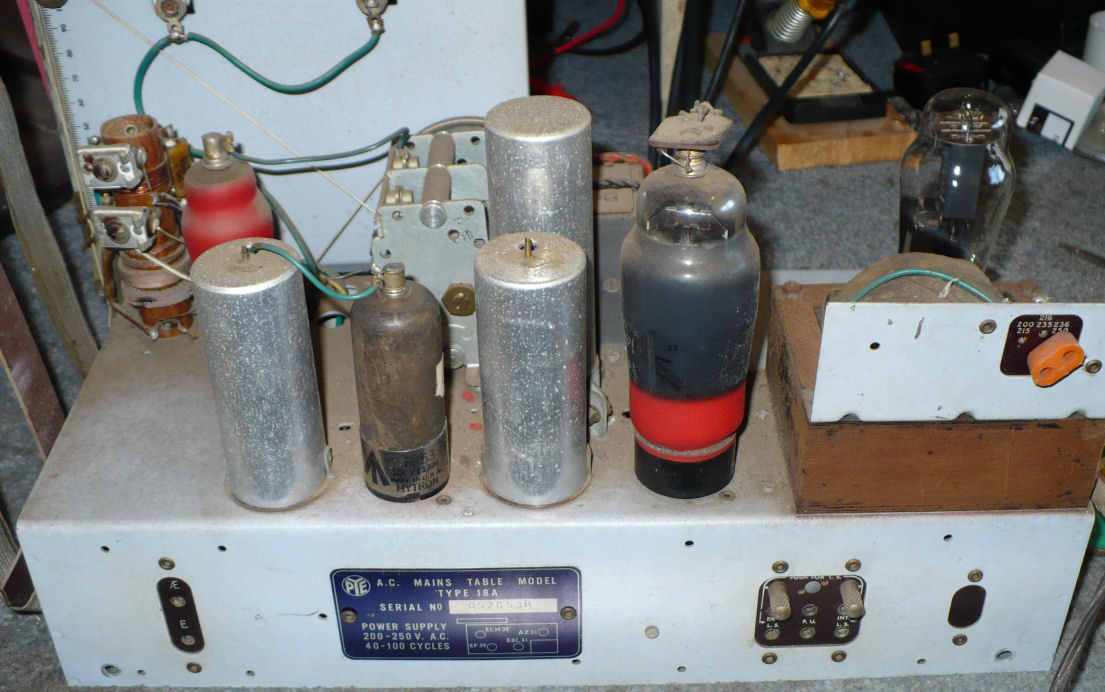
PYE 48A
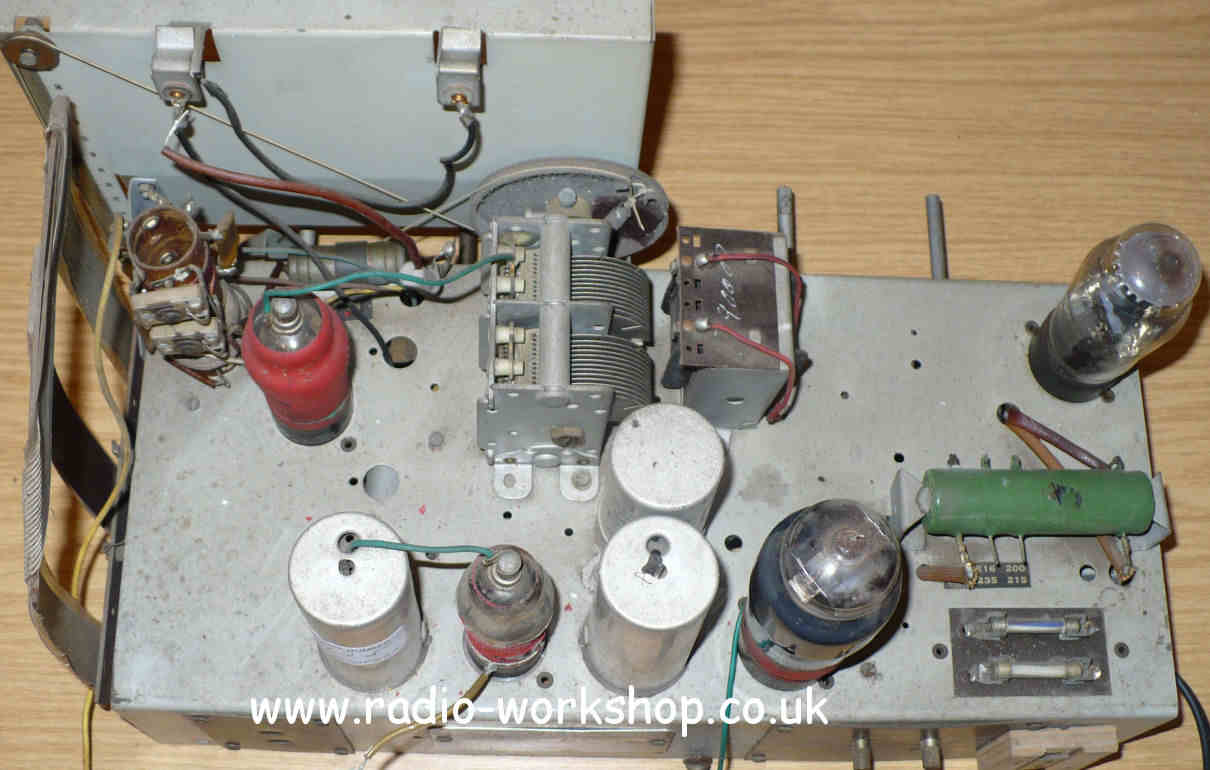
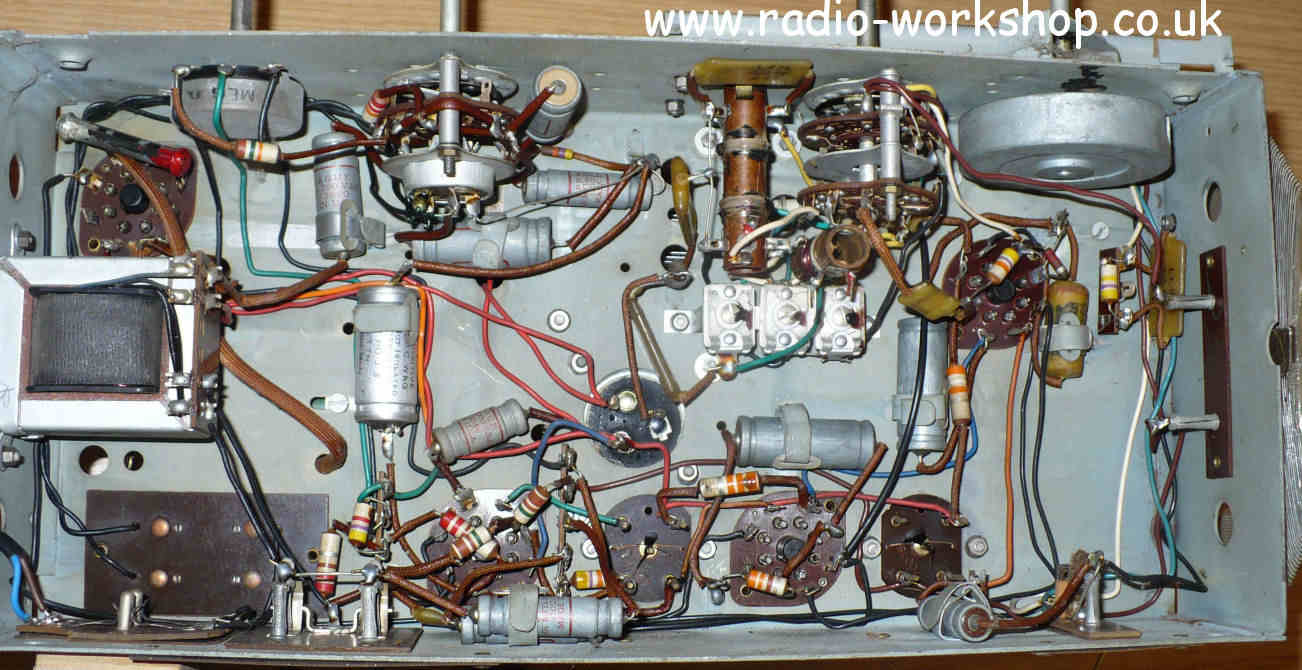
PYE BLACK BOX AMPLIFIER
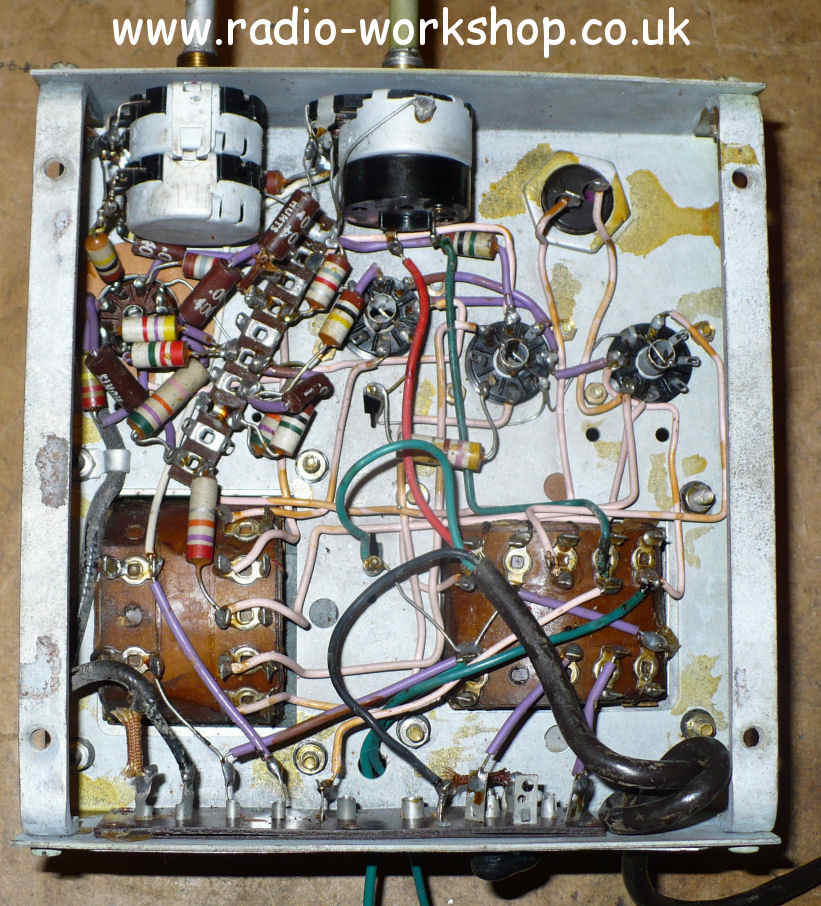
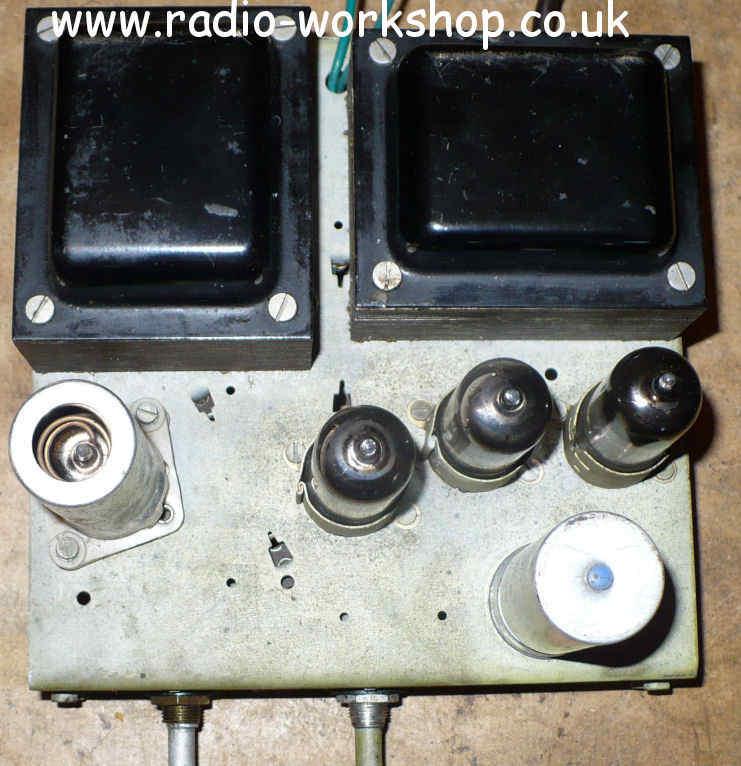
RAP 846
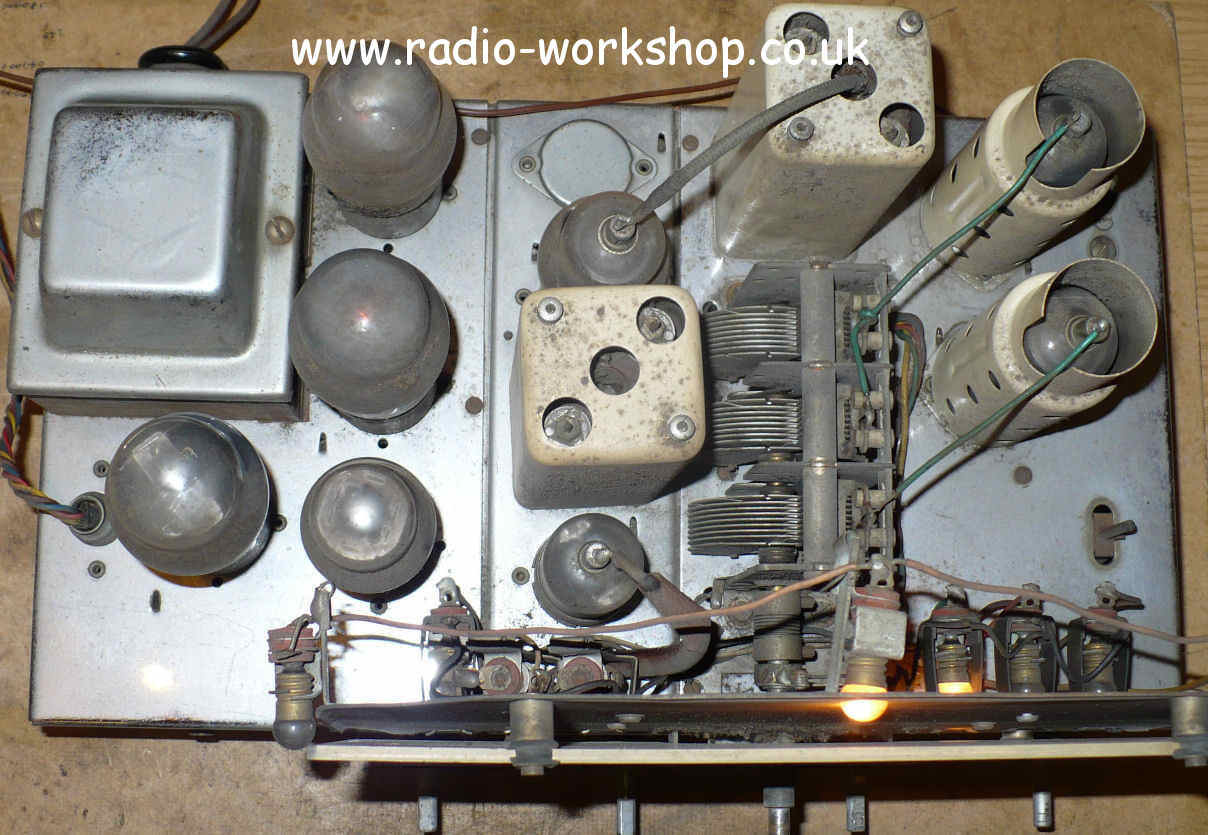
SELMER ZODIAC TWIN THIRTY AMPLIFIER